Showing posts with label Family Fun. Show all posts

Friday, March 25, 2016

Easy Spring Crafts for Kids- Project 2

Hello everyone and welcome to our second post on "Easy Spring Crafts for Kids".


PROJECT #2
Colorful Mini Flower Pot   


First, let me start by giving all of you an update on Ms. Bree's condition.  Yesterday was our follow up appointment with Dr. Oliver, ENT.  I'm happy to share that she is recovering nicely and has been given the "green light" to ease herself into her regular activities.  However, her desire to jump on the trampoline is going to have to wait a few more days.  Ms. Bree is back at school today and she was beyond excited! Thank you for all the prayers, positive vibes, and well wishes!  We truly appreciate your support. 

Now, let's start with our second easy spring craft for kids made by kids.  This craft is not only easy and fun to make but it will be easy on your wallet as well.  

You will need the following: 

1. 2 3/4 inch Clay Pot........$1.29
2. Outdoor Paint................$0.79
3. Soil...................................Free
4. Flower seeds pockets...$0.89
5. Stickers...........................Free


Let your little ones paint their miniature pots, once they have finished their master piece, set the pots aside for drying. 

After their clay pots are completely dry, it is time to DECORATE as much or as little as they want to!!  


I wish she would have let me apply a couple of more coats of paint to the pot in order to give it that nice bright neon pink color.  But it was not my project, it was hers and she loved the pot just the way it is.. if she is happy then I'm happy.

So there it is ladies, for less than $3.00 you are guaranteed an hour of quality time and you will be coolest mom ever! :)

Happy crafting! 


Wednesday, March 23, 2016

Easy Spring Crafts For Kids- Project 1

Welcome back everyone! 

To continue with our Spring and Easter theme this month, we have quiet a few easy crafts that you can do with your little ones while at home.  

Instead of writing a very long post, we've decided to break our Easy Spring Crafts for Kids into a series of small posts.


Project #1
Colorful Picket Fence & Flowers


These beautiful picket fences are easy to make by using things our children love to play with:

a.  "Popsicle" sticks
b.  Glue
c.  Kids' paint and
d.  Foam stickers. 

Possibilities are, you already have some these materials are home, like the paint, popsicles sticks and glue.  The foam stickers can be found at any store for less than $2.00! 

This project guarantees to give you some quality time with you little ones and it WILL NOT break the bank... this is what I call a "win-win".

The only messy part of this project is the painting of the popsicle sticks.  


Once the sticks are completely dry, it is time to glue them together.  Remember, the fence can be as long as the kids want them to be.   I always tell my kids, "Sky is the limit here"!

Once the sticks are glued in place, it is time to decorate!  You can easily display these pieces of art by sticking them onto your refrigerator or add a piece of ribbon onto to the back so that kids may hang them. 


Happy Crafting and don't forget to share with us your master pieces!!! 


Monday, March 21, 2016

Our Favorite Spring Nail Polish Colors!

Hello Everyone!! 

It is officially spring and what girl doesn't love getting pampered? I know I do and so does my little princess. 

Getting our nails done it's more than just "getting our nails done", it is our mother & daughter time and to me, spending time with my kids, individually, is very important.  

Ms. Bree and I can get in trouble  very easily, we both enjoy shopping, eating out and yes, getting a manicure and pedicure done.  Whether, we get them done professionally or whether is me doing the job at home, we both enjoy our time together.

Here are a few of our favorite spring colors:

Green with white polka dots. 

Starfish by Sinful Color Professional

One of my favorite colors, "Vacation Time" by Sinful Colors Professional.  It is a very calm, between a rosy/brown shade and it really doesn't require a lot of heavy coats to obtain the desired color.  It is very glossy and it is perfect for my beach vacation.

Perfect for a night out, "No Text Red" by Sinful Colors Professional

When you do things together, the kids really don't care if things are perfect!  They will only remember that you spent time with them and that you tried! 

While most of my nail polishes are from Sinful Color Professional line, I have a few that are from different brands..  This is a Pure Ice "Home Run"!  I paired it with a similar color sheer shirt and white shorts.  It was really fun to wear this color.  (stepping out of the comfort zone here)

"Courtney Orange" by Sinful Colors Professional 
This is a true vibrant color.  It is a sheer orange with a hint of gold glitter.  

While I love this color by Sally Hansen Insta-Dry, I really don't care for their brush.  It was very difficult to apply an even coat.  Nevertheless, the "Rush Hour" #350 color is a beautiful color to wear.

This is a soft pinkish color, "Scandal" by Sinful Colors Professional.  This is a cozy, warm beautiful pink.  It doesn't require many coats to acquire the desire shade.  


"Dream On" by Sinful Colors... I just love this bright color!  Now, when dry it has a "matte" finish to it, so I definitely had to apply an extra coat of the glossy polish but the results are beautiful.


I would like to try colors like "yellows" and "blues"... maybe next time! 

What are you favorite nail polish colors?  Do you have a favorite brand??  Share your photos on the comments below or feel free to share them with us on our Facebook Page! 

Monday, June 1, 2015

DIY Project: ZIP LINE

Hello Readers!!

The hot days have arrived!! well, at least here in the South they have.

During our family vacations my wife and I realized that our children spent most of the time on Bungee Jumpings, Trampolines and Zip lines rides. It is one of the many reasons we spent our summer vacation at The Boardwalk.  

I ran my ingenious idea by my wife and she was intrigued, I must admit, my wife never likes my ideas because she thinks some of them are too difficult to do on my own.   But what she didn’t know was that I already had spent a good amount of time researching the internet on how to build a zip line.  It’s not as difficult as most people may think. 

Therefore, here I am, writing this short blog post, which I will edit later on with written step by step instructions on how to do it and what hardware to buy to make this easy project. 

Although the ideal place to build your zip line is in the backyard, I decided to build ours on the front yard due to the fact that our only trees are on the front side of the house.

I spent a little bit less than $150.00 in hardware and many sweat and tears, okay, maybe I’m exaggerating a little bit.  It took us approximately an hour to build it.
  

This is something that can easily be turned into a “Father & Child” project, my son was very involved and helped many times when it was possible.  Having him around also made it easier to determine how high the line need it to be.  I definitely didn’t want the line to be too high or too low.  Please remember that it is very important to keep your children’s height and weight in mind at all times. 


DISCLAIMER:

Building a zip line is like riding one, it can be dangerous.  I highly recommend that you take your time to get as much information as possible on the matter. There are many professionals who build zip lines and they offer consultations.  
Although they specialize in commercial building of zip lines (lines are usually suspended 15+ Ft from the ground) and their time can and will be costly; 

Take extra safety precaution, have your children wear helmets, knee pads, elbow pads and any other protective gear.  As parents we know our children and we know their limits;

Pay a few extra bucks for better quality products when purchasing the hardware;  

Have a serious safety talk with your children;

Have a responsible adult present at all times;


Zip line is only to be ridden with parents’ exclusive permission.


Enjoy and be safe this summer!
Bill & Little B


Monday, December 8, 2014

DIY: Christmas Wreaths


DIY- Christmas Wreaths


Hello Readers!!

Today I bring you another easy and inexpensive DIY Christmas project!!  If you thought our DIY Tomato Cage Christmas Tree was inexpensive… wait until you see the Christmas Wreaths we have made.

These wreaths were originally made to decorate my garage door lamps.  Unfortunately the top part of my lamps literally touch the ceiling and are extremely close of the wall making it impossible for the wreaths to go around.   NO BIGGIE, I found another spot for them and I believe it gives the house the perfect look! 

Due to the fact that Christmas is around the corner, most (if not all) Christmas decorations are now on sale at most stores.  All the items required to make these wreaths were purchased at Michael’s Craft Store and . 

Here is what you will need:
Pre-made Wreath…………………………………. $3.99
Red Glitter Ribbon………………………………… $0.99
Jingle Bells…..……………………………………….. $3.50
(Red and Gold stems)…..………………….……. $4.74 (0.79 each)
        TOTAL SPENT PER WREATH      $13.22

STEP 1

Fluff the wreath by spreading all the limbs, you want the wreath to look nice and full;


STEP 2


On the center bottom of the wreath place your jingle bells;

Carefully secure the jingle bells  by using a thin piece of wire;

    HELPFUL NOTE: (you can use the thin hooks your would normally use to hang the decorations on your tree; if you don’t have any, you can buy a pack of 100 at the Dollar Store for $1.00)

STEP 3


Place the red ribbon slight above the top of the dangling bells;

    HELPFUL NOTE: (usually the ribbons have the own wire on the back, if your bow doesn't have one, you can use the thin wired hooks mentioned above);

STEP 4


I used three (3) stems with small red sparkling balls and three (3) stems with small gold sparkling balls on each side of the Wreath;

    HELPFUL NOTE: (Using the same amount of stems on each side will guarantee your wreath looks the same on each side.)

Separate each stem carefully and begin adding them to your wreath;


    HELPFUL NOTE: (You will not need extra wire to secure the stems onto the wreaths, they are made out of wire, carefully cut the wire to the desired length).
Then carefully fold the end of the wire around the wreath to prevent it from falling.

AND YOU ARE NOW DONE!  THESE ARE THE RESULTS:


A 20 minute project and the total cost was $13.22 per wreath.  You can use some of the decorations you already have available, making this project even less in price.  How about that?? For an inexpensive craft that will last you for years and you can proudly say that you made it yourself!!  

Wednesday, February 13, 2013

Natural Hair & Weekend Events


This past weekend was full of events and also preparations for Ms. Bree's upcoming birthday party.

Since I've been planning her party and working on the decorations for quiet a few days, I thought it would be a good idea to take them out and experience something new.


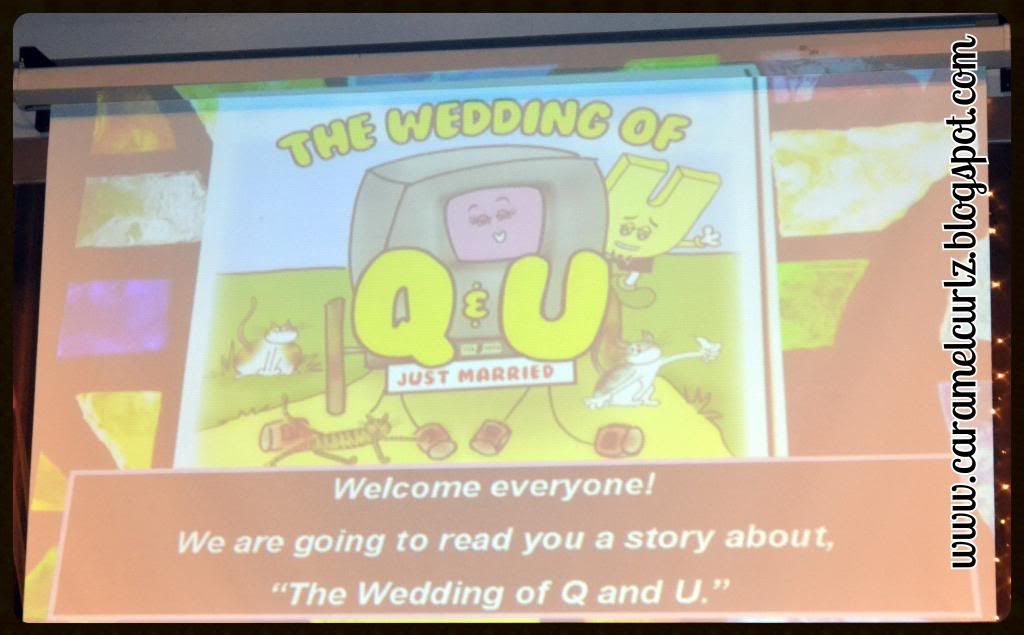
The Wedding of Q and U


On Friday, Little Man had a school program that he was really excited about.  The Wedding of "Q and U".


They had so much fun at the Wedding of Q & U.   This is the first time I attend the wedding of Q and U, but apparently this is something the kindergartner teachers do every year. 

This helps the children remember that "U" always follows "Q" in their writing, its a great teaching tool.  You can also find this book in Amazon.com

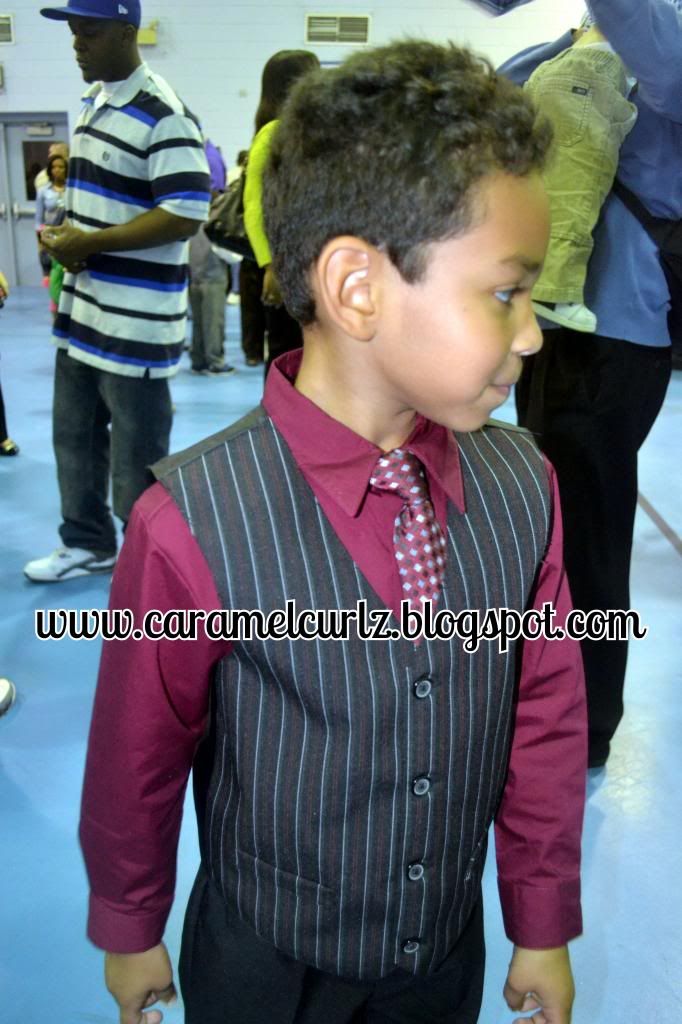
Little Man got to dressed like he was really attending a wedding and did an amazing job singing during the wedding program.  


After the wedding program was over, everyone was asked to go to the gym for a reception! 

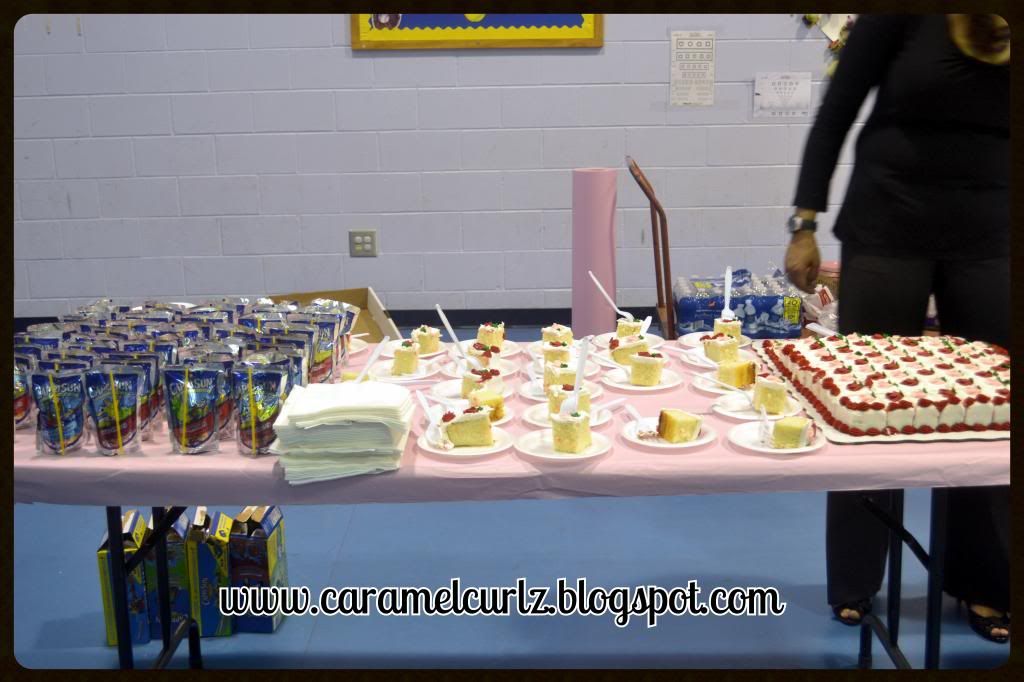
The staff did a really good job decorating the gym and having the wedding cake nicely displayed at the table.  But what the kids loved the most was the fact that they also had a DJ...which was their principal! 


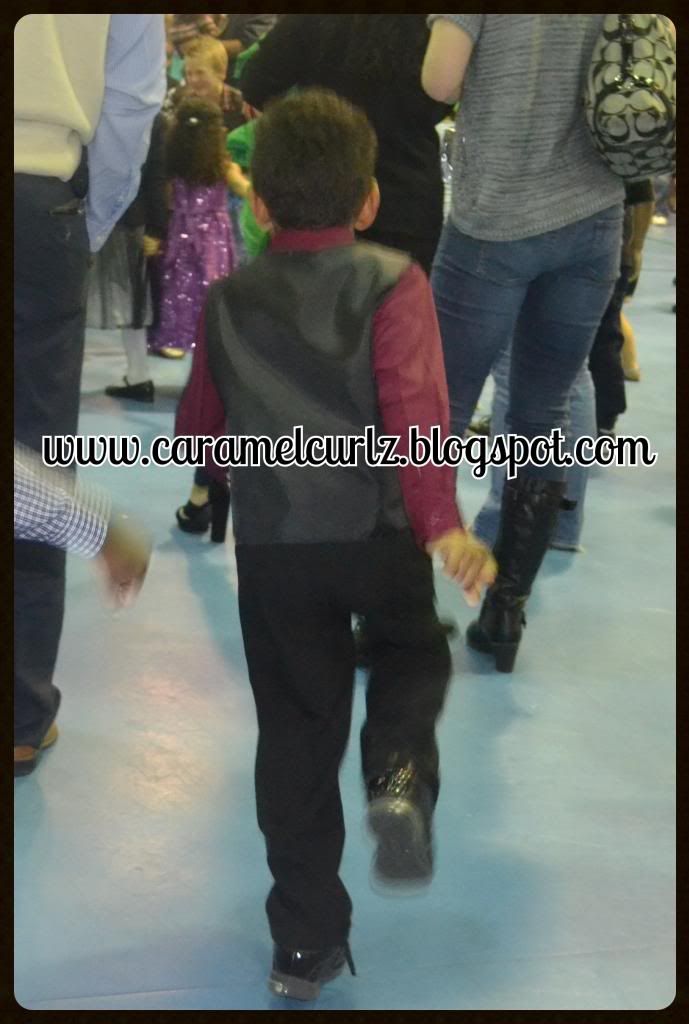
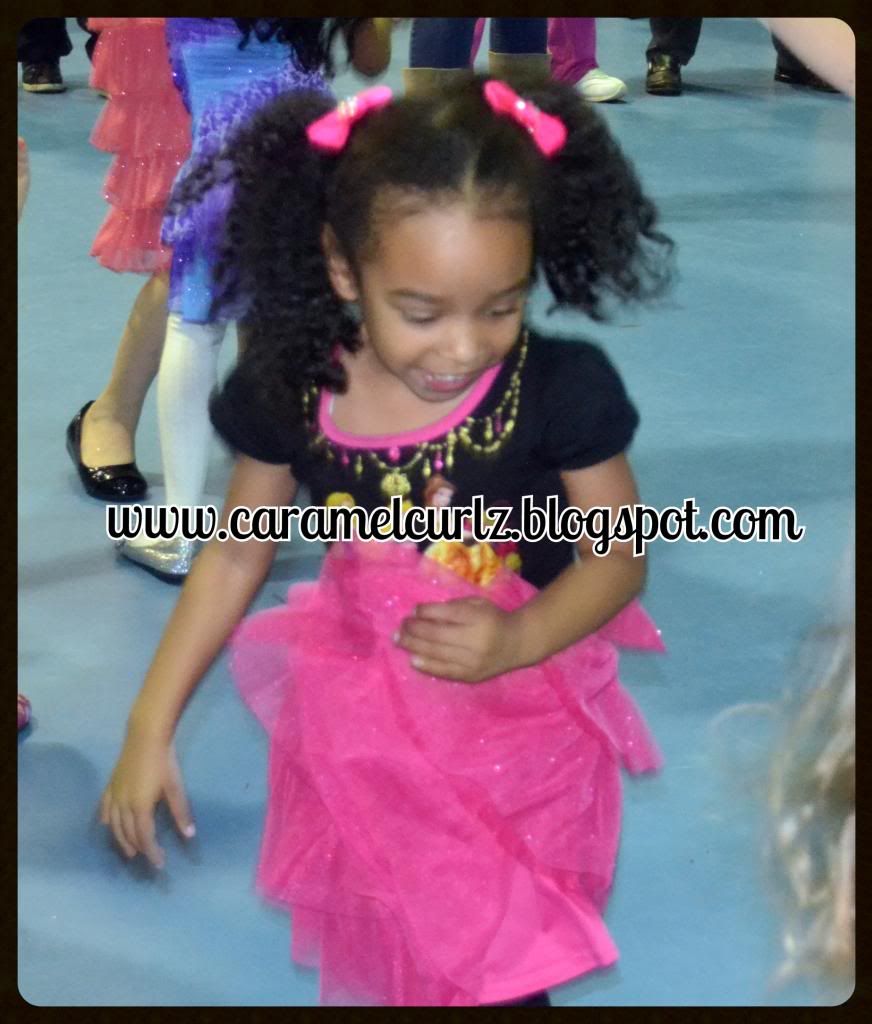
My little man danced like a pro! 

Their principal (also their DJ) played songs like The Hokey Pokey, Electric slide and the kids danced the night away.


DANCE DANCE DANCE... BABY DANCE!!


By the time the dance was over, my kiddos were tired but yet they were so happy because Q and U got married and they  had so much fun.

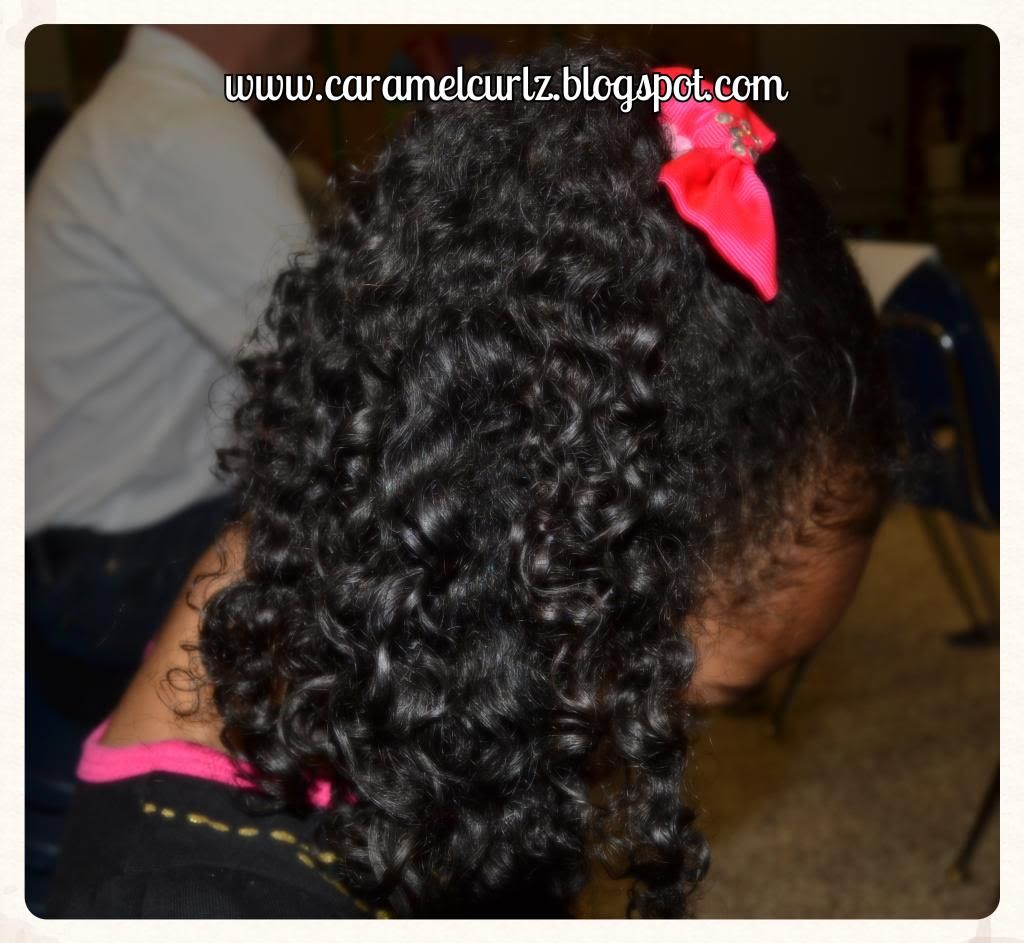
Ms. Bree's hair was still looking nice after all the dancing and even though my little man was doing the John Travolta dance, his suit was still cleaned! 


Chinese New Year's Dinner & Lion Dance


On Saturday:

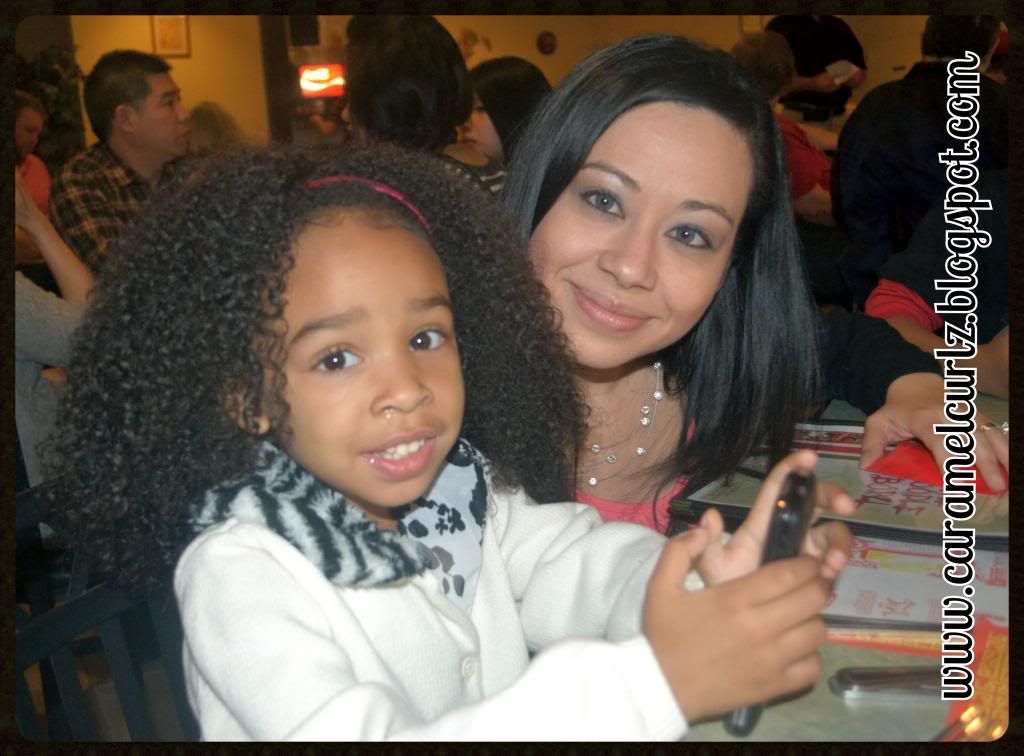
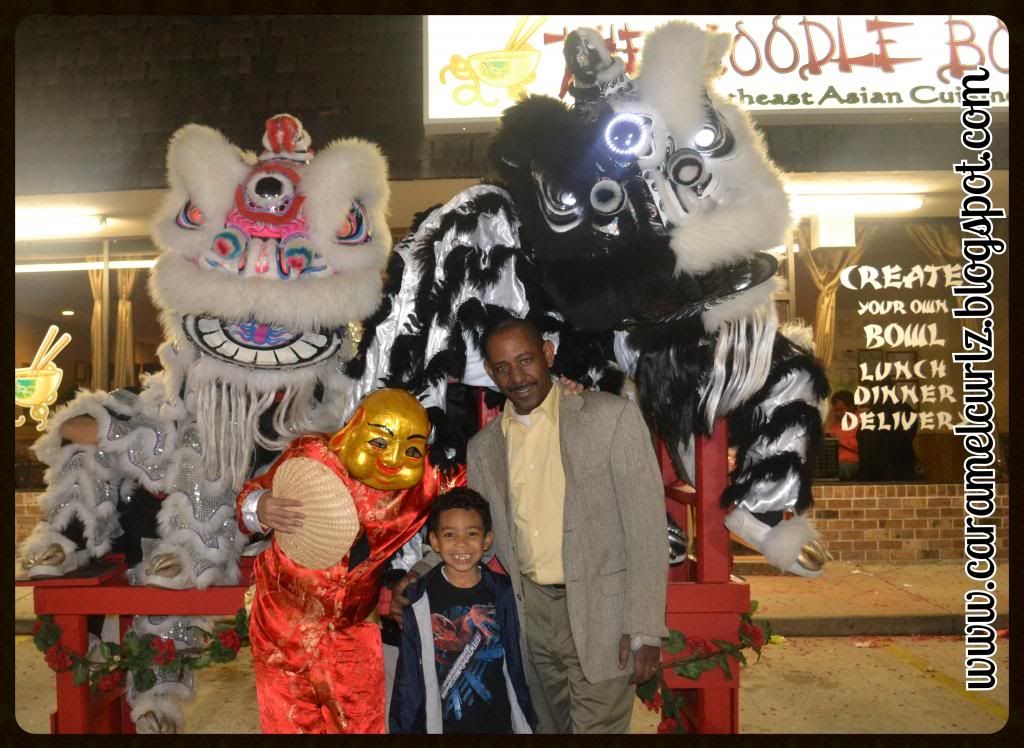
We attended "Dinner & a Lion Dance Show" hosted by our good friends' from "The Noodle Bowl" Restaurant in celebration of their "Chinese New Year's".


One of the most important Chinese holiday's is the New Year's celebration, also known as the Spring Festival.

If your kids watch "Ni Hao Kai-Lan"  you probably have heard of this traditional holiday and how it starts by celebrating the new year and ends on the Lantern Festival which is on the 15th day of the first month.  This is the year of the Snake- February 10, 2013.

It is also tradition to decorate the windows and doors with the color red which signifies good fortune, happiness, wealth and longevity.

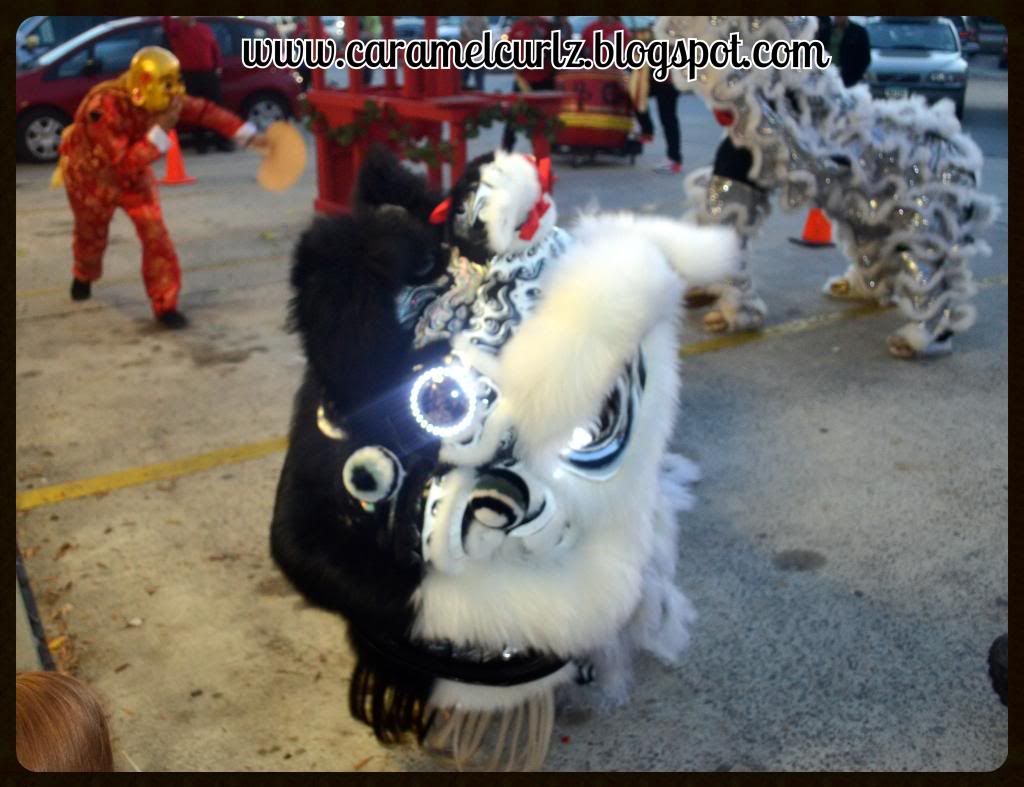
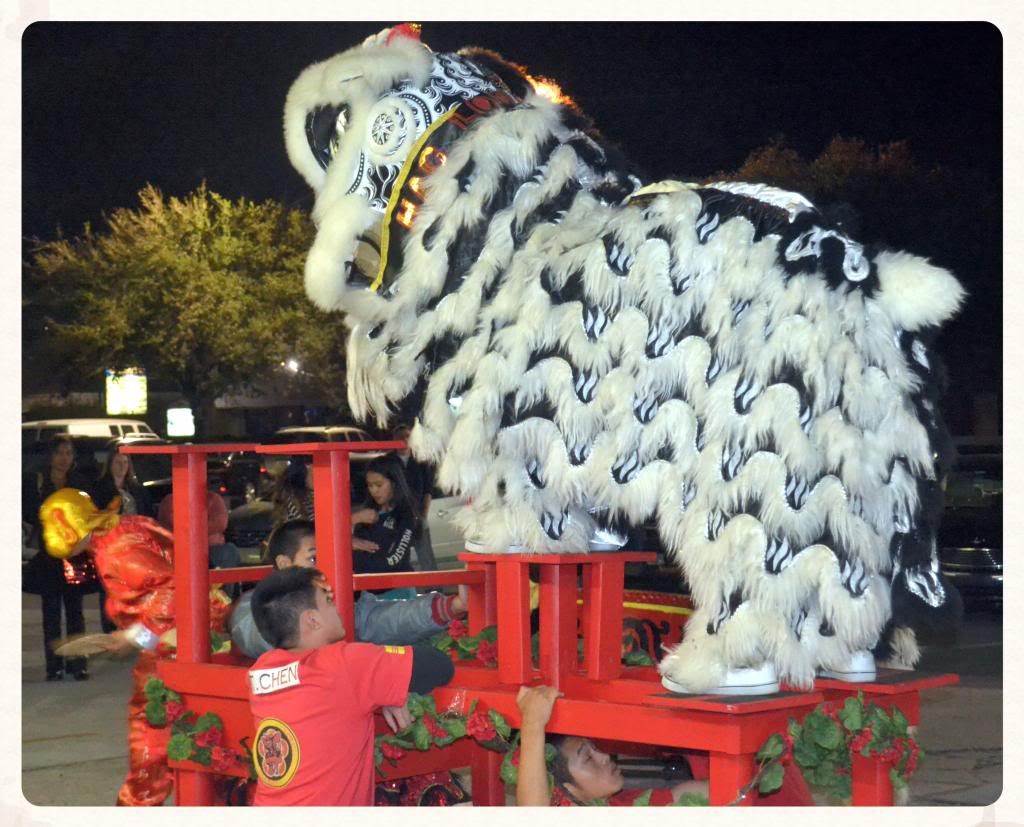
One of the many activities include Lion Dance which we had the opportunity to see for the very first time.


During our dinner we were given a "red paper envelope" to feed the lion for good fortune.  Giving money is not a requirement, its optional.

What we learned:  If you ever attend a Chinese New Year's celebration where red paper envelopes are provided, remember to add a dollar or two BUT NEVER give 4 or 10, as they are considered "unlucky numbers".


We had so much fun, although we were out late, Little man truly enjoyed the show, the food and learning about Chinese New Year's.


Thursday, February 7, 2013

Royal Birthday Party! PART I


Ms. Bree is turning 4! 

Wow, where does the time go?  

And for her big day I'm doing a lot of things by myself, for example the cake, the food and the party favors.  I have also purchased several items to transform my formal dining room into a "Royal Cafe" and I will be decorating the entrance where all her guests will be stopping to take pictures by a 5 piece Disney Princess Scene Setter.

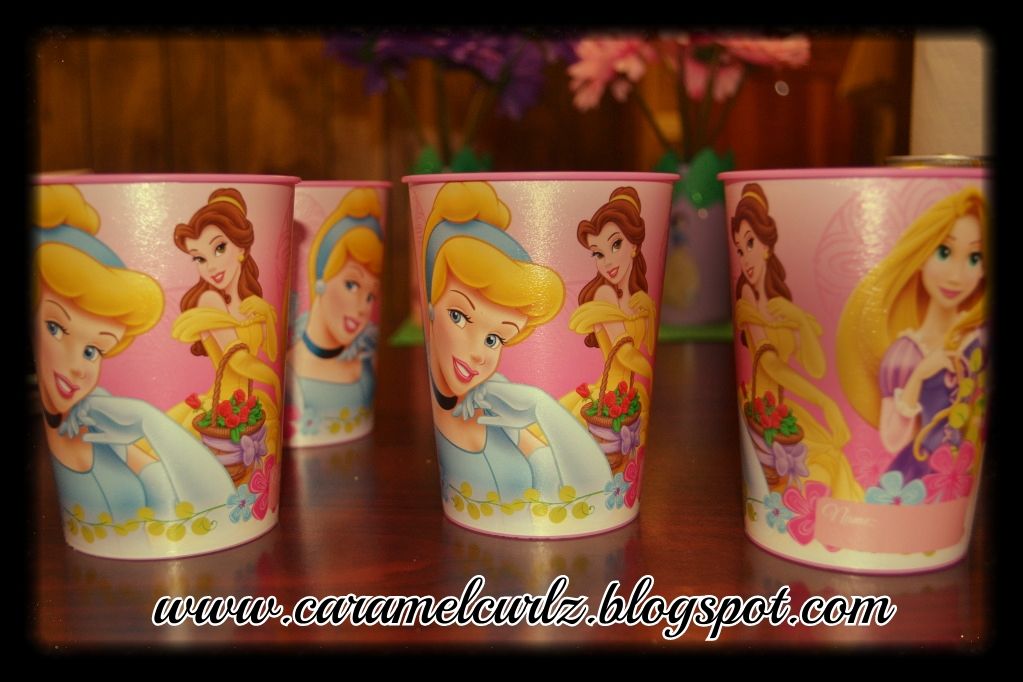
Ms. Bree is a big fan of Disney Princesses, especially Belle & Cinderella.  Based on her love for the princesses I decided to do a "Princess Tea Party".     

Princess Party Favors:


How to make them:

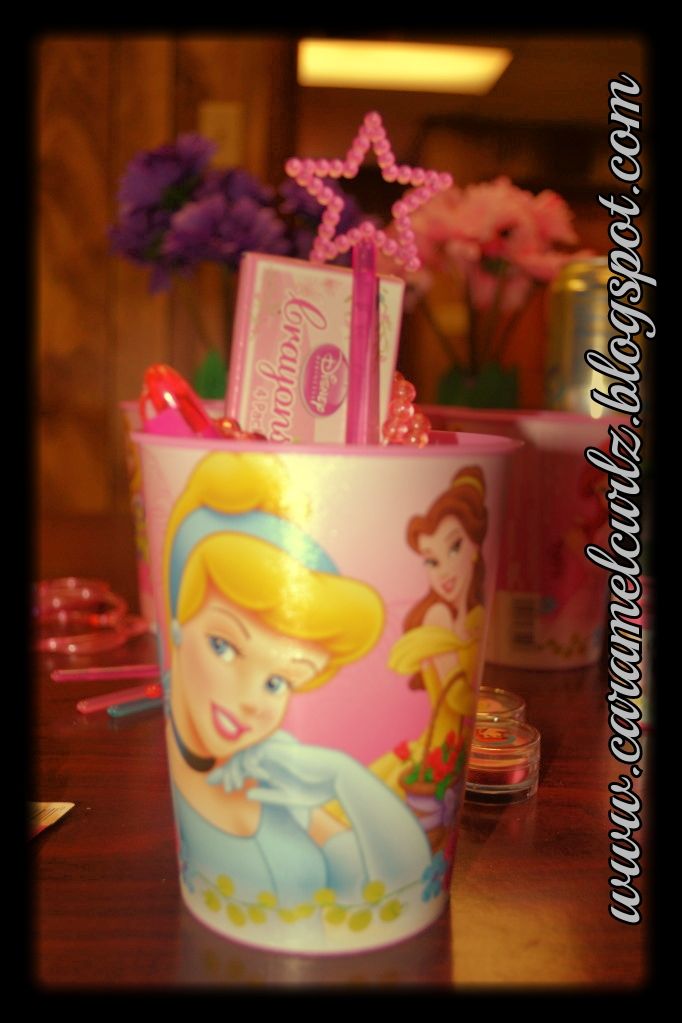
* Disney Princess Party Cup ($0.99 each)

* Fill the cup with paper crinkle (I used Ms. Bree's favorite color, "Purple") ($2.99 Medium Size Bag)
* Place your favors, we used the following:  


  • Clip
  • Maze Puzzle
  • Prism Viewer
  • Wand
  • Heart Bracelet
  • Bead Necklace
  • Box of 4 Crayons
  • Mini Princess Pen
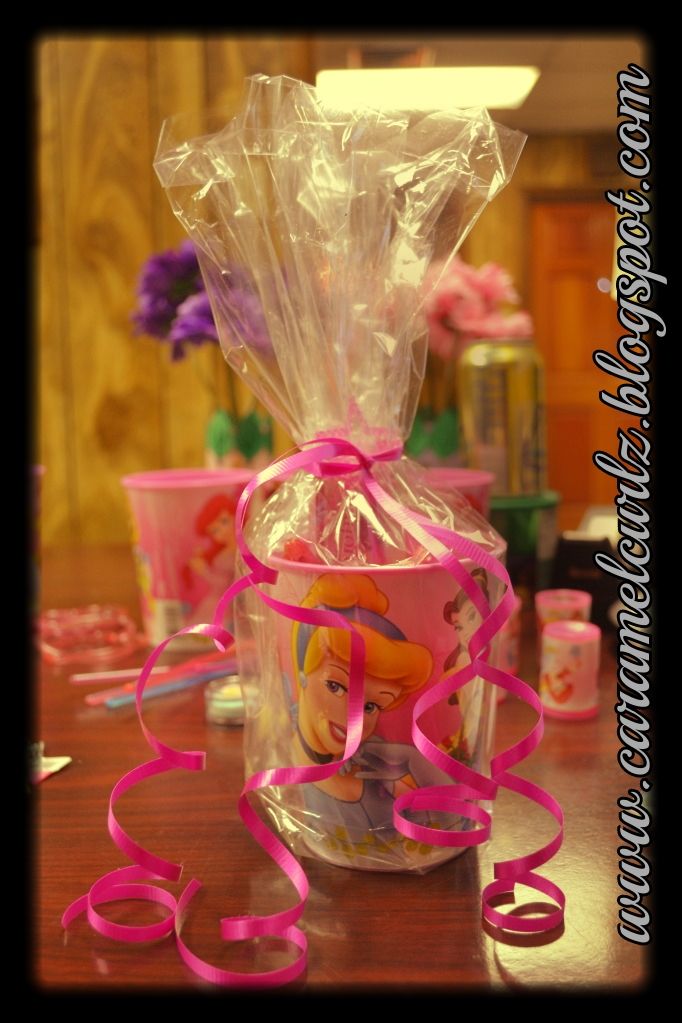
* Slip the cup inside a clear bag ($4.99 for 16 bags)
* Tie shut with curling ribbon. (I used the color pink- $1.99)


Simple and perfect, very worthy for the little princesses! 


The Princess Pinata:


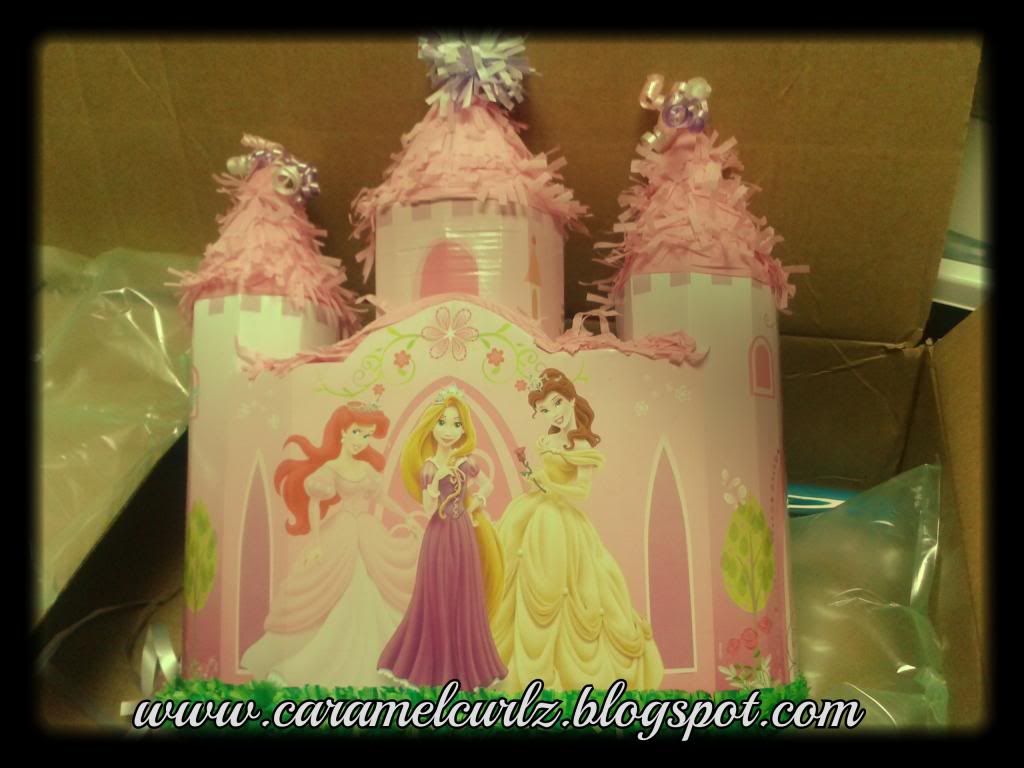
I actually bought this from Party City Online.  You can find different styles and sizes at the store but they didn't have this specific style.   What I liked about it was the fact that she can pull the strings to release the candy instead of hitting it with a stick.   Although I did purchased the stick and blindfold.


Price:  I paid $19.99 plus tax and shipping/handling.  But you can also find something similar at Toys R Us as well.

Description:

This Disney Princess Castle Pinata features a sweet pink castle with 3 turrets, a pink tissue roof and the Disney Princesses waiting on the lawn. With a pull string pinata, there is no hitting. Just take turns pulling ribbons on the pinata until one ribbon opens the hidden door and releases its contents. Fill Castle Pinata with candy or favors (sold separately) for a fun party activity or simply use the pinata as decoration. Disney Princess Castle Pinata measures 16in wide x 17in tall.


The Music:


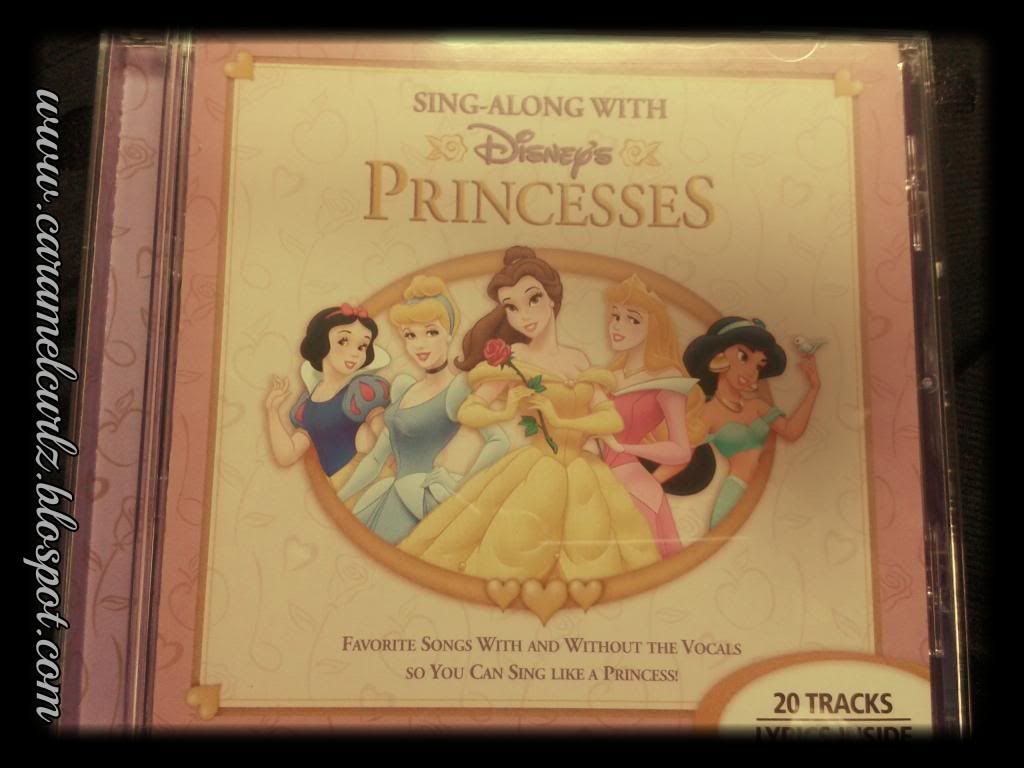
As some of you may know, my daughter loves to sing and dance along and she has most if not all the Disney Princesses Sing Along DVDs! 

Therefore, I thought..why  not make this memory even more enchanted for her by playing all her favorite music in the background??  

This CD can only be purchased online for $9.99 and includes all of her favorite songs like:

  1. Reflection
  2. Part of Your World
  3. Just Around the Riverbend
  4. Colors of the Wind
  5. Beauty and the Beast
  6. A Dream Is a Wish Your Heart Makes
  7. Once Upon a Dream
  8. So This Is Love
  9. Candle on the Water
  10. I Won't Say (I'm in Love)

The other 10 tracks are actually just musical version of every song mentioned above and the kids can sing their solo!


The Flowers:

Step 1:

2 Green Floral Foam  ($2.99 for a pack of 2).  You can purchase these at any crafting store and Walmart.  


Step 2:

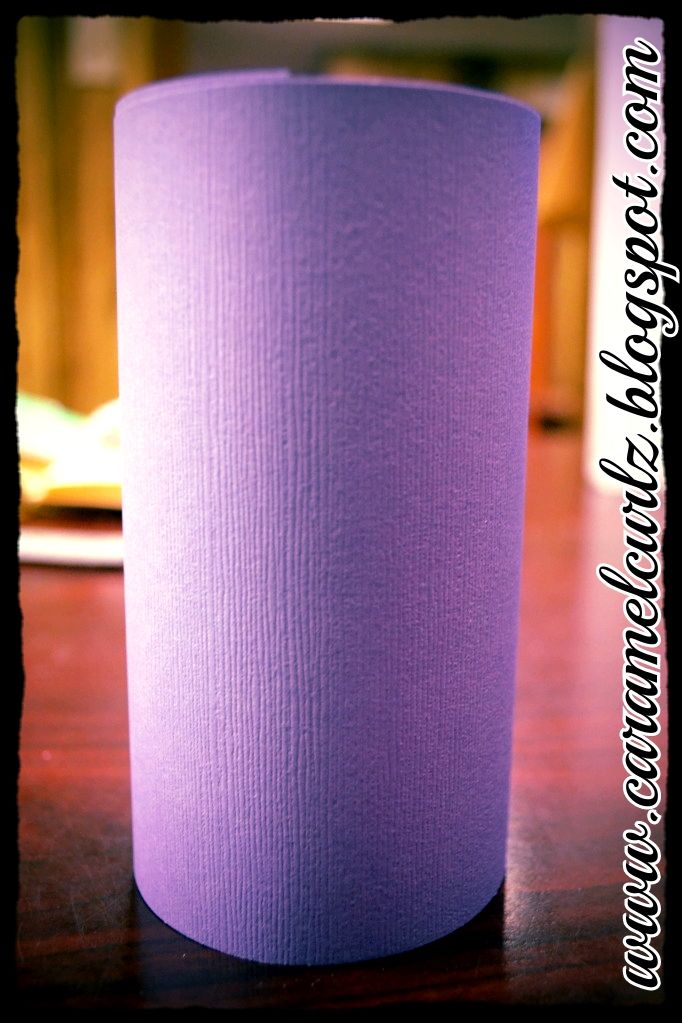
Using construction paper, wrapped around the foam.  Make sure its completely covered.  Don't worry about covering the bottom of it, but if it bothers you that much, you can cover the bottom as well.

I use purple and pink paper ($0.99 each sheet)


Step 3:

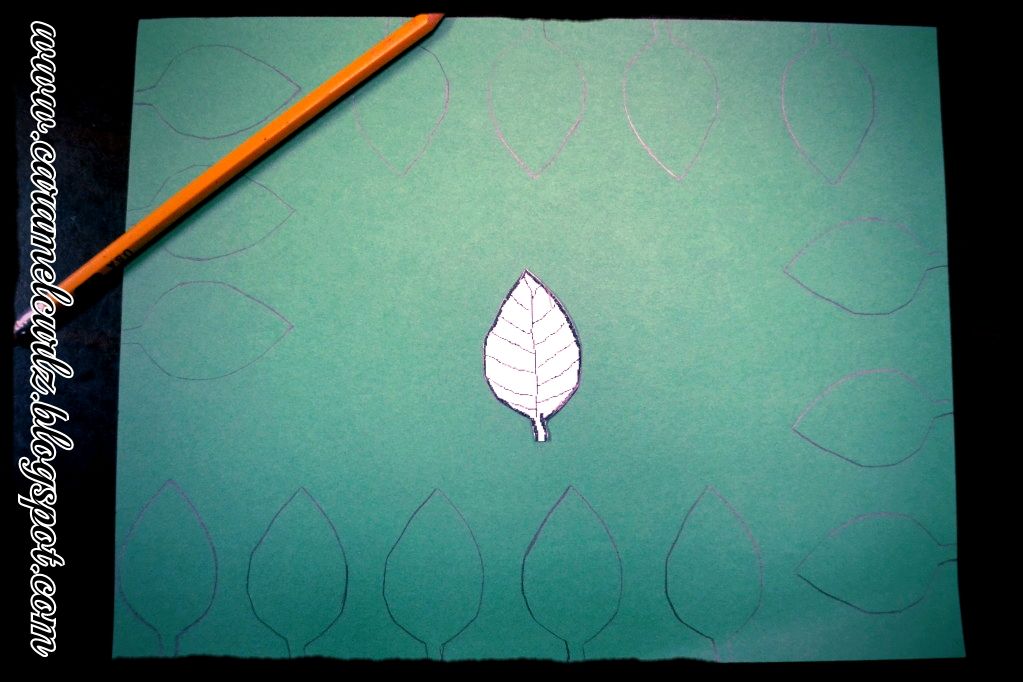
Draw leaves pattern all over the green construction paper.  You can draw the leaves as big or as small as you'll like. 


Step 4:  Cut the leaves out;

Step 5:  Using your glue gun (or any type of glue) glue the leaves all around the top edge or you can glue them as together or as far from each other as you'll like.

Step 6:   Place the gem stone stickers at the bottom of each leaf. 

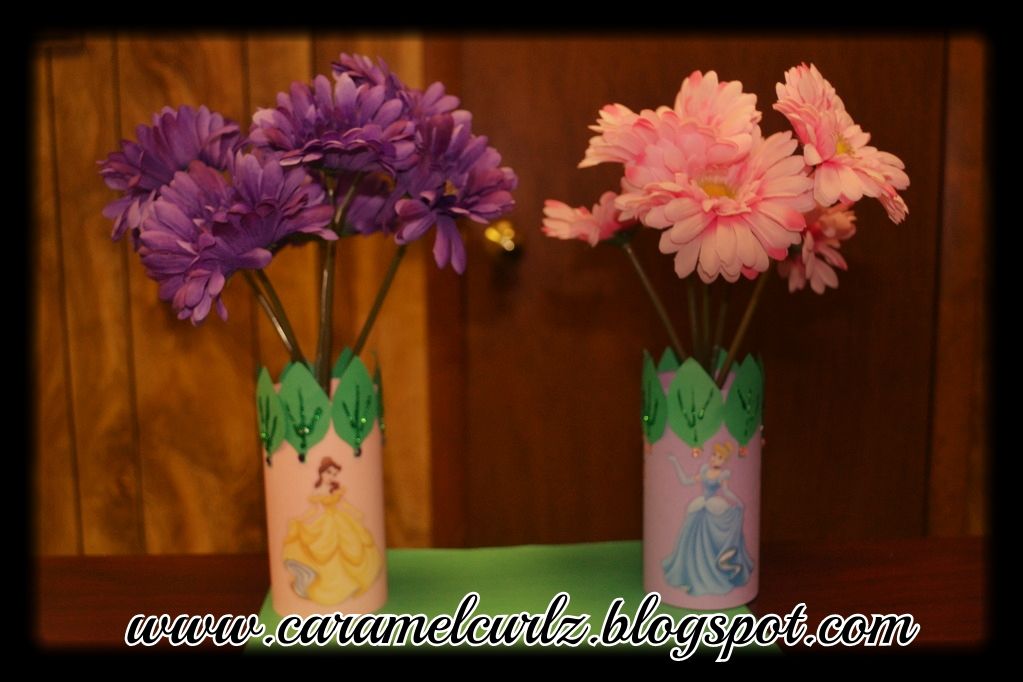
Step 7:  Place the stickers of your favorite princess below the leaves.  

Step 8:  Using glitter glue, draw fun patterns within each leaf.  NOTE:  this step should be the last thing you do, the glitter glue takes approximately an hour to dry depending on the amount you use.

THESE ARE THE RESULTS: 


These are just some of the items I have done so far.  As I said before I am doing a lot of the decorations myself as well as the food and the Royal Castle Cake.  

I will be posting the second part of this post hopefully three days after her birthday bash which is set for February 16th! 

Don't forget to follow us:

Facebook: http://www.facebook.com/CaramelCurlzNSwirls?
Twitter: https://twitter.com/CurlzNSwirls
Instagram: caramelcurlznswirls

Saturday, January 5, 2013

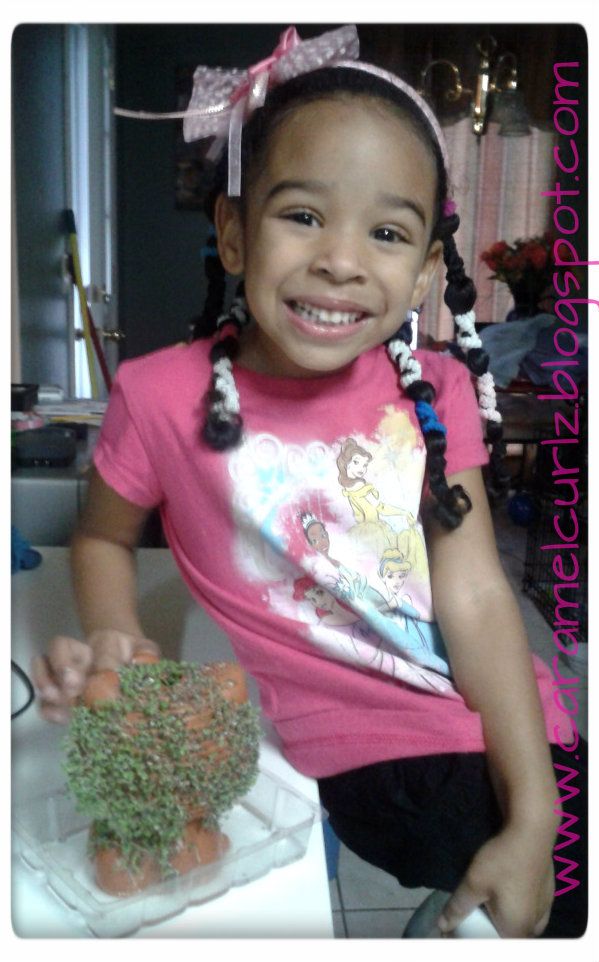
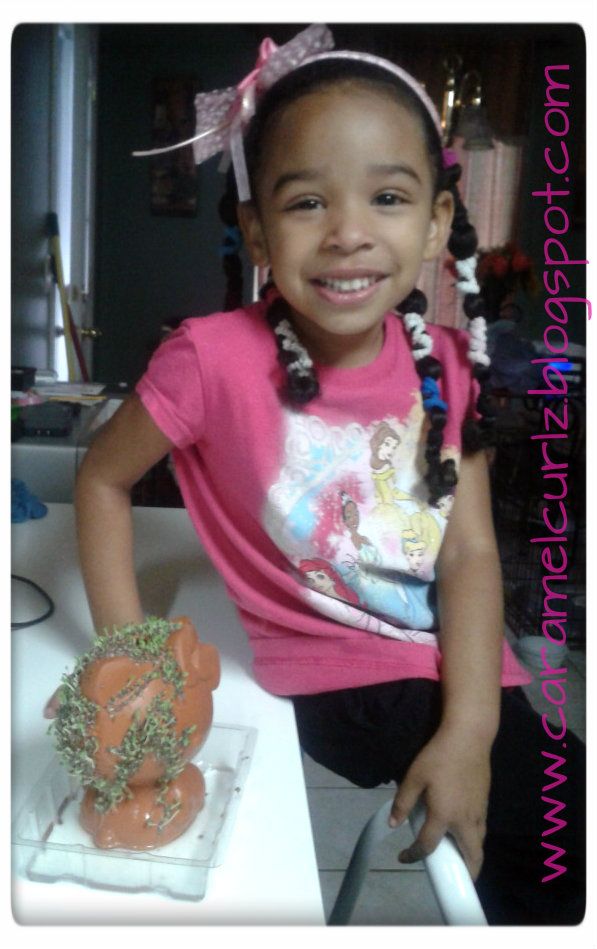
Hello Kitty & Scooby Doo Chia Pet Projects

These were another amazing Christmas gifts my children received from their Dad!!

They first saw the Chia Pet commercials a few days before Christmas and they went crazy about them. My husband and I decided that it would be something different and fun to give them.  

Although, you can find the different designs at any Walgreens, Kmart, Rite Aids and most CVS Pharmacies, I waited too long to buy them and couldn't find any of them at any store.

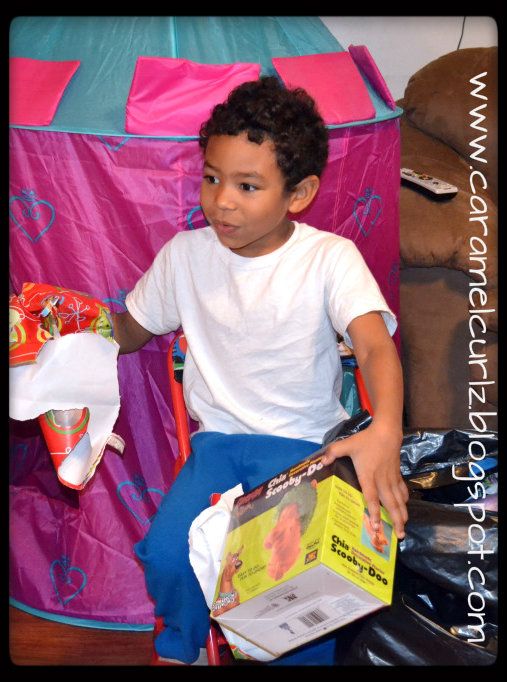
But my husband DID FIND THEM and he truly surprised the children (and me) on Christmas Day.  Unfortunately, he couldn't find the Spongebob Squarepants Chia Pet but he was able to find Scooby Doo and little man was more than happy to get it.

Ms. Bree's Chia Pet:

You can also purchase it here:  Hello Kitty Chia Pet


" Day 6 "

Back View:                                             Side View:


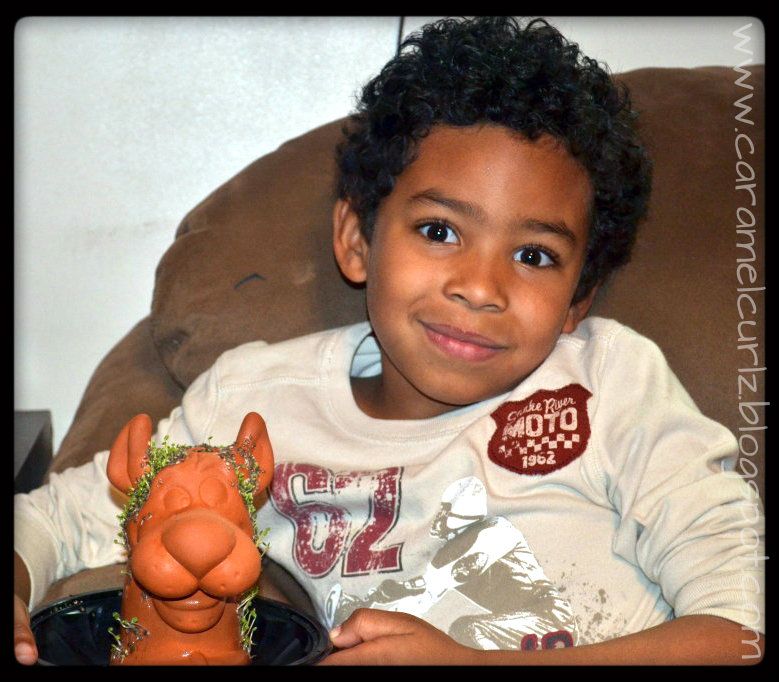
Little Man's Chia Pet:


You can also purchase here: Scooby Doo Chia Pet

" Day 6 "
   
Back View

Front View


This is something that can be done as a family activity and its very easy to do.  

Both Chia planters had to soak for an hour (while others require to soak overnight), which is the same amount of time required for the seed mixture to thicken.  

While the planters were soaking I mixed the seeds with the required amount of water and had the kids stirred the mixture every 15 ms until it was thick.

You can either let the kids use their fingers or a plastic spoon to spread the seed mixture onto the Chia planter.  Ms. Bree used one of her knives from her kitchen while little man used his fingers....eek!

This is another way to teach the kids "responsibility".  (BIG PLUS FOR ME)

The Chia planters need to be kept full of water, which means the kids need to add water every day.  

Little Man reminds his sister every day (usually after dinner) that the "Chi Chi Pet needs to drink water", and he helps her add water to the planter.

We are now in Day 6 and you can clearly see how the seeds are starting to grow.  

Now, I will say that Ms. Bree's Hello Kitty Chia Pet held the seeds better than my son's Scooby Doo.  I am not sure as to why but we will do this again when the time comes and hope for better results.  

I will probably get the Spongebob Squarepants at a later time for my little man.

Overall this is a fun activity for kids of all ages.