
There are many opinions
and/or suggestions for the process of detangling curly hair.
We must admit that when
we were younger and our mother's used to detangle our hair was a
painful experience. Mine
was a very painful experience mainly because of the amount of curls and hair I
used to have. My mother's way of
detangling my hair was with a brush and it was done while my hair was dry which
added to the pain.
The more curls or waves
the hair has, the more painful and difficult the detangling process can be if
done improperly. Based on those painful
experiences I was determined to do better and find a detangling process
for my daughter's curls that would not be painful.
How do you detangle the hair
and what tools would you need? That all depends on the type of curls the hair
has, that is why I always tell everyone, the first step to take is to determine the type of hair you are working
with. (You can determine your child's hair type
by visiting our "Identifying the Curlz" tab or by clicking here
Once you have determined the hair type you are working with, the next step is to have plenty of time to do the detangling process. This is something you should not rush through since this is one of the most important steps that is needed in order to promote or maintain the length of the hair. This is also an important step in keeping your child's hair healthy.
While some parents prefer
to do the detangling process when the hair is wet, some actually do it while
the hair is dry. It is a highly
discussed subject with many different opinions.
It has been my experience
that detangling my daughter's hair while it's dry was a nightmare. Not just for me but also for her because it
involved a lot of pulling and pain. We all know
that forcing a tangle or knot out of the hair can cause breakage and it further
damages the hair, it can also cause loss of hair and other hair issues.
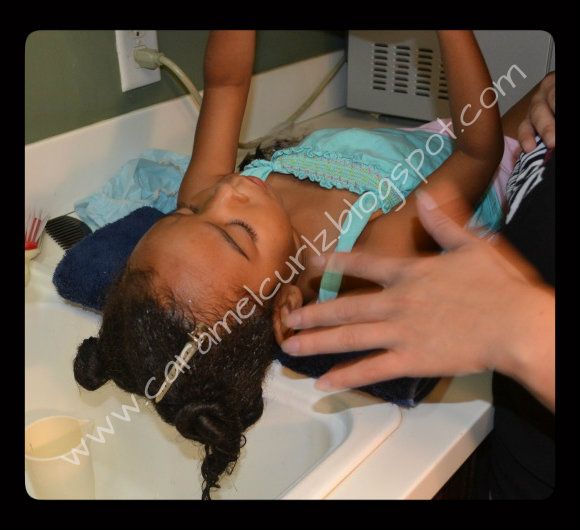
When my daughter's hair is wet and
full of conditioner or moisturizer, the tangles and knots comes undone easier.
OUR DETANGLING PROCESS
Step 1: Once you have washed the hair, divide the hair into four or more sections, smaller sections are easier to manage. I do not recommend that you try to detangle all the hair at once because, it will cause unnecessary breaking and pain. (Also, if you grab all the hair and try to detangle all at once, you may only detangle the hair on top and not the one in between or the bottom.)
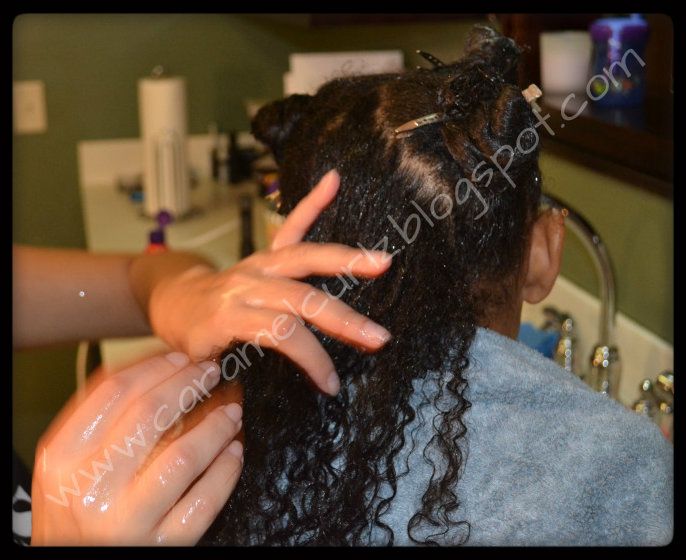
Step 2: I begin by
working with the bottom sections. I
then apply plenty of conditioner and run my fingers through her hair and
concentrate on the knots and tangles I come across. Once that section is completely detangle, I
run a wide tooth comb (detangler comb) to make sure I didn’t miss any knots or
tangles.

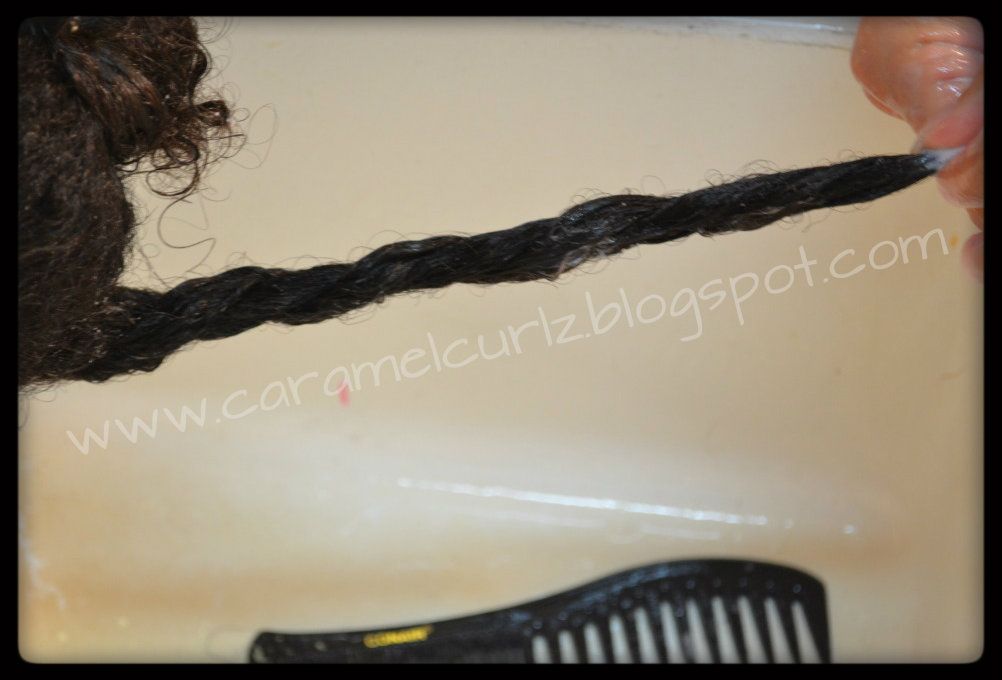
Then I place each section in a twist, it could be 2 "jumbo" twists or small twists, this will prevent the hair from getting tangled again.
Then I place each section in a twist, it could be 2 "jumbo" twists or small twists, this will prevent the hair from getting tangled again.
Step 3: I repeat the above process on all sections.
Step 4: I do not undo the twist to rinse out the conditioner. I lightly rinse the hair out since my daughter's hair needs all the moisture it can get. It is important to remember that curly hair is generally drier and moisturizer always helps to prevent the hair from breaking.
Step 5: Once I finish rinsing out her hair, it is
either ready for styling or "banding" to prevent the hair from becoming tangled again.
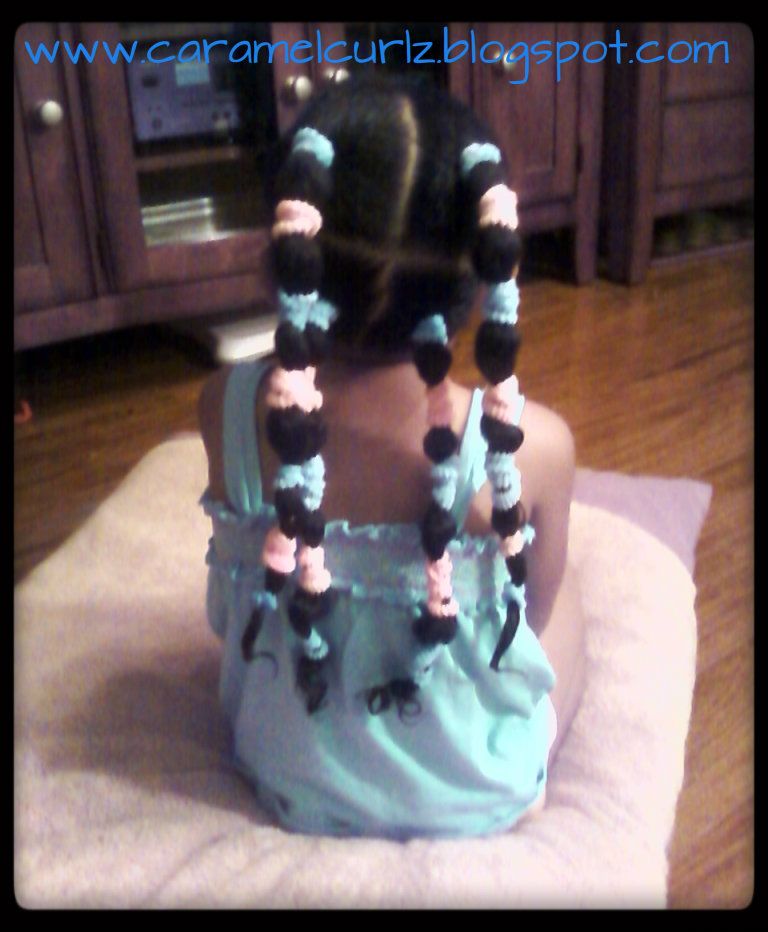
If I'm not ready to style Ms. Bree's hair, I undo her twist then add Bee Mine Luscious Moisturizer with Argan Oil and place into six or four pony tails and band each pony tail in order to style it the next day or so.
If I'm not ready to style Ms. Bree's hair, I undo her twist then add Bee Mine Luscious Moisturizer with Argan Oil and place into six or four pony tails and band each pony tail in order to style it the next day or so.

Tools always at hand:
 * Alligator Clips
 *Detangler Comb (Wide tooth brush comb)
 * Alligator Clips
No comments:
Post a Comment