Showing posts with label Bows and Barrettes. Show all posts

Monday, July 1, 2013

Small Business Spotlight: SNAPAHOLICS


1. What is your name and the name of your Business?
Kathleen Johnson and the name of my business is "Snapaholics"


2. Where is your business located?
Online business based out of Salt Lake City Utah


3. Business' Website:

4. Are you the owner? 
Yes, I am the new owner.  I purchased it from the previous owner a few months ago.

5.  Briefly tell us about your business:  
Snapaholics is an online store selling hair accessories mostly geared for kids but we have things for adults too.  We provide hair beads, beading tools, hair snaps, hair barrettes, and ballies for kids at great prices.  We specialize in hard-to-find bling!  We also have styling tools, satin pillow cases, and sleep caps.  We have a page featuring hair styling videos as well.  


6.  How did you come to be in this line of work?  
When I adopted my oldest daughter she was almost 4 and had tons of hair.  I had to quickly learn everything I could about taking care of and styling African American hair.  What a fun adventure that has been.  She is almost 10 now and I have learned so much along the way.  We also now have a 3 year old, so I have 2 gorgeous girls whose hair I enjoy styling and caring for.  


In my area, it is hard to find hair accessories and hair products geared towards african american hair so it has always been a struggle to get the right things for them.  So, when Snapaholics became available to purchase it seemed like the perfect fit for me.  I can continue to stay home with my cute girls, have my own business, and offer a product that I know is needed in areas like mine.

7. How long have you been doing this?  
I purchased Snapaholics just a few short months ago.  However, Snapaholics was run by the previous owner for several years.


8. Who would benefit from your product?  
Anyone can benefit from our products.  We have items that are geared towards younger girls but we also have items that older girls and tweens would like.  We also have items adults can use.  We are adding items weekly so we are trying to get a little of something for everyone.  Soon, we will have a bigger variety of sleep caps and we will have some designs for boys as well.


9. How can our fans place their order or contact you?  
You can email Snapaholics atinfo@snapaholics.com  You can order anytime from the website www.snapaholics.com


10. Any current specials or event you want to share with our fans? 

We would like to offer 15% off for your readers.  Enter promo code caramel15 when you check out.  It is good for the next 2 weeks! (Good from July 1st thru July 14th)


Monday, October 8, 2012

Back to Basics!

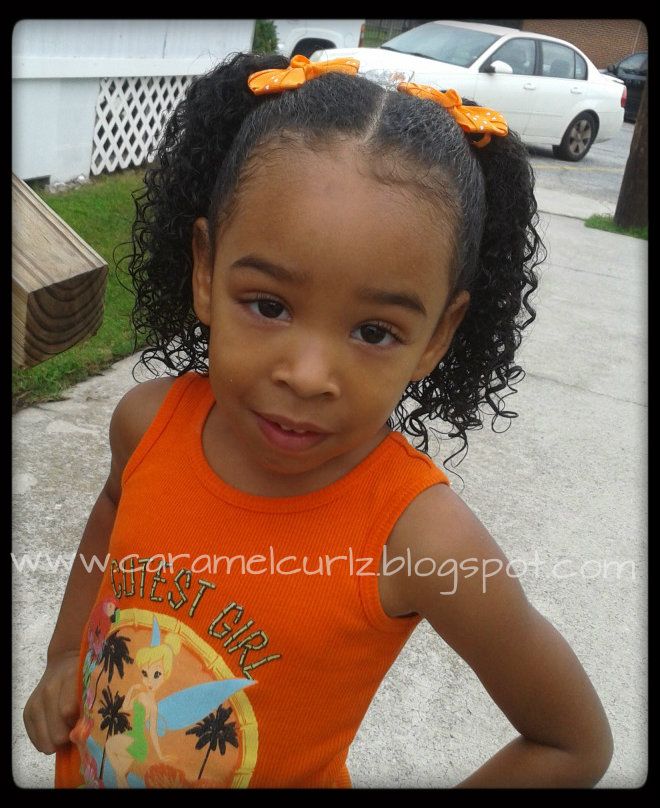
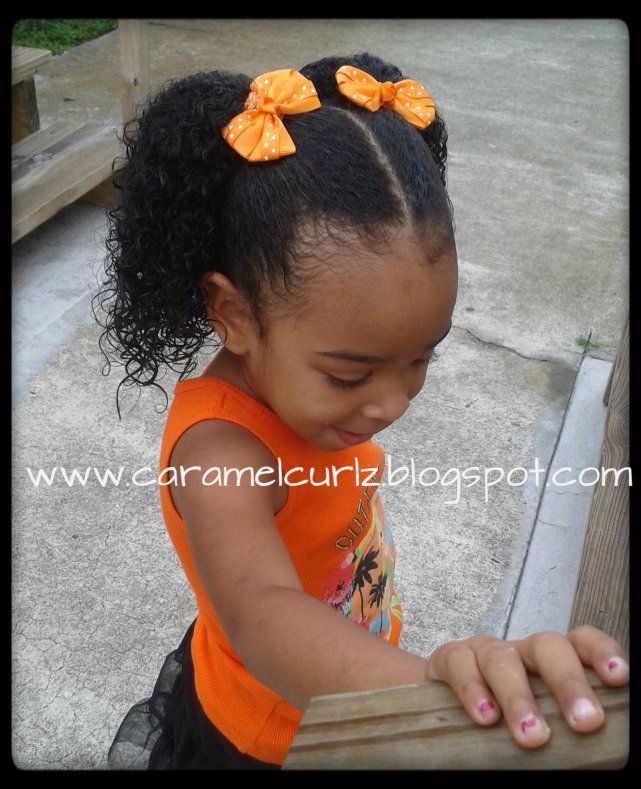
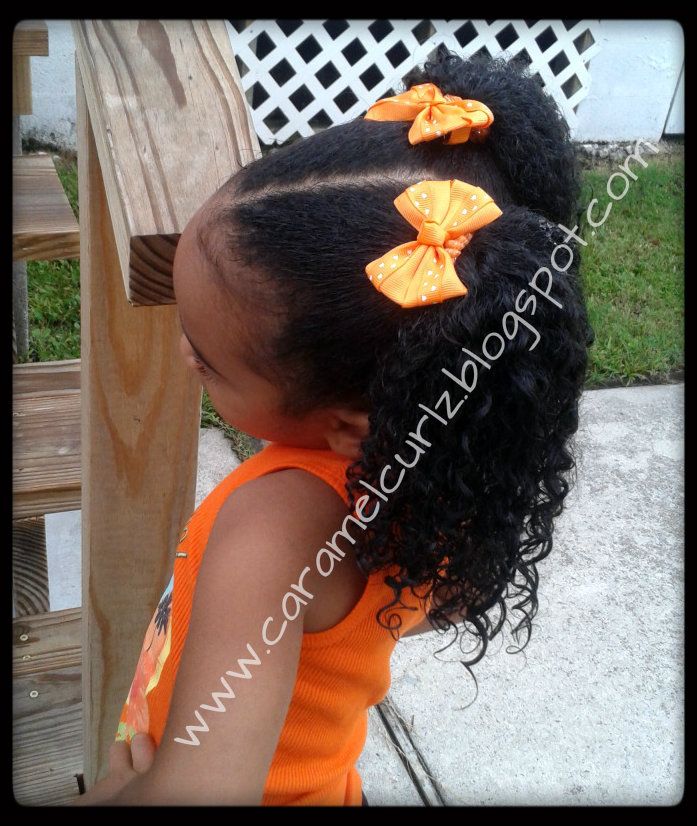
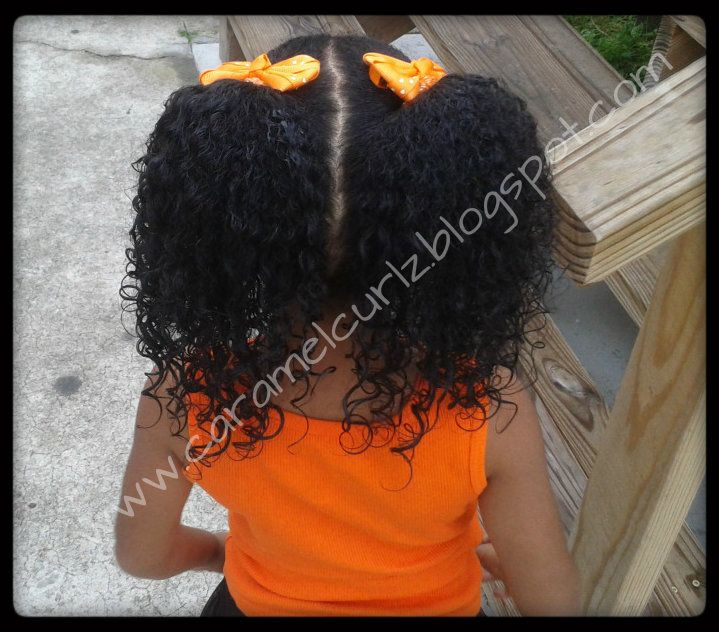
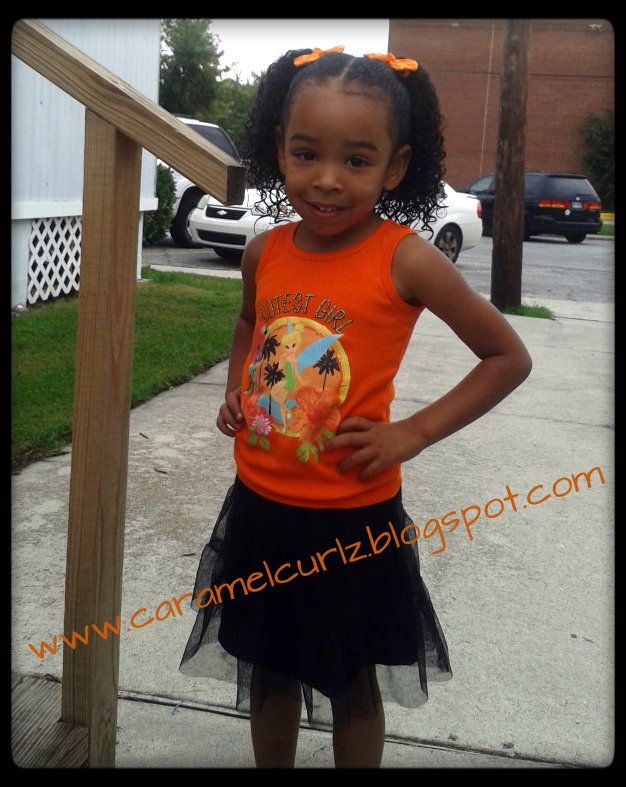
Yes, we have gone back to basics!! And there is absolutely nothing wrong with that!  These are last weeks hairstyles. 

Sometimes the hair is not the only thing or should I say  the only one who deserves a break.  Yes, I am referring to "us" the mommies!  A very detail hairstyle can take approximately two to four hours depending on the length of the hair and sometimes it can take longer if you have to wash the hair.  

That's a very long time, imagine how difficult can it be for a three year old to sit still.  We have invented many ways to keep the little ones busy while we do their hair (i. e. leapsters, cell phones, tv, dvds, tablets, etc.), but by the time you are done styling those gorgeous curls they are as exhausted as you are.  Well, they may not be but you get the idea. You are tired! 

We are preparing to put all of our Halloween Decorations out and after six years of adding a skeleton here, a smoker over there...well, we have a lot of decorations to put out! 

So with that, I decided to go back, way back to my basics.  2 Pony Tails!!


DAY 1 (Wednesday)


1.  After co-washing Ms. Bree's Hair, I sectioned the hair in two.  

2.  I added Bee Mine Luscious Moisturizer and made sure it was completely detangled.

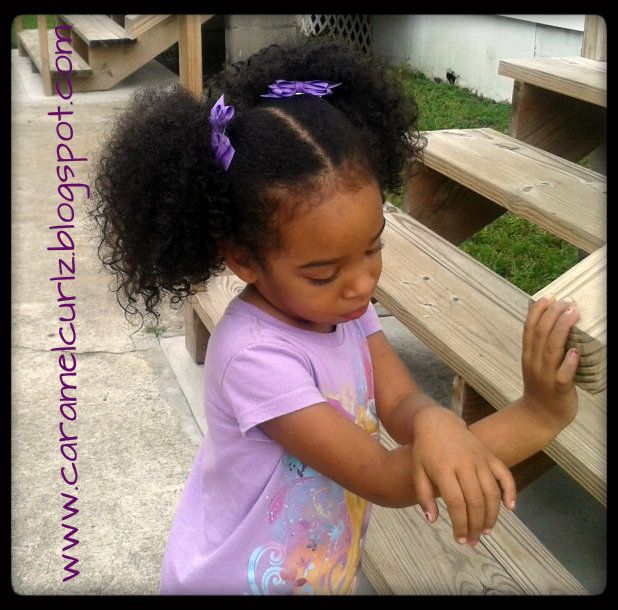
3.  I used the medium size- goody's ouchless bands.  As you can see, the hair is not tight, I only wrapped the band about 2 or 3 times around.


3.   I used 2 barrettes (with alligator clip) to accessories the pony tails.


4.  Carefully and by using my fingers only, I added a dab of Bee Mine Curly Butter on the pony tails and these were the results.  Perfectly defined curls!! 


Ms. Bree is a very active little girl, and I may have to retouch her hair every morning but not more than 15-20 minutes.  


AT NIGHT:  I take off all accessories including the band and massage her scalp carefully and without touching the curls too much.  Put her satin cap on and off to bed.


DAY 2 (Thursday):

In the morning, I spray a little bit of water with Argan oil on the front, then add a little bit of Bee Mine Moisturizer and re-do the pony tails again. *There was no need to section the hair because the center line was still there.*

I spray a bit of water and Argan Oil on the ends then add Bee Mine Moisturizer as well.  I made sure that all ends were not extremely dry or frizzy.

Below is a picture of Ms. Bree on the second day of wearing her pony tails.  This was taken when I picked her up from school in the afternoon.  She was outside playing in the sand the better part of the afternoon.


After wearing her pony tails for two days I noticed her ends were getting a little bit dry and it was time to moisturize the hair thoroughly and braid it.

Now this really takes me back to some of my firsts hairdos... ha~

THE NIGHT BEFORE: 

1.  before she went to bed, I took off all accessories and band, co-washed it with only conditioner.

2. After a good rinsing, I applied Bee Mine Luscious Mositurizer and made sure it was detangled.

3.  Again, section the hair in to two sections (left and right) and banded the hair.


DAY 3 (FRIDAY):

MORNING:

1.  re did the two pony tails;

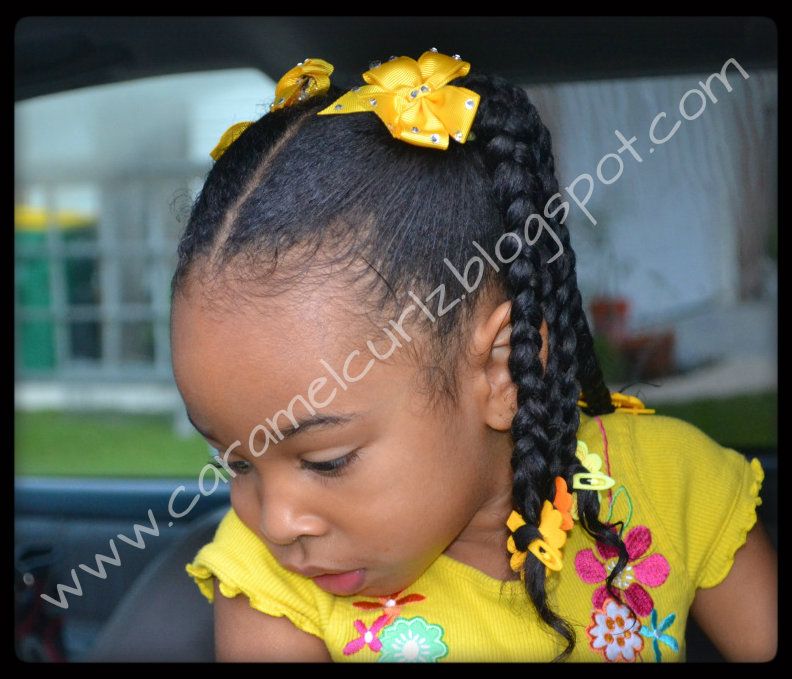
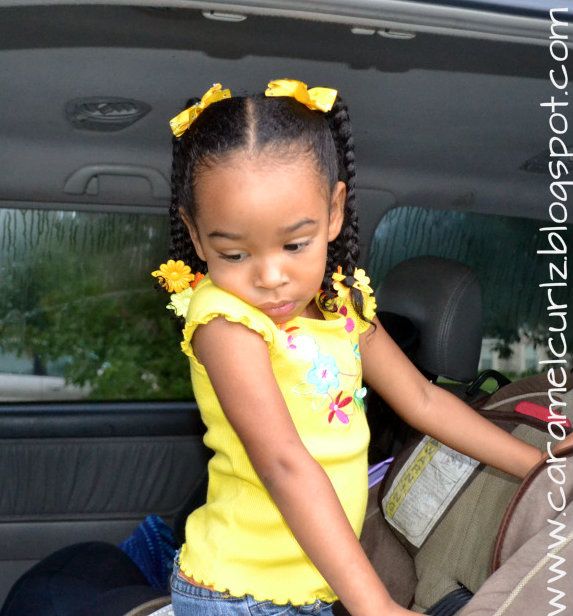
2. Each pony tail has 4 braids.

3. I used the basic plastic barrettes at the end of each braid.


 A BLAST FROM THE PAST! 

Our firsts pony Tails
July 2009


December 2009


Spring 2010


Summer 2010


Fall 2010


Tuesday, October 2, 2012

The "Bun" Style

I'm sorry I have been "MIA" for the last few days but we were celebrating my son's 6th birthday!  And of course, it got a little bit busy but it was a lot FUN! 

I thought about covering all three styles in one post but you'll probably get tired of reading.  

I will also be posting the steps by steps instructions soon, so make sure you visit our "Step by Step Instruction Page".

The Bun!

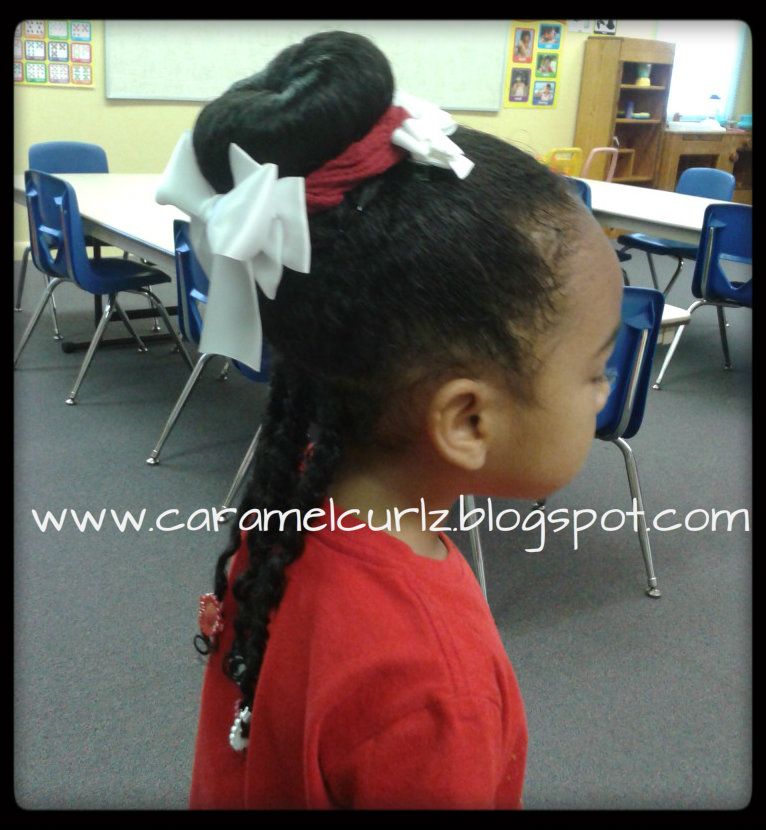
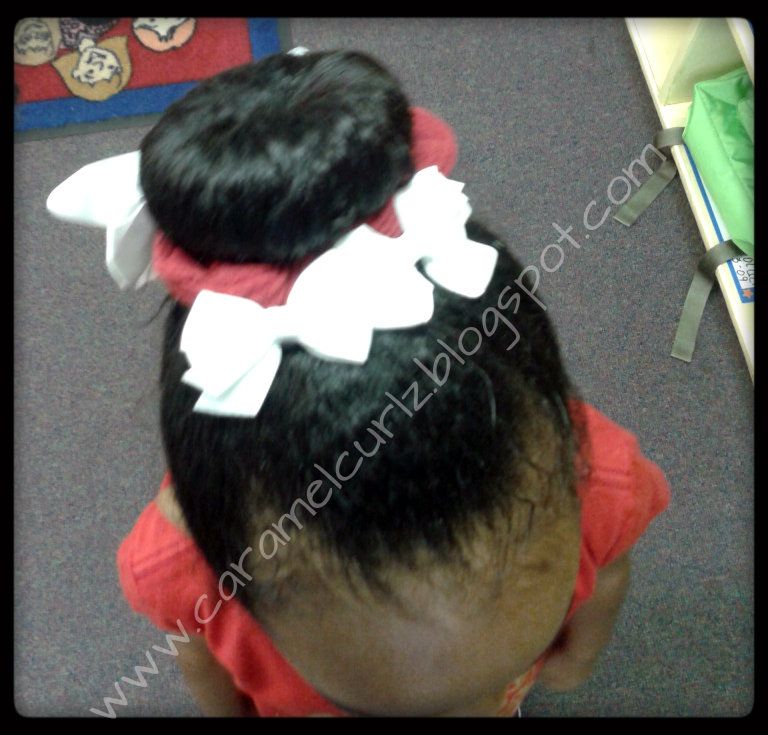
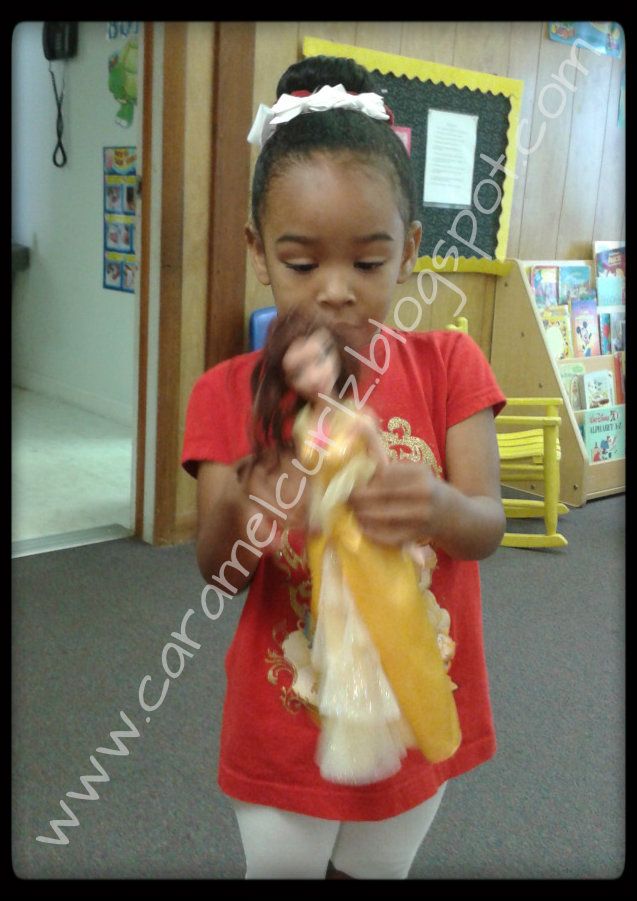
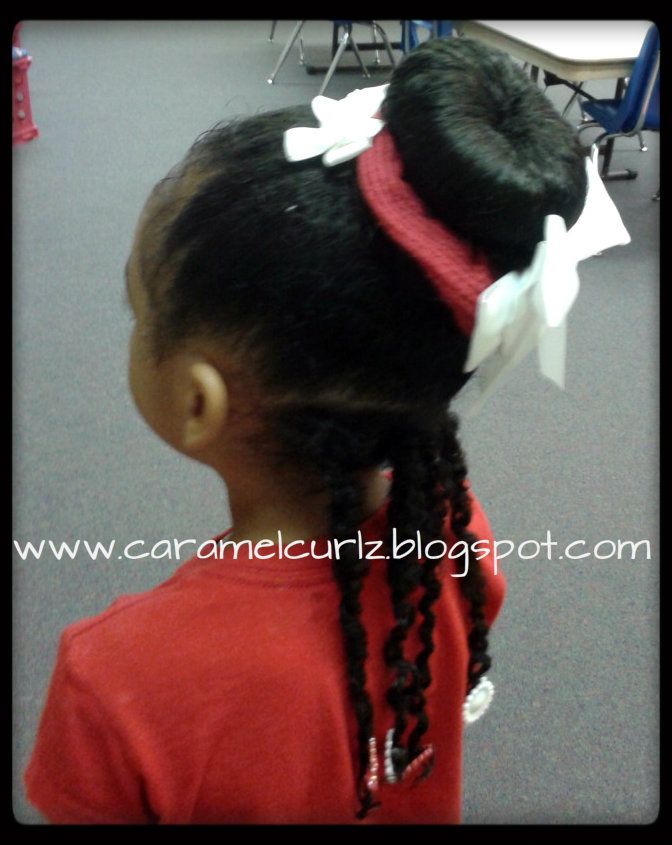
This is Ms. Bree's hairstyle from last Friday! 

I have to admit that I am very proud of myself for doing this style in less than forty five minutes and right before heading to school! That is a big + in my book.

This style is a very simple style to accomplish as long as you have the following tools:

1. A foam in the shape of a "doughnut" or you can use a sock;  I found this at the local hair store for $0.99! 

NOTE: IF you decide to use a sock, I would recommend using a soft fabric sock and try for a very similar color of  your hair.


2.  Bobby Pins;

3. 2 bands (not rubber bands), but the cloth covered bands.


1. I made sure her hair was detangled;

2. Using a rat tail comb I parted her hair from ear to ear; (you can choose the amount of hair you want to use to do the bun)

3.  I collected all the hair from the top section and secured it into a pony tail by using Goody's cloth covered band;

4. Once the hair was completely secured into the pony tail, I put the hair (from the pony tail) through the foam doughnut.

5.  With the help of a comb, smooth the hair over the foam doughnut, try to cover the doughnut as much as possible.

6.  Once you have smoothed the hair down, hold it and apply another band over it.  You will now have all the ends out.

7.  Try to tuck the ends under the bun as much as possible.  Since Ms. Bree's hair is long I gather all the lose hair and carefully brought the hair to the back of the bun, then divided the hair in half, twisted the left side and brought under to the right side of the Bun, then I twisted the right half and brought it under to the left side of the bun.  

I used about 4 bobby pins to secure the hair in place. 


8.  Then I used a "scrunchy" matching her outfit and placed it over the Bun.  

AND YOU ARE DONE WITH THE BUN!


We used a big white bow, and a small size Hair Bow Clips to accessorize the bun.

9.  On the bottom section I created four small 2 strand twists.