Below you will see two charts that I believe will make things easier on most of us.
Identifying the curl pattern can be overwhelming and it can be confusing. Our dear friend from Kandy Land Kurls found this amazing and easy to read chart.
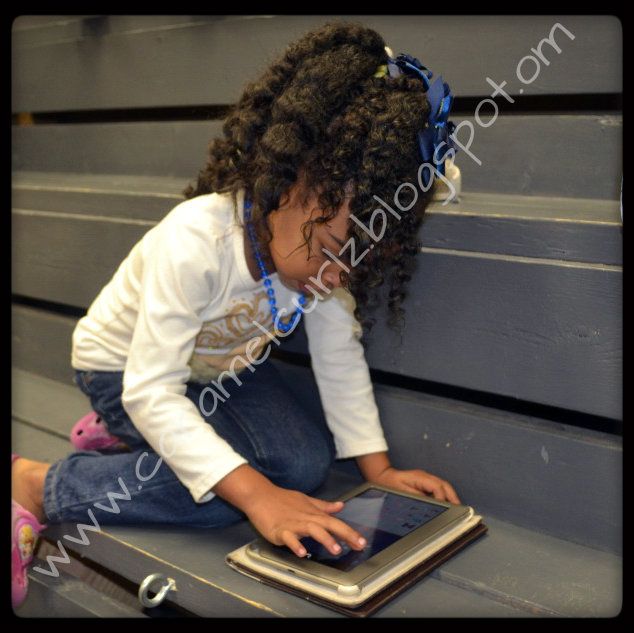
Ms. Bree has a combination of curls but most of them are 3C and doing the LOC method works for her at all times.
 I also found this Curly Hair Growth Chart on @Naturallycurly.com.
 Some of the most asked questions in the curly hair world are about hair growth and curl pattern.
These two charts will give you a better idea on how fast/how long curly hair should grow and instead of obsessing about the "curl pattern", what you really need to know about curly hair.
I think both charts are extremely helpful and I'm sure you will too!
The L.O.C. Method is a very simple method that helps retain moisture in your hair.
One of our favorite mama's has recently posted about this amazing method by further explaining the very simple three steps and the products you may want to use if you do decide that the LOC Method is for you.
I use the LOC method on Ms. Bree's hair since one of our greatest challenge is retaining moisture.
I use water as my liquid;
100% Virgin Coconut Oil as my oil;
and Bee Mine Luscious Moisturizer.
So, head over to www.kandylandkurls.blogspot.com to read more about this wonderful method!
2013 is here! Christmas and New Year's have passed and now we are trying to get back into our daily routines. While my husband went back to work on the 26th, I had the opportunity to stay home with the kids until January 1st.
Ms. Bree's first day back to school was January 2nd and Lil Man's first day back to school was January 3rd.
We were able to do a lot of special things with the kids this year and I am so glad my husband loves to capture these moments in pictures.
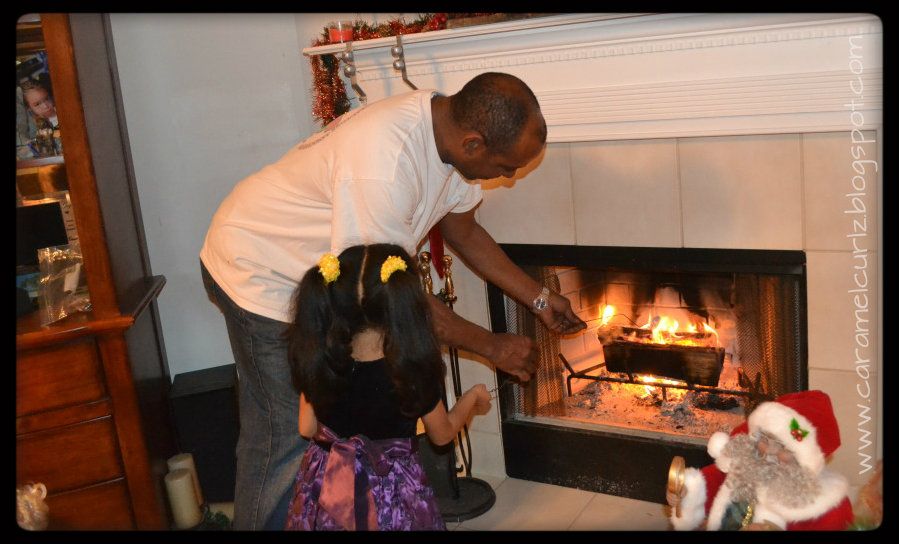
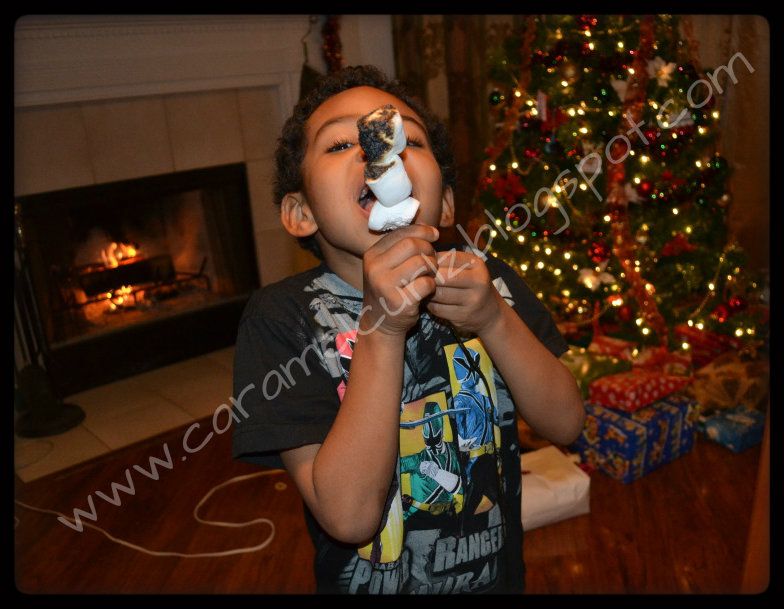
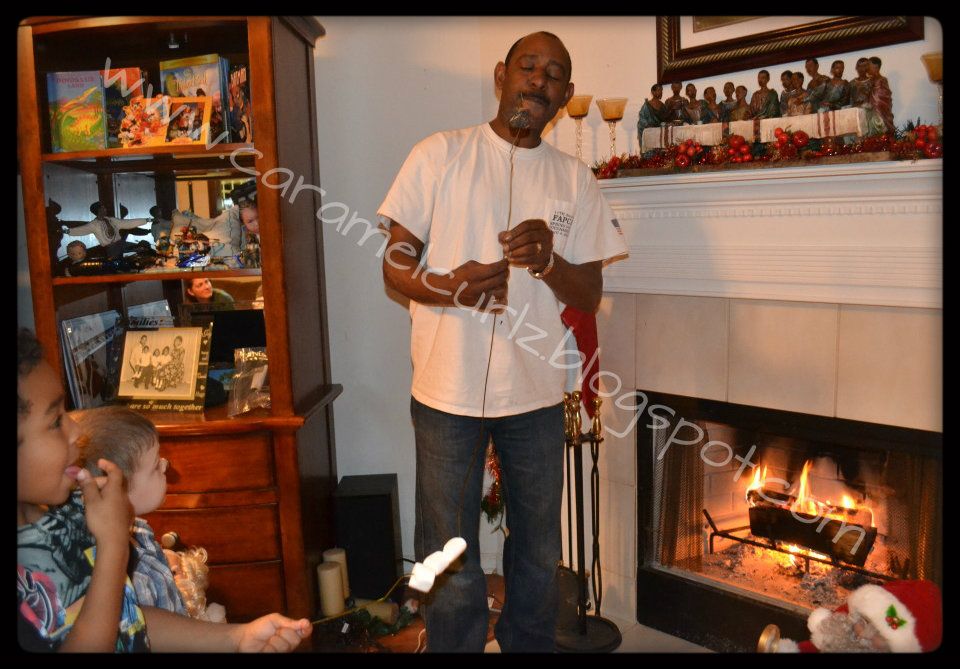
"Making Smores"- more like burning marshmallows!
Who doesn't like to make S'mores?? I think every child does, I personally never had one before and after this I will probably never will!
My son had the great idea of making some and my husband just went along with it.
After I had gathered all the necessary ingredients to make the infamous S'mores, the children decided they didn't need any cookies and/or chocolate.
Okay, so the kids really loved the idea but EUK! The mess and the taste .. enough said.. lets move on.
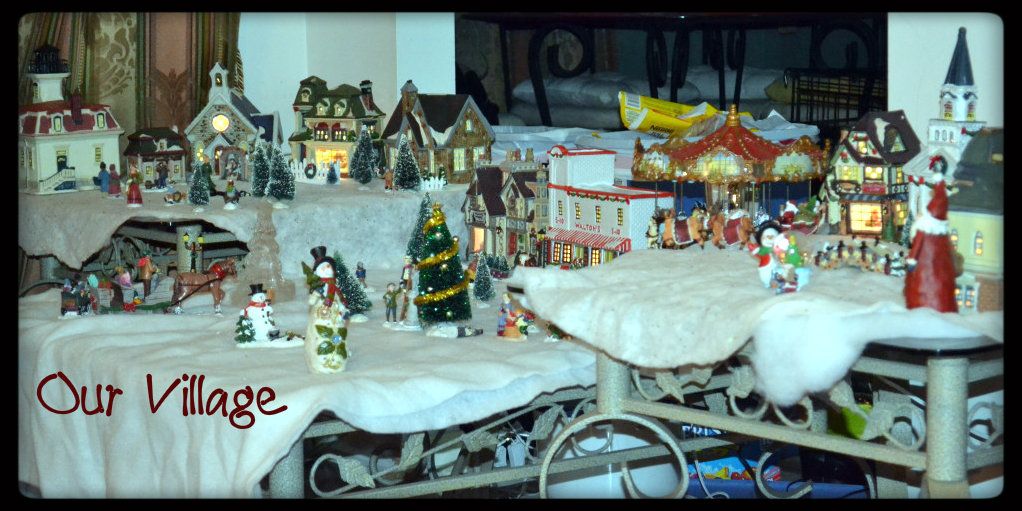
"Our Christmas Village"
The assembling of our "Christmas Village" is something I do with my children every year.
This can be fun but a headache is always guaranteed with this as well. Every year my husband buys me a house (or two) to add to my village and now I have a total of fourteen building (i.e. Churches, Lighthouse, Fire Station, Grocery Stores, etc.) a Musical Carousel, Trees of all sizes, people and all animals.
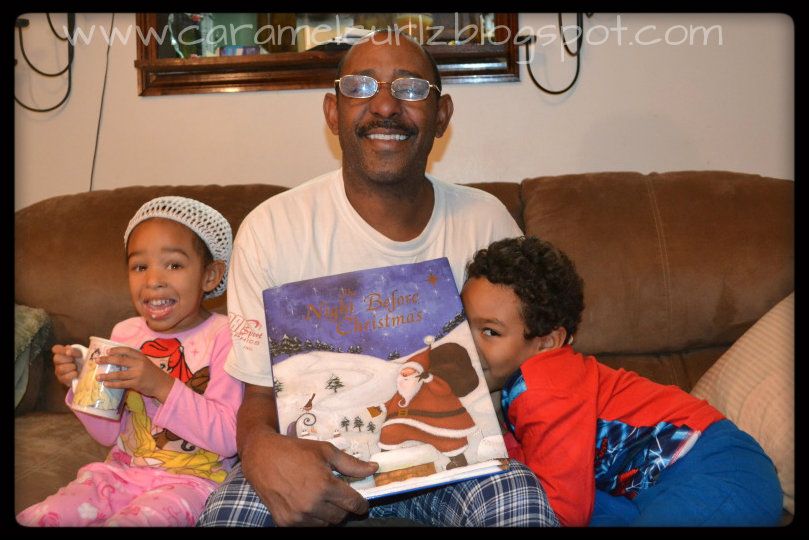
"The Night Before Christmas"
The reading of "The Night Before Christmas" is another tradition that we started a few years ago.
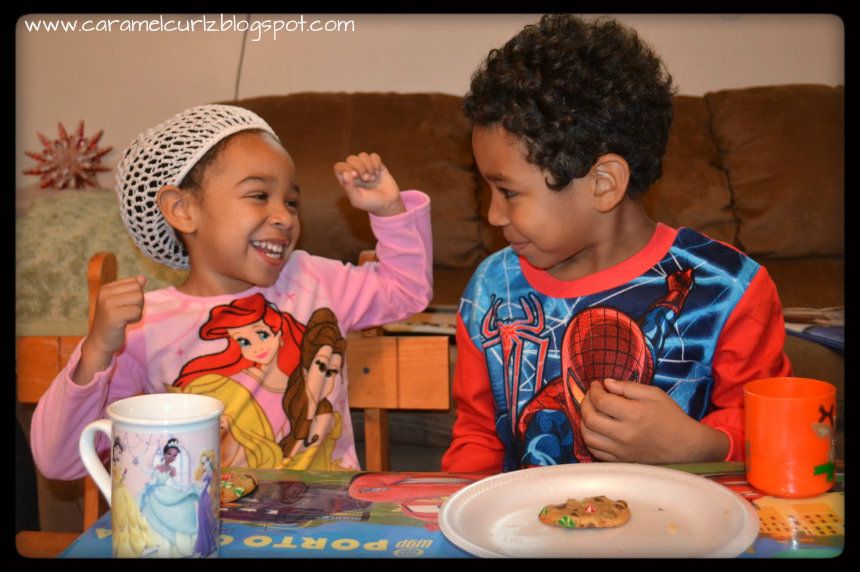
On this night each child gets to open one present (not a toy, we give the kids new pajamas with matching slippers and a book), we drink hot cocoa and eat cookies.
Little Man is now 6 years old and he knows exactly what kind of present he gets the night before Christmas and always looks forward to it.
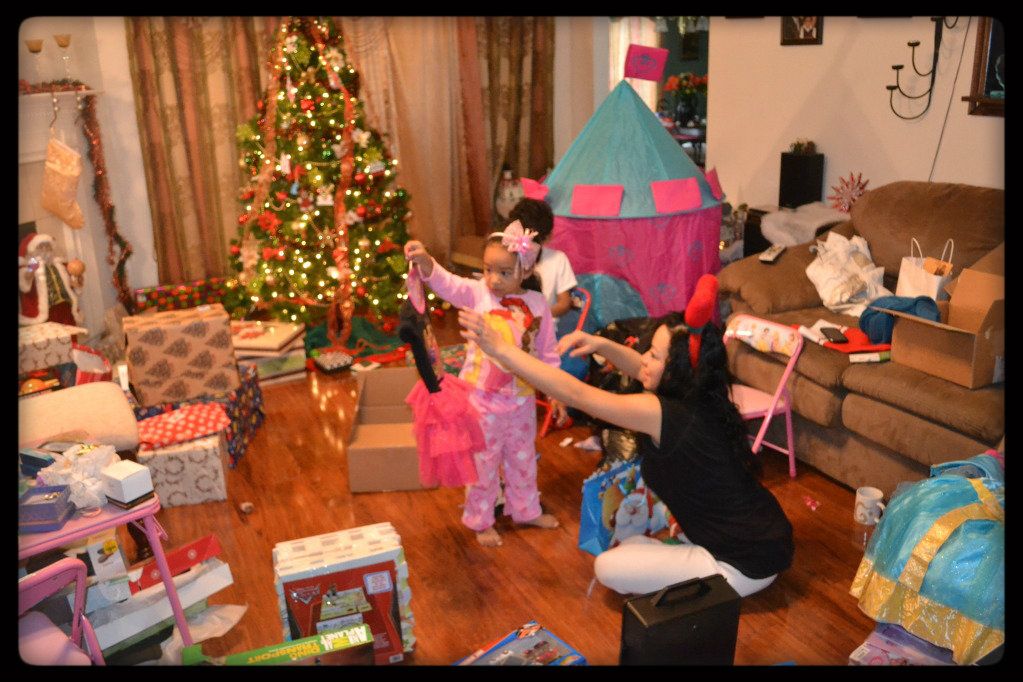
"The Presents"
"The Opening of Their Presents"
Or what I like to tall "the aftermath" (in my most dramatic voice). it took them approximately two hours and several "you can play with it later, open the next one"...to open all their gifts and there are no words for the mess afterward.
"Christmas Dinner"
This year we invited another family over to share Christmas Dinner with us so we set up the table a bit different from previous years.
The adult table:
and the children's table:
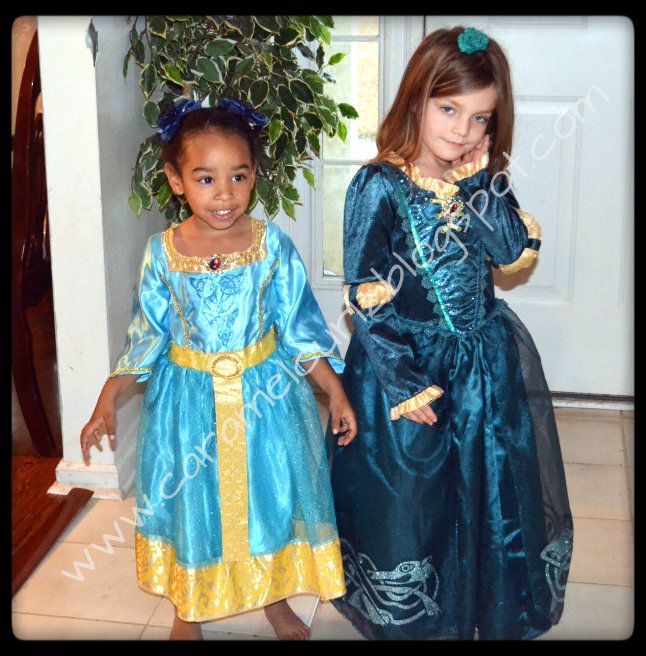
"The Outfits"
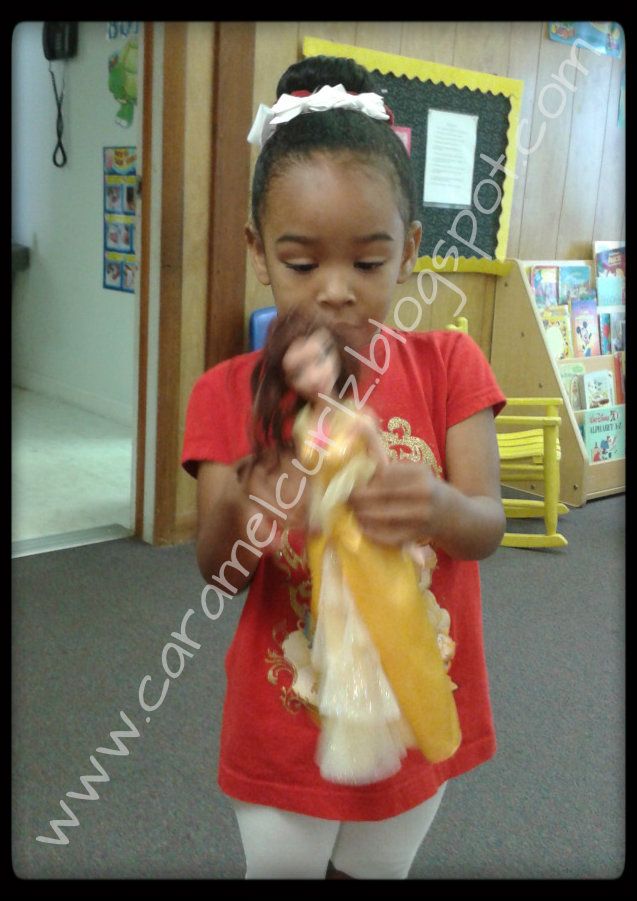
The girls decided to wear their new "Brave" dresses. While Ms. A. decided to wear her hair lose adorned by a single flower clip, Ms. Bree wanted two simple buns with a "zig-zag" parting. Simple right!
The boys ...well, they were too busy playing!
We truly enjoyed staying home with the kids for almost two weeks, but now it's time to get ready for our next big event, "Ms. Bree's 4th Birthday Party"!!
Don't forget to share all your amazing pictures with us!!
This is going to be a quick post.
This is another simple sock-bun style I did on Ms. Bree over the weekend.
Since the kids are schedule to be home for a week (winter break) we are planning to let her hair be "free" for a few days and give her a break from braids and other similar styles.
You can see the step by step instructions by clicking "The-bun-style"
See, what did I tell you... QUICK POST!!
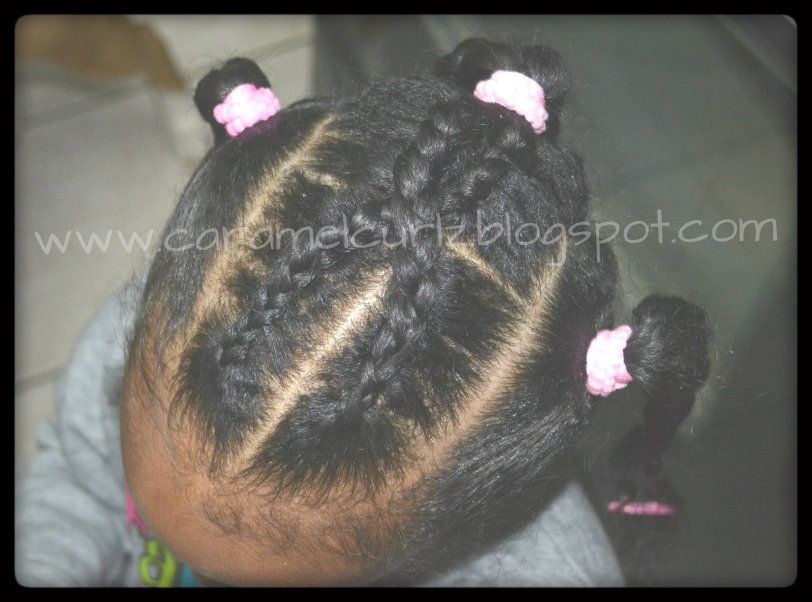
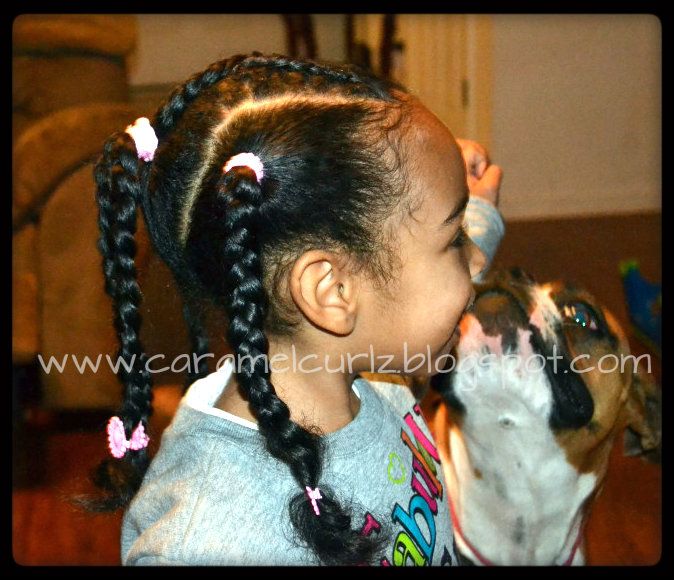
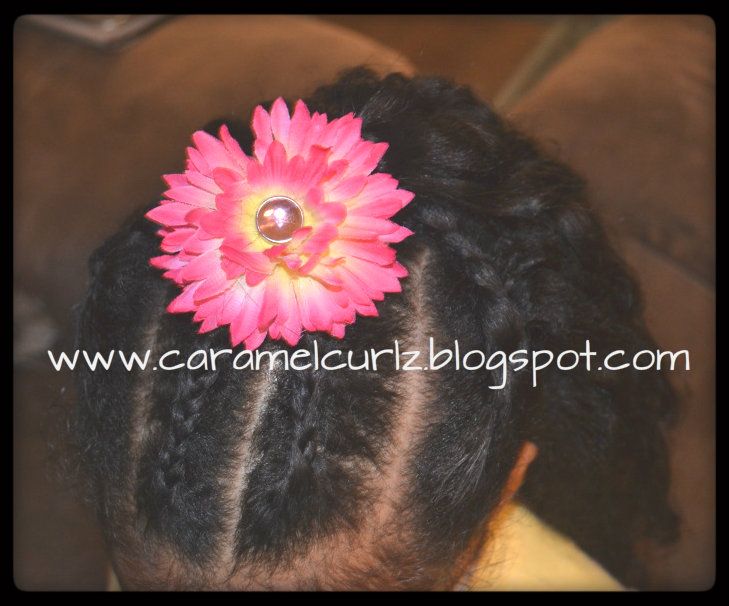
I finally did it! My first criss-cross cornrow and I am very pleased with the results!!
It has been approximately five months since I took the challenge of learning how to cornrow my daughters hair as it's a great protective style.
Below are a couple of links to some great posts which I believe are great for beginners:
"Cornrowing-for-beginners" by Beads Braids and Beyond and Learn Cornrows which is highly recommended by KandLandKurls.
Now, Rory from Chocolate Hair/Vanilla Care has an amazing technique and many have learned by using a practice board, here is the link to her post "how-to-cornrow".
Although the above posts are great source of information, I'm more of a visual person. While searching for youtube videos, I came across Kate's videos. These are the videos that I truly learned from, the link to her youtube video is "How to Cornrow instructions".
Now let me tell you, as a beginner you will make mistakes, and after five months of practicing, I still make mistakes, specially when I have my six year old asking for snacks, or Ms. Bree needs a sudden "potty break". Please remember it's okay to start over if you are at a point in your cornrow where you can start over, but if you are towards the end of the cornrow, just leave it! Most people will never notice your mistake unless you point it out.
After practicing straight and short cornrows, you will be able to do more than just simple styles. I wanted to do something different this time. I have wanted to try doing the criss-cross braid for a very long time, which I also learned from watching Kate's video "How to do Criss-cross Cornrows Part 1" and "How to do Criss-cross Cornrows Part 2". I watched her video over and over again until I told myself, "this is it, I'm going to do this".
I opted to only do a single criss cross braid because I didn't know how long it was going to take me and i didn't know if Ms. Bree was going to sit still for that long.
On my next attempt I will probably do as many three or four.
After a few days, I did a little modifying. I undid the side pony tails and twisted her hair over night. The next day I removed her twists. (twist out).
and remember, keep practicing and don't forget to share your pictures and progress with us!!
you can send your pictures to caramelcurlznswirls@yahoo.com
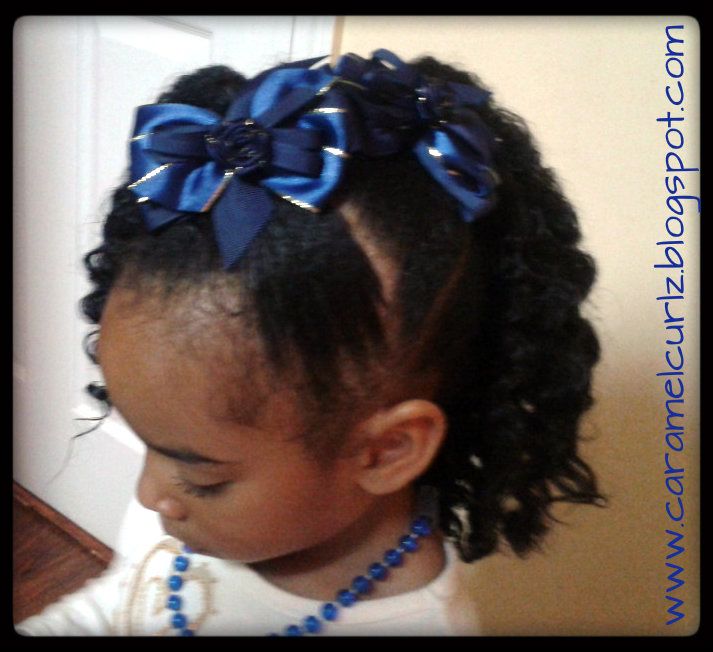
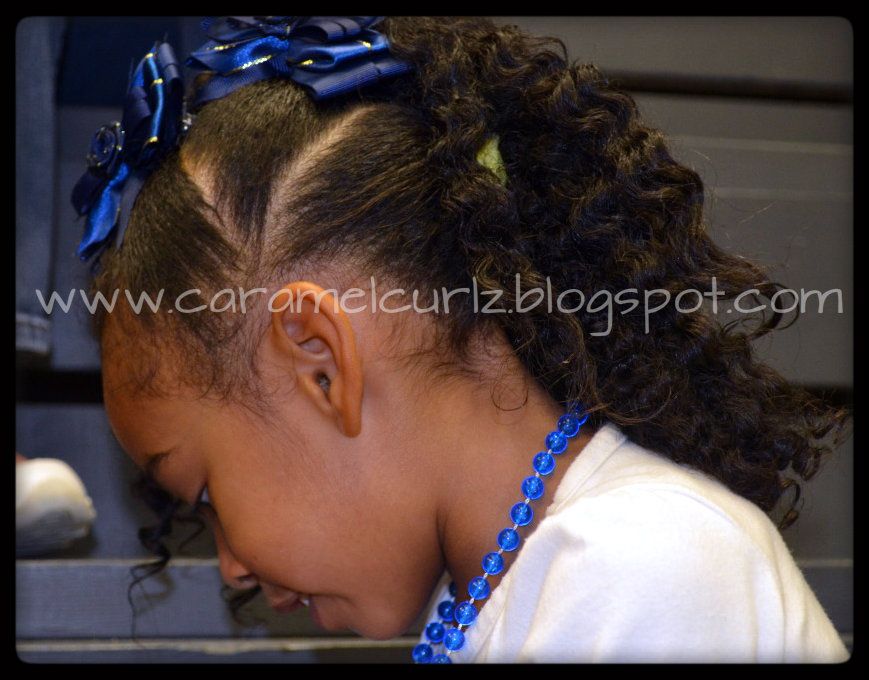
When I first saw the Mohawk Style I thought "what an interesting style" and it has been in the back of my mind for a while.
Ms. Bree has been rocking her twist out look for a few days now and I decided to do something similar to the Rolled Mohawk on Natural Hair I saw on Braid With Me site. Make sure you check her website out. The style it's beautiful and is not as complicated as you may think it is.
But Ms. Bree likes to wear her hair out so I compromised and these are the results.
1. I simply did divided her hair in three sections;
2. each section was secured with a pony tail by using "Goody's Ouchless Bands";
3. I used Curls Passion Fruit Curl Control Paste to keep the edges smooth and added a little bit more Bee Mine Curly Butter to the twist outs and made sure the ends were very well moisturized;
4. To accessorize the style, I used two bows with Alligator Clips.
AT NIGHT:
I removed all the accessories;
carefully removed the band and re-did the 2 strand twist.
She slept with satin cap on. I was also able to find a satin pillow cover at our local hair store and it was only 5.99!!
THE NEXT DAY:
She asked for the same style again so I did it by following steps 2-4 all over again and these were the results:
I'm sorry I have been "MIA" for the last few days but we were celebrating my son's 6th birthday! And of course, it got a little bit busy but it was a lot FUN!
I thought about covering all three styles in one post but you'll probably get tired of reading.
I will also be posting the steps by steps instructions soon, so make sure you visit our "Step by Step Instruction Page".
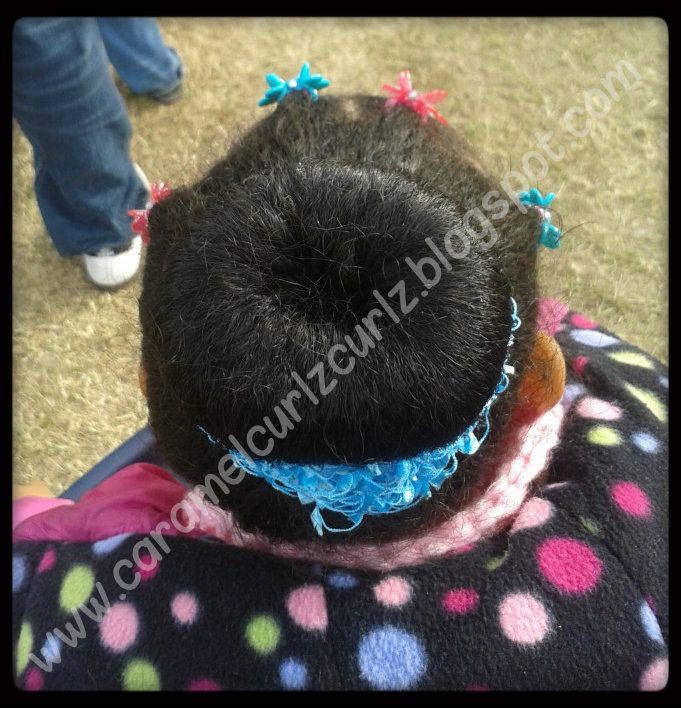
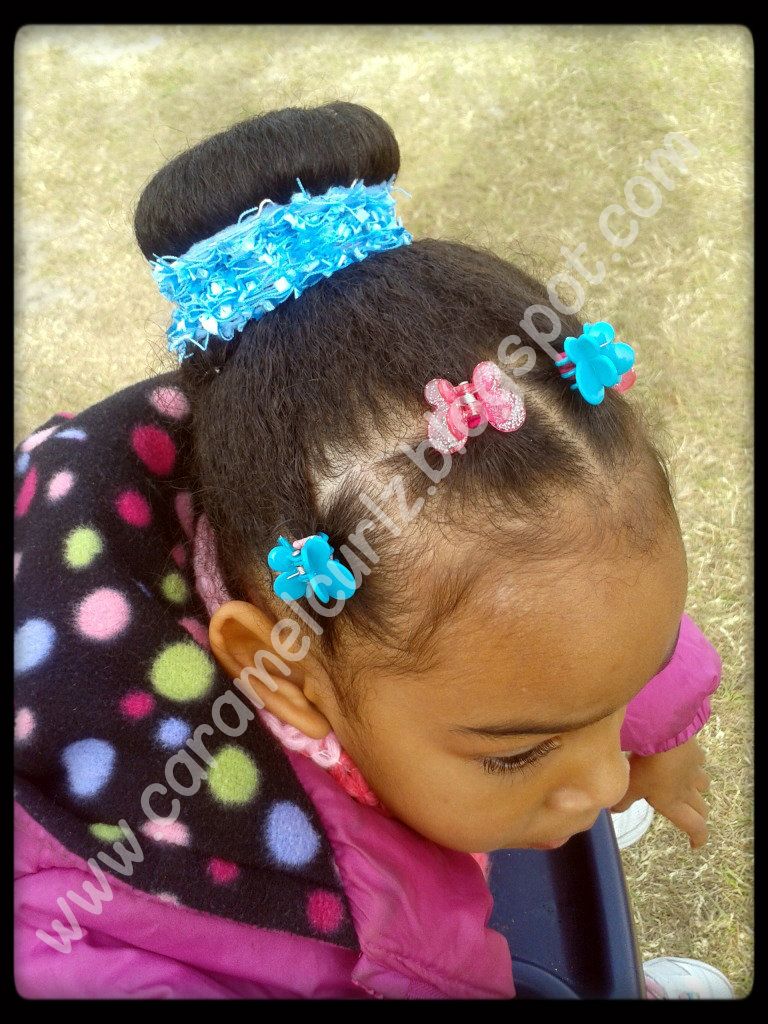
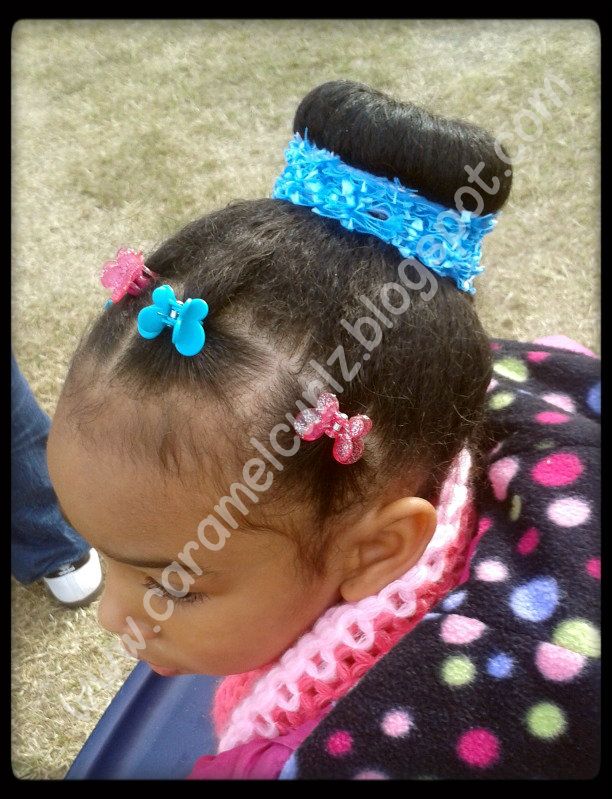
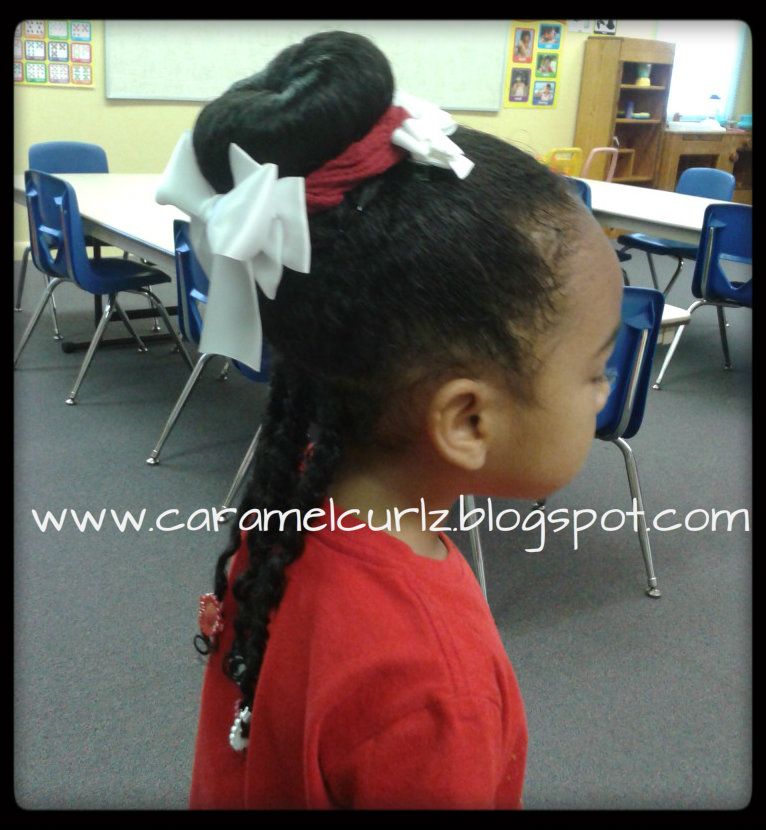
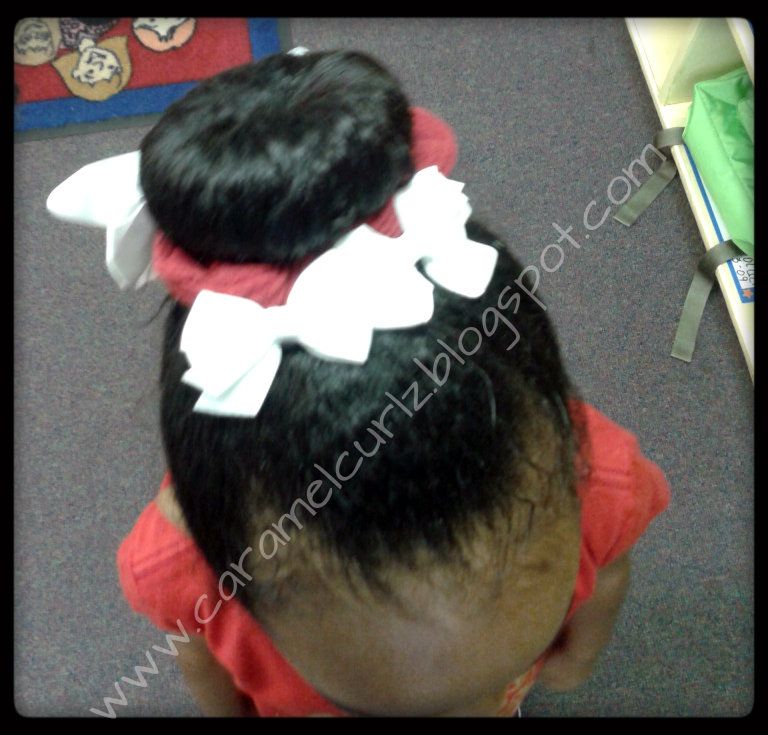
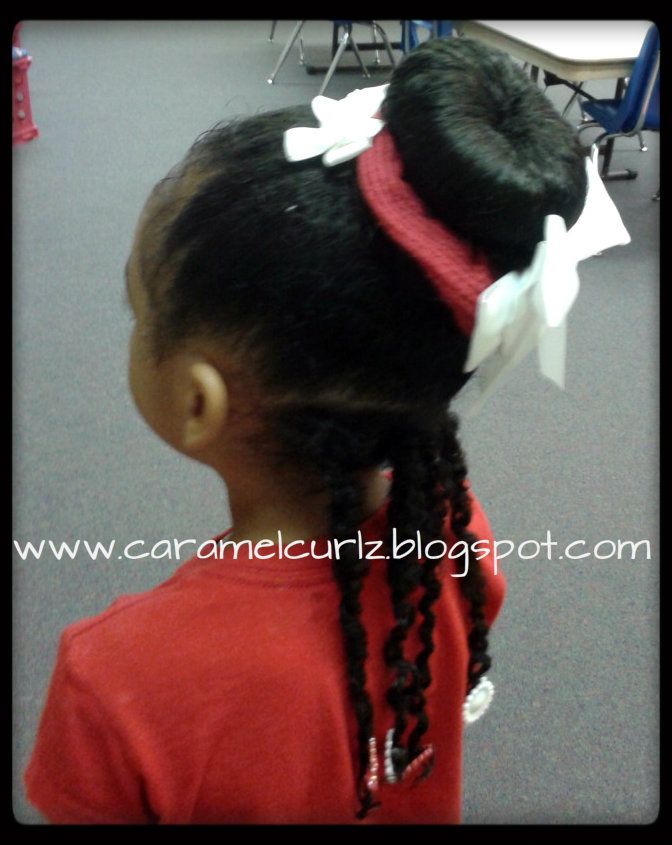
The Bun!
This is Ms. Bree's hairstyle from last Friday!
I have to admit that I am very proud of myself for doing this style in less than forty five minutes and right before heading to school! That is a big + in my book.
This style is a very simple style to accomplish as long as you have the following tools:
1. A foam in the shape of a "doughnut" or you can use a sock; I found this at the local hair store for $0.99!
NOTE: IF you decide to use a sock, I would recommend using a soft fabric sock and try for a very similar color of your hair.
2. Bobby Pins;
3. 2 bands (not rubber bands), but the cloth covered bands.
1. I made sure her hair was detangled;
2. Using a rat tail comb I parted her hair from ear to ear; (you can choose the amount of hair you want to use to do the bun)
3. I collected all the hair from the top section and secured it into a pony tail by using Goody's cloth covered band;
4. Once the hair was completely secured into the pony tail, I put the hair (from the pony tail) through the foam doughnut.
5. With the help of a comb, smooth the hair over the foam doughnut, try to cover the doughnut as much as possible.
6. Once you have smoothed the hair down, hold it and apply another band over it. You will now have all the ends out.
7. Try to tuck the ends under the bun as much as possible. Since Ms. Bree's hair is long I gather all the lose hair and carefully brought the hair to the back of the bun, then divided the hair in half, twisted the left side and brought under to the right side of the Bun, then I twisted the right half and brought it under to the left side of the bun.
I used about 4 bobby pins to secure the hair in place.
8. Then I used a "scrunchy" matching her outfit and placed it over the Bun.
AND YOU ARE DONE WITH THE BUN!
We used a big white bow, and a small size Hair Bow Clips to accessorize the bun.
9. On the bottom section I created four small 2 strand twists.