Showing posts with label Paul Mitchell Flat Iron. Show all posts

Thursday, February 14, 2013

BIG Valentine's Day!


Happy Valentine's Day!


The day when all lovers express their love to each other by giving flowers, candy and in some cases something more personal.

My husband and I always include our children during this celebration of "love", for us is not just about "us", is about teaching our children how to give, receive and share.

We started our day by having heart shape pancakes, strawberries and juice.  Who doesn't like pancakes? My little man.. for him I made his special "dinosaur" oatmeal, a couple of strawberries and a glass of juice with his special "straw".  


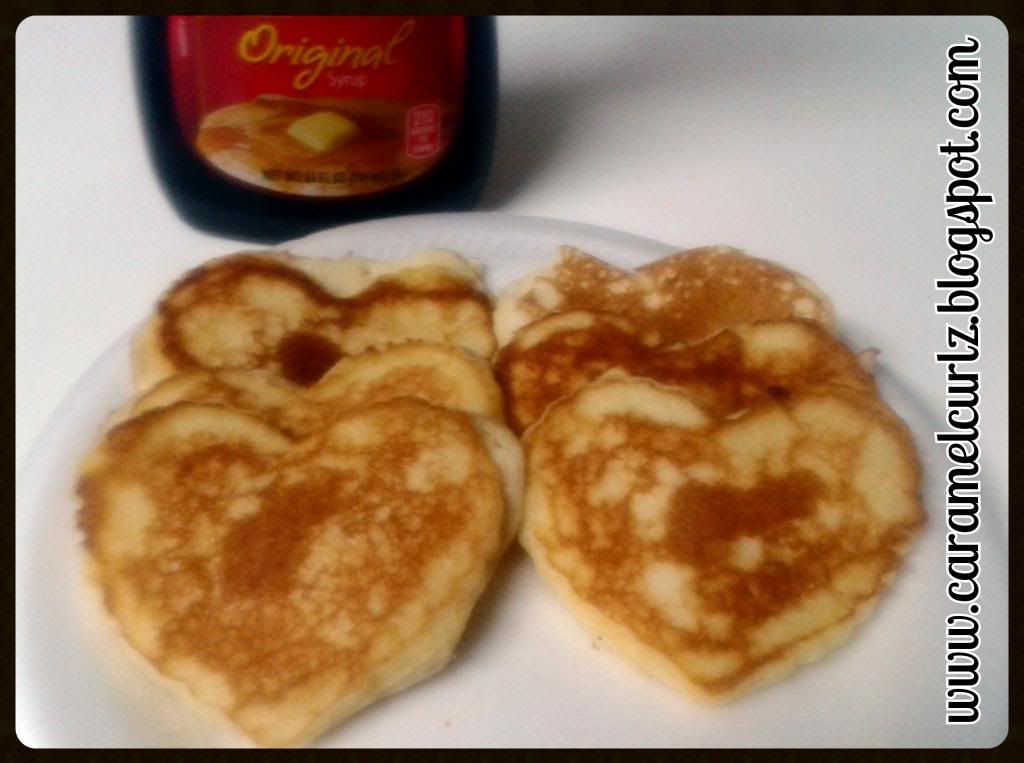
You can easily make this by using pancake shapers but a heart shape cookie cutter works just as well, just make sure you use a pair of small tongs to lift the cookie cuter once the pancakes have taken shape, you don't want to burn yourself.... all done!


The teachers are special too!  

These were the gifts for Ms. Bree's teacher.  Mrs. P is the best, she has helped Ms. Bree so much and we cannot thank her enough for the wonderful job she has done and continues to do with Ms. Bree.


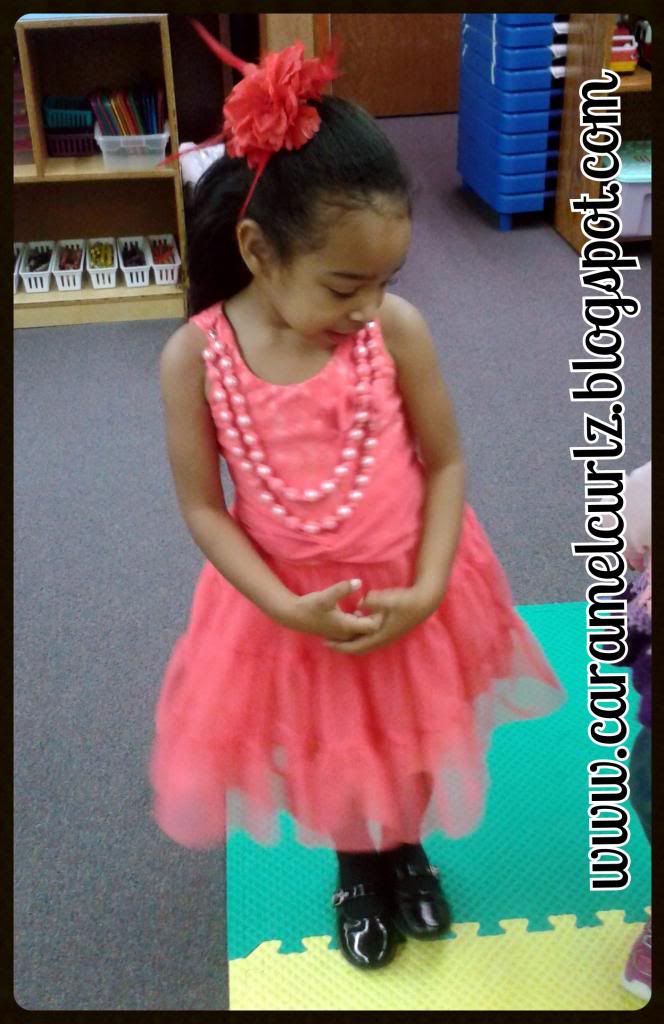
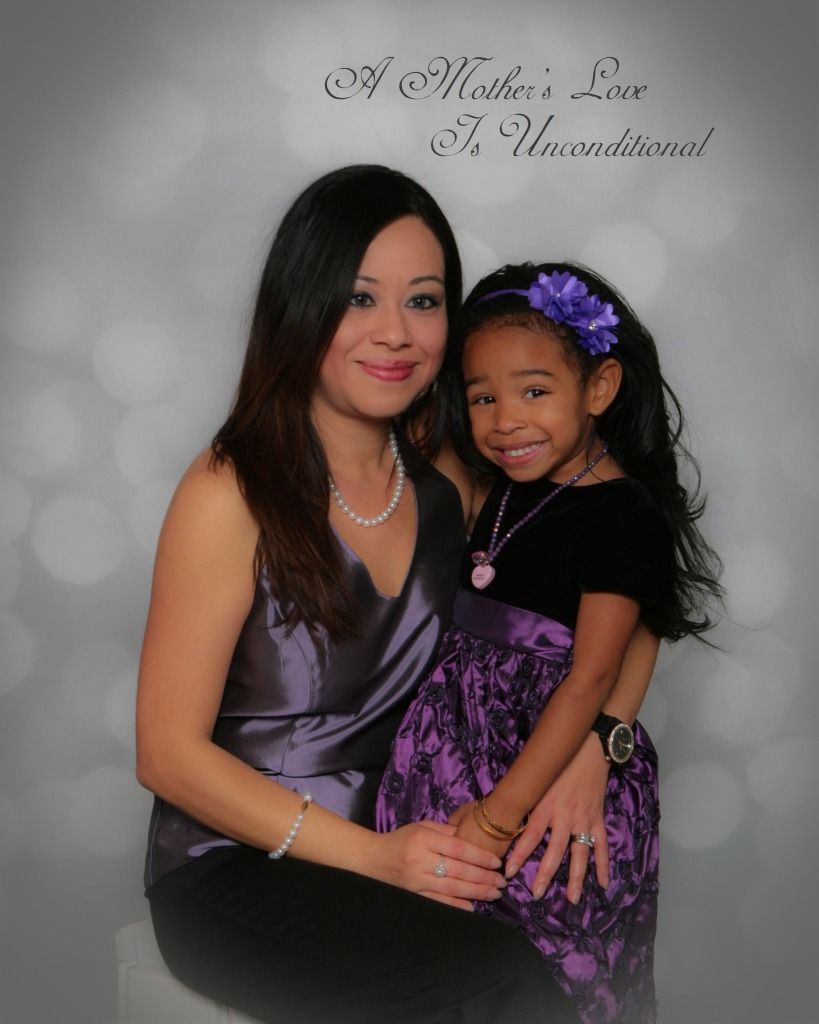
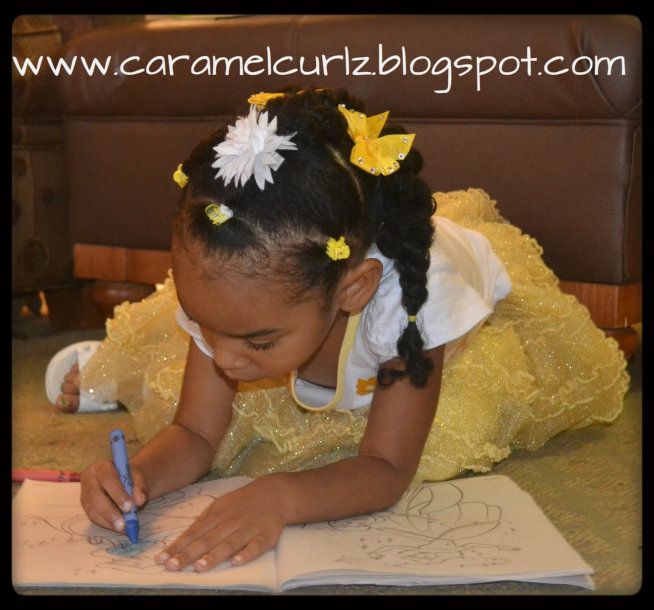
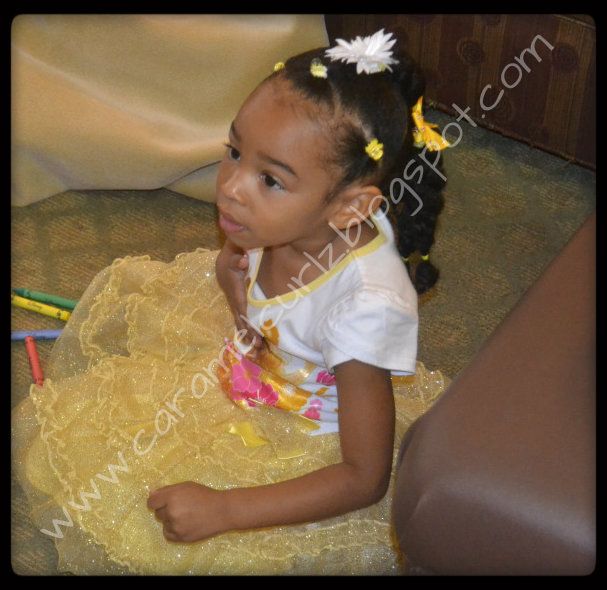
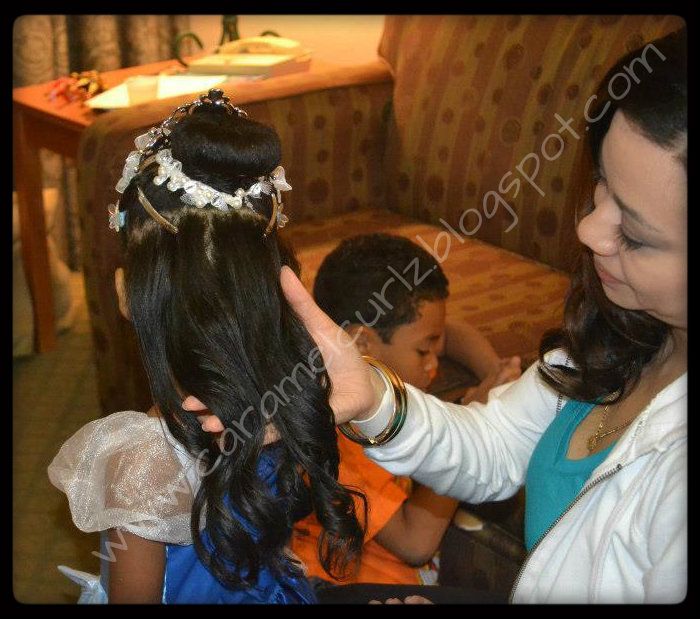
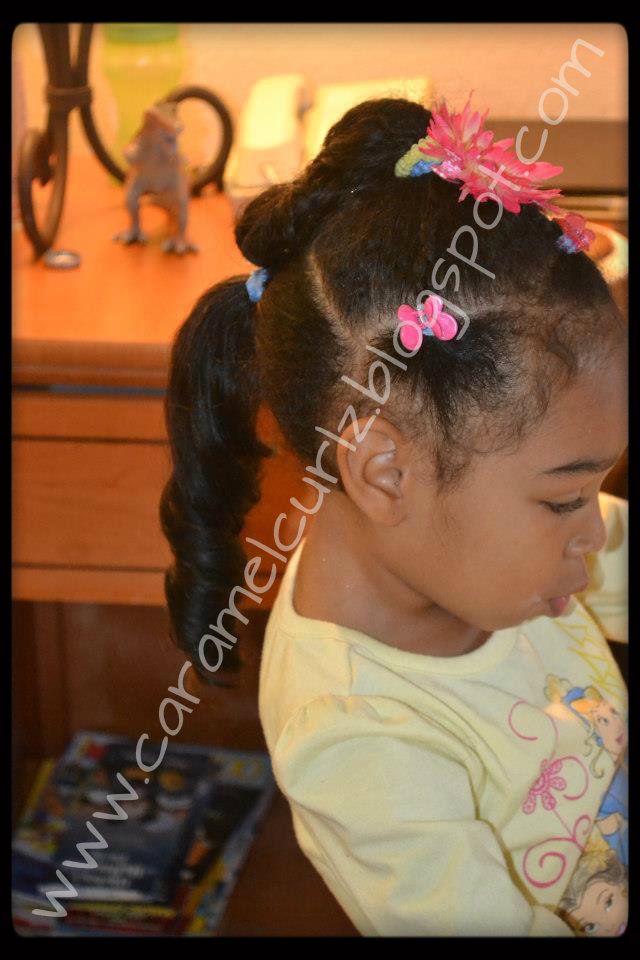
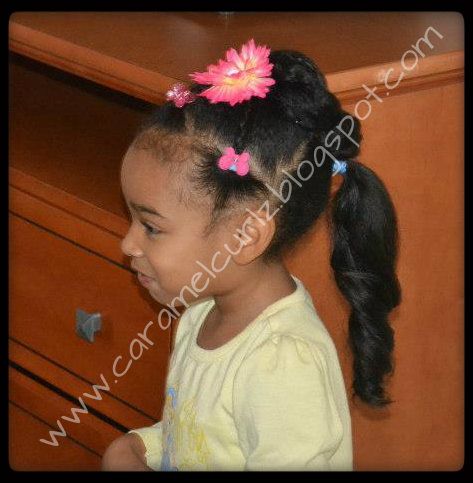
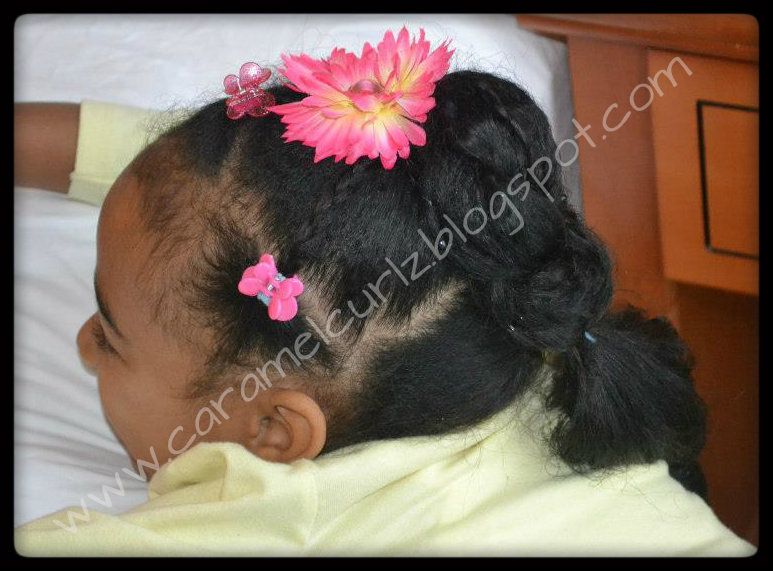
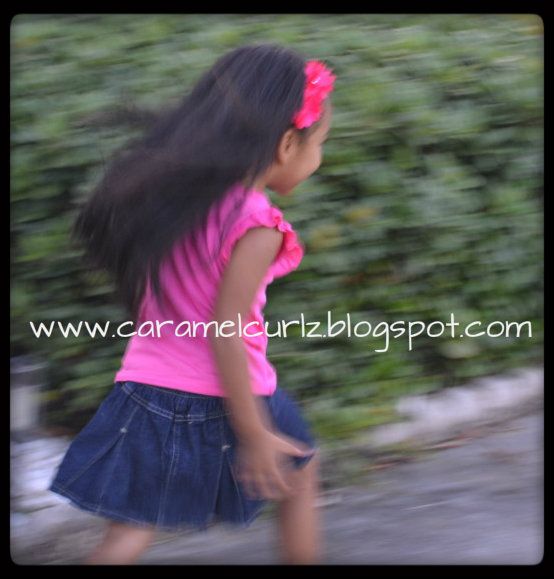
Ms. Bree chose to wear her hair straight.  It took her several days to tell me how she wanted her hair done.  Ms. Bree is getting older and I want her to feel that mami listens to what she has to say, now, I'm not saying I will agree to cut or color her hair purple!

Her hair was washed and banded for almost two days before it was flat ironed.  Since her birthday party is this Saturday I will be using curlformers for the first time to create some nice curls.


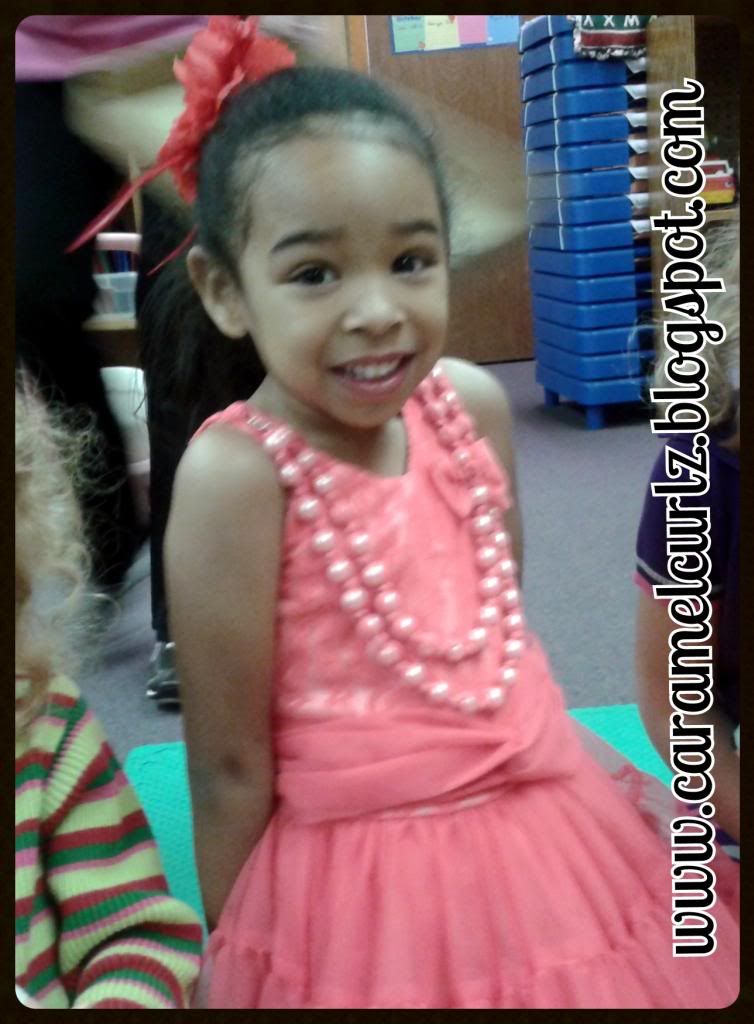
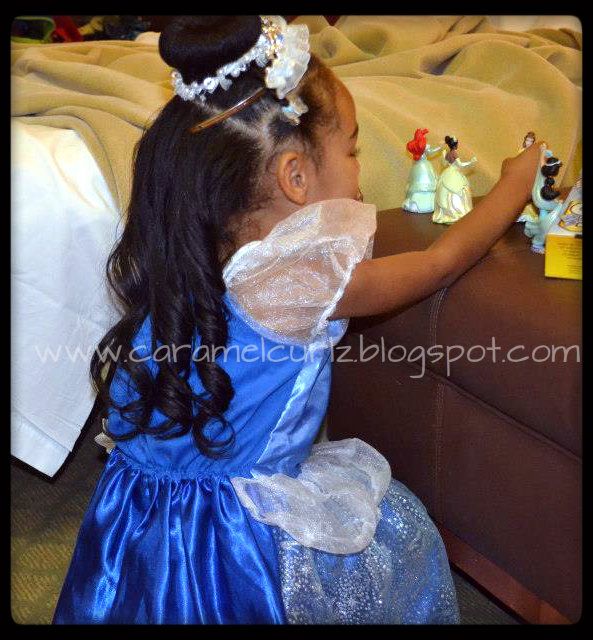
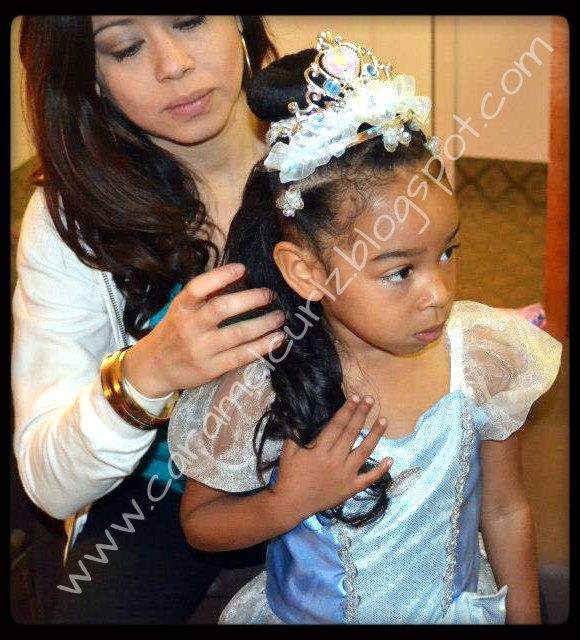
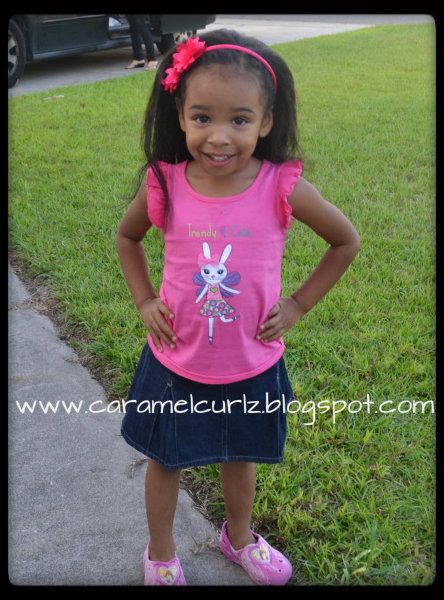
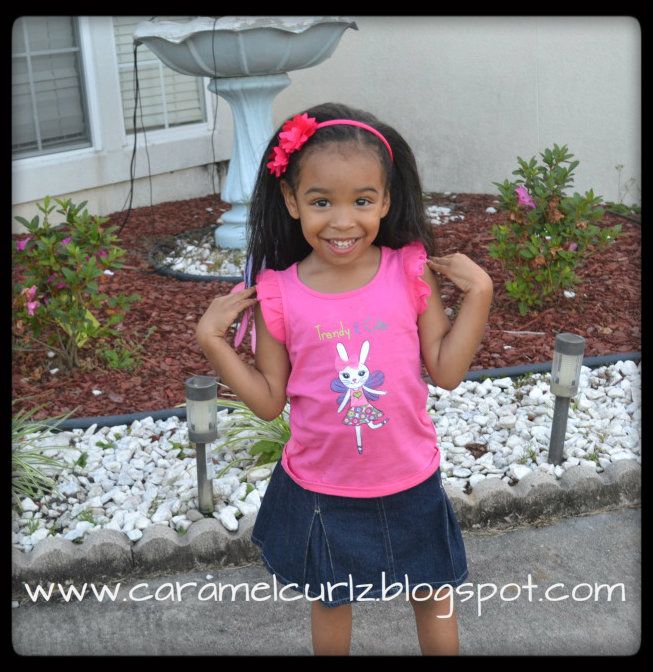
Once Ms. Bree saw mami wearing a red dress, she also wanted to wear her red dress, although in the picture looks pink...  The necklace is actually part of the dress... isn't that beautiful??


These were the treat bags created by Mrs. P for all the children, each student/parents created their own bags for the "Big Exchange", I will be posting those tomorrow along with Little Man's Valentine Photos.


Thursday, November 15, 2012

The Importance of Family Portraits


YOU DON’T CHOOSE YOUR FAMILY- THEY ARE GOD'S GIFT TO YOU, AS YOU ARE TO THEM By Desmon TuTu.

This particular post is about the importance of a Family Portrait and not as much about hair. 
For my husband I, a family portrait is one of the most important things you can have in your home.  It's like a reminder of your family at a specific time in your lives.


Family members' schedules can be so difficult to coordinate, and it's easy to put off the portrait for another time when is more convenient.  

The important thing to remember is that the best time to take a family portrait is always NOWWe all know, life is very unpredictable and we don't have control over certain things.  However, what we do have control of is the decision of taking family portraits and capturing as many special moments as you can.  

Families go through constant changes; they may expand, they may shrink, and they always age.  Our kids will not be kids forever and we all are constantly going through physical changes.

Below is our 2008 Family Picture, Lil B was almost two years and I was about five months pregnant with Ms. Bree. 


Remember how I mentioned before that "Families may expand", below you will see our 2009 Family Picture.  In this picture we wanted the grandparents to be included because THEY ARE part of our family and they play a big role in our lives. 

In this picture Lil B was three years old and Ms. Bree was almost eight months old.  Our family expanded by one little package!


You don't have to spend a large amount of money on professional pictures, several photo studios including Walmart, JC Penney and/or Sears offer different packages at low prices. 

But you can easily have someone take it for you while you are at a gathering of some sort or do what we did during the years 2010 and 2011, use the timer in your camera and take your own picture! 

In 2010, due to our busy schedules, we never made it to the studio BUT we still managed to take a nice photograph together and called it 2010 Family Photo.


In the picture above, you can clearly see the physical change in Ms. Bree who was 20 months old and Lil B was 4 years old.

I have lots of pictures plastered all over my family room walls and various size picture frames on my coffee and foyer tables.  I also have baby scrapbooks, which I made especially for each of my children. 

Now days I find it very difficult to do scrapbooks and I have opted on making photo albums through Walgreens Photo Store Online.  Upload the pictures, pick a book and done! You can pick the book up or have it delivered to your door. 

In 2011, I kept trying to find the perfect time to take family photos but never found it.  So again, we never made it to a photo studio.

This is our 2011 Family Photo:


While you can't see much change in Ms. Bree you can clearly see the change in Lil B. who was 5 years old while Ms. Bree wa  s 33 months.  

I'm thankful that my husband always reminds me that it's time to do our family portraits otherwise it would never get done and I'm more than sure that one day our children will thank their father too.

Come and share you family photos with us! 

Here are more of our photos


Wednesday, October 31, 2012

A Royal Weekend...

I'm going to try to make this short but I doubt I will be able to succeed on that!

As some of you may know, we went on our last vacation before two of our biggest and busiest holidays arrive.

Although my husband and I have an amazing time with our kids during the year. Thanksgiving and Christmas are the most busiest holidays for us.  We have started following his parents' family tradition as well as our own family traditions, which includes a lot of decorations, not just indoors but outdoors.  The planning of the Thanksgiving Dinner is a special event as well as the Parent-Child activities that we have during Christmas holidays.

For our last vacation, we choose to go to Walt Disney World's Magic Kingdom, where their Dreams Come True!


Ms. Bree's last style were cornrows and box braids.  You can see our 2nd Attempt- Cornrows Post.  The day we left, I took her box braids out and I only sprayed the cornrows with Bee Mine Daily Spritz.

Florida weather did not agree well with my daughter's hair.  Now, I can add that to my list of things I don't miss from Florida!  Ms. Bree's hair got frizzy as soon as she got out of the car and so did my hair.

Before Ms. Bree went to bed:

1. I co-washed her hair by using Herbal Essence Hello Hydration and lightly rinsed it out;
2. I applied Bee Mine Luscious Moisturizer and Creme of Nature Argan Oil.
3. I section her hair in 2 by parting from ear to ear.
4.  I banded each section.

Disney's Downtown Marketplace

The next morning, our family decided to go to Disney Downtown Marketplace for the girls to have a little fun shopping while the boys were at Disney's Magic Quest.

I took the bands out of her hair and pick a style that I could easily modify the next day and do her "Cinderalla Bun"..

1. I parted the bottom section in two (from top to bottom);
2. Each section was secured with a pony tail by using Goody's Ouchless Bands;
3. I sprayed a bit of water and applied more Bee Mine Luscious Moisturizer and created two twists in each pony tail.
4. On the top sections I parted three small sections around her hair line, used very small ouchless bands to secure each section.
5. I braided each section and combine them with the top section in order to create a big pony tail (Veil style).
6. I then created three twists on the top pony tail.
7.  I accessorized each pony tails with Yellow Bows to match her "Belle Dress".

These were the results:


After a long day out at Disney's Downtown, we went back to our sleeping quarters for a good nights rest before our big day at Disney's Magic Kingdom.

Before bedtime: I removed the bands that secured each pony tail (without removing the twists) and put her satin sleep cap on.

Our visit to Magic Kingdom

On Saturday morning, Ms. Bree and I got up a bit earlier than the boys and because her hair had already been sectioned the night before, I was able to save time on that part.

It took me about 35-40 minutes to finished the style and that includes adding all the accessories:

I created the curls by using the flat iron.  Instead of flat ironing the hair all the way to the ends, I stop at the middle then wrap the bottom of the hair around the flat iron (like you would normally do when using a Curling Iron) and brought the flat iron to the ends and these were the results:


The butterflies clips (clear in color) helped the tiara stayed in place.


Saturday Afternoon:

Due to the cloudy, breezy and humid weather I had to secure the back portion of her hair in a lose pony tail.


Ms. Bree's hairstyle was not affected at all by doing such adjustment.


Sunday Morning:

Going home.... the only thing I did to her style was undo the Bun and do a big twist and pin it with hair pins.


Tuesday, September 18, 2012

Where Are The Curlz?!

Yes, her hair is straight! and NO, I did not relaxed her hair.  

I know many parents have concerns or are afraid of using flat irons or blow dryers on their children's hair.  

I am going to share the one thing my Husband said to me almost two years ago:  "Buying cheap things will give you poor results".  Investing in a good quality tool will probably due less damage than an inexpensive hair tool.  

After a long discussion my husband convinced me to buy a good quality flat iron.  Yes, I did pay a good amount  of money for it but to be honest it was totally worth it.  


I believe this is the third time I flat iron my daughter's hair and I believe that the process has not damaged her hair because of the following reasons:

1.  I don't do it often; Ms. Bree is about to turn four and I've flat iron her hair maybe a total of three times in the last three years.  

2.  I make sure I wash, condition, moisturize and stretch her hair before flat ironing it.   I don't use the blow dryer to dry her hair.  I rather band Ms. Bree's hair in order to stretch her curl pattern.

    *Why do this? If you stretch the hair before you flat iron it then you will spend less time going over the curls repeatedly.   (See What is Banding? Post)

3.  Once the hair is stretched, I apply a heat protector.  I personally use Paul Mitchell Smoothing Gloss Drops.  

4.  I DO NOT let the flat iron sit on one spot for a long time.  In fact, I recommend you divide the hair into small sections, and gently flat iron the hair.   Smaller sections are easy to do and will prevent you from having to go over the sections repeatedly.

5.  My flat iron has different settings: 240, 280, 320, 350 and 400.
I use the 320 setting to do Ms. Bree's hair since her hair is more delicate. 


The important thing to remember is to prep the hair before you flat iron it, to moisturize the hair, and then follow with a protective style.   

I will be doing cornrows on Ms. Bree's hair as the next protective style.


**********************************************************************************************************

Paul Mitchell Express Ion Smooth 1.25 Hair Straightener Flat Iron, 1-1/4 Inch