Showing posts with label biracial hair styles. Show all posts

Thursday, February 14, 2013

BIG Valentine's Day!


Happy Valentine's Day!


The day when all lovers express their love to each other by giving flowers, candy and in some cases something more personal.

My husband and I always include our children during this celebration of "love", for us is not just about "us", is about teaching our children how to give, receive and share.

We started our day by having heart shape pancakes, strawberries and juice.  Who doesn't like pancakes? My little man.. for him I made his special "dinosaur" oatmeal, a couple of strawberries and a glass of juice with his special "straw".  
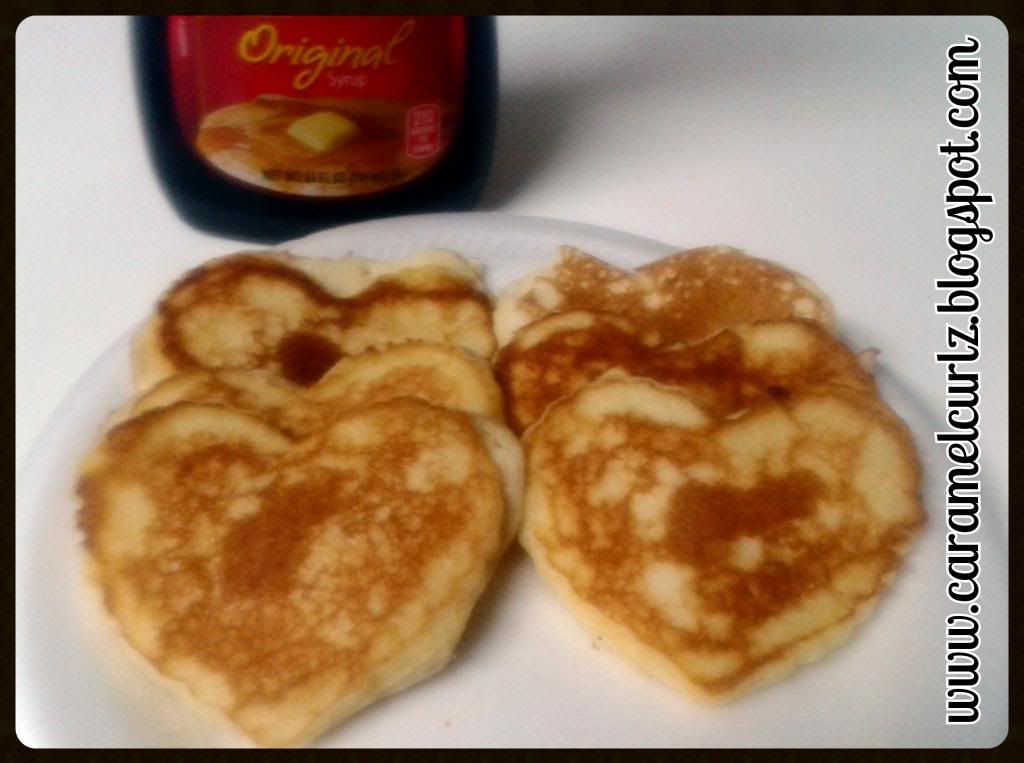


You can easily make this by using pancake shapers but a heart shape cookie cutter works just as well, just make sure you use a pair of small tongs to lift the cookie cuter once the pancakes have taken shape, you don't want to burn yourself.... all done!


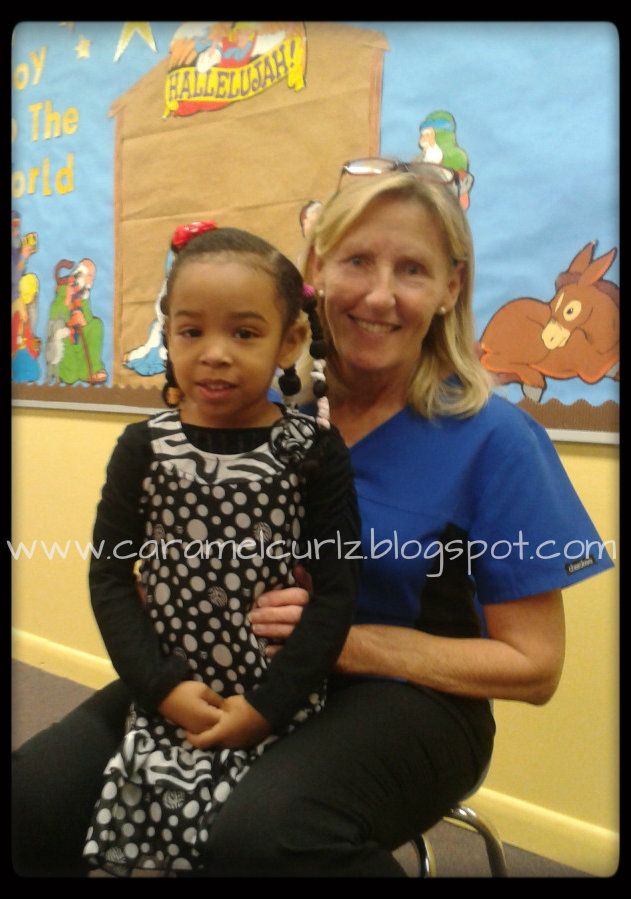
The teachers are special too!  

These were the gifts for Ms. Bree's teacher.  Mrs. P is the best, she has helped Ms. Bree so much and we cannot thank her enough for the wonderful job she has done and continues to do with Ms. Bree.
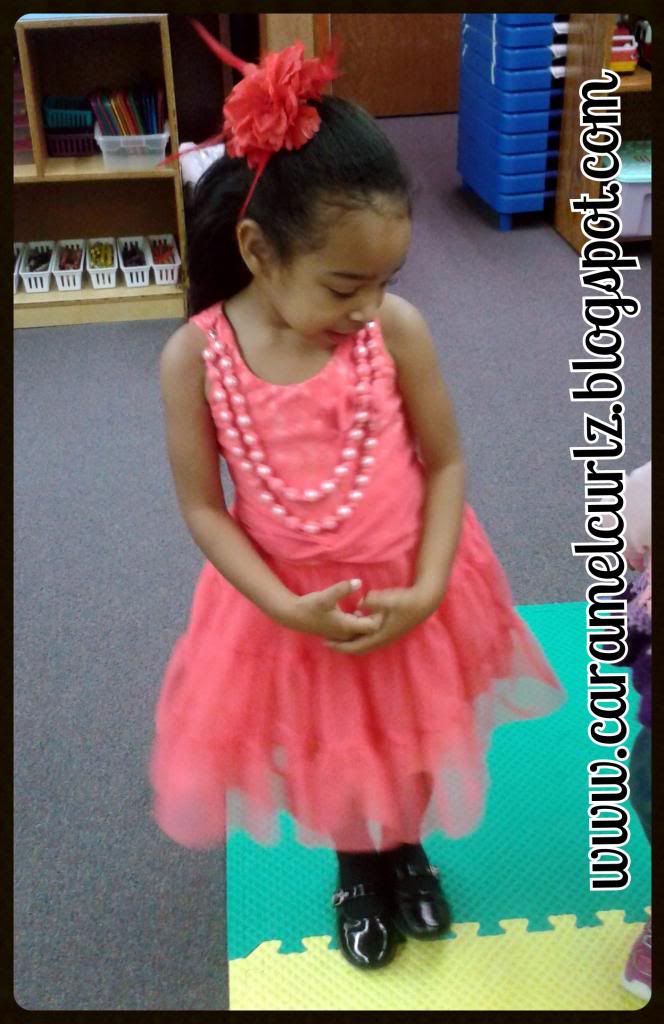


Ms. Bree chose to wear her hair straight.  It took her several days to tell me how she wanted her hair done.  Ms. Bree is getting older and I want her to feel that mami listens to what she has to say, now, I'm not saying I will agree to cut or color her hair purple!

Her hair was washed and banded for almost two days before it was flat ironed.  Since her birthday party is this Saturday I will be using curlformers for the first time to create some nice curls.
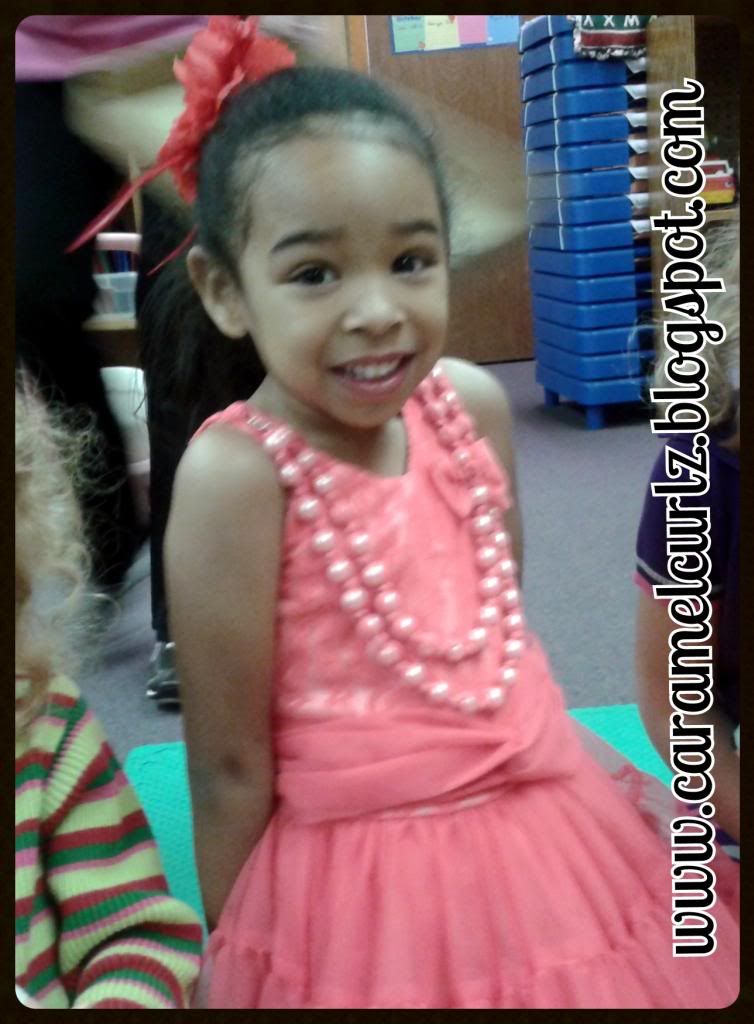


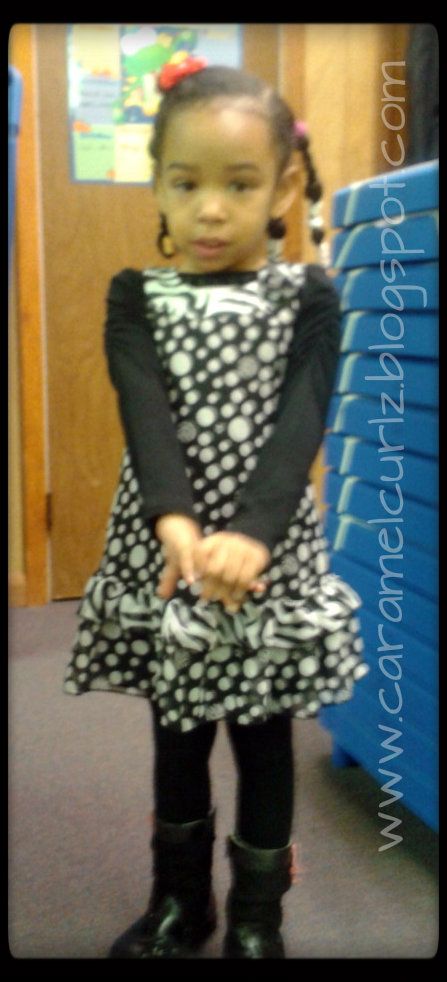
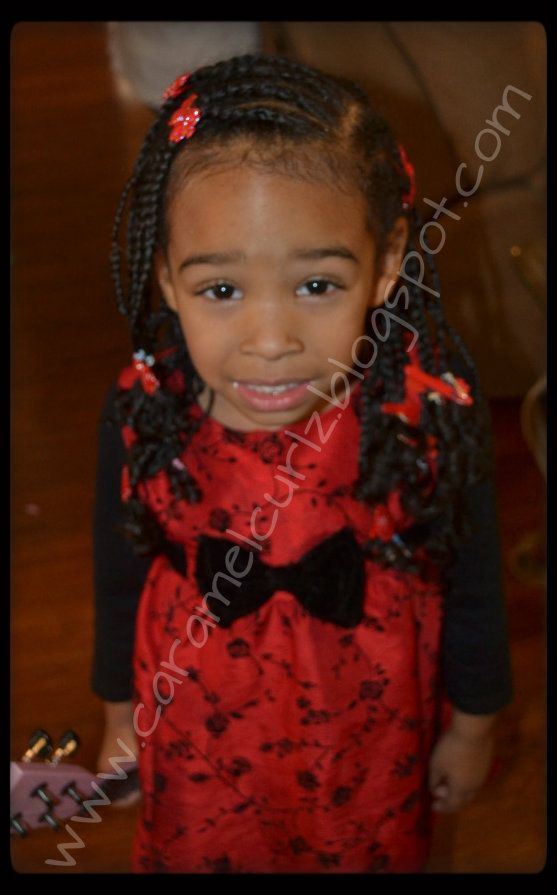
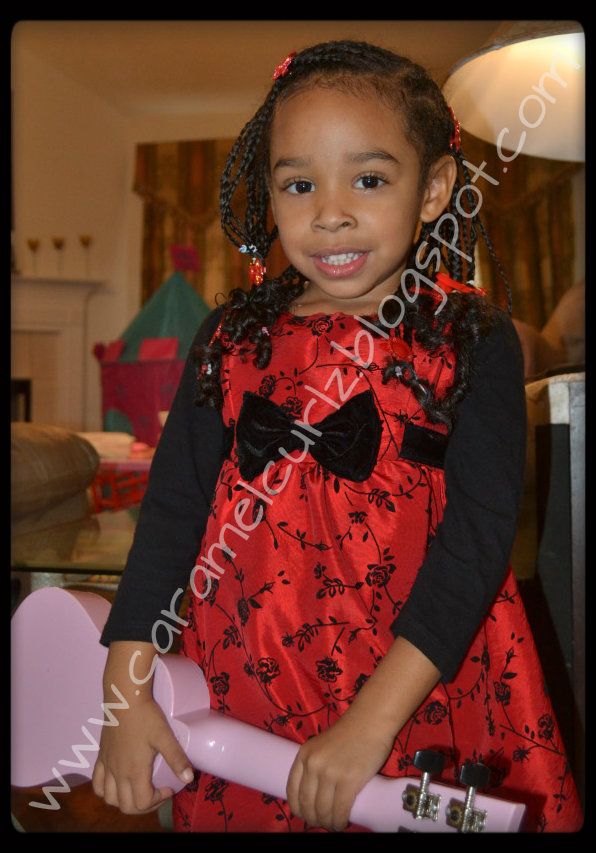
Once Ms. Bree saw mami wearing a red dress, she also wanted to wear her red dress, although in the picture looks pink...  The necklace is actually part of the dress... isn't that beautiful??
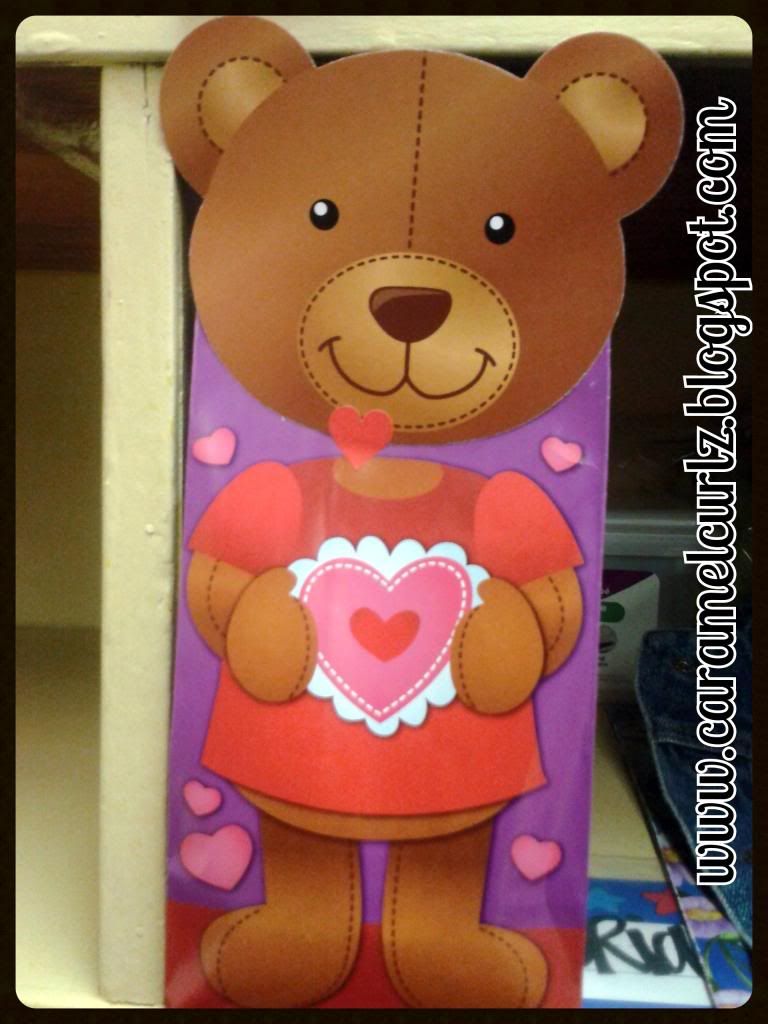


These were the treat bags created by Mrs. P for all the children, each student/parents created their own bags for the "Big Exchange", I will be posting those tomorrow along with Little Man's Valentine Photos.

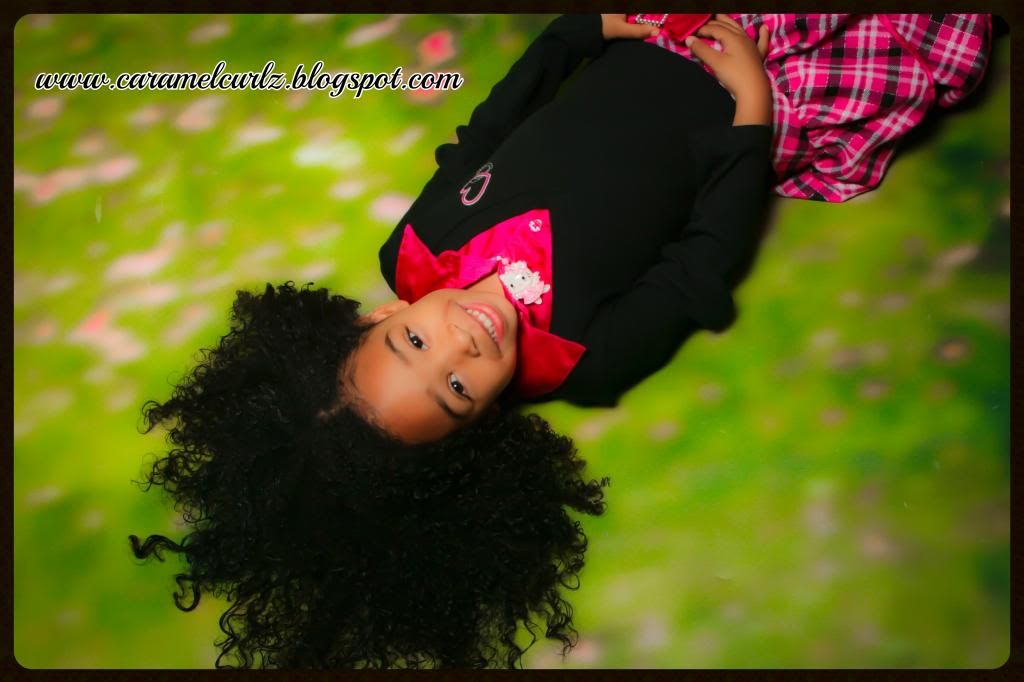


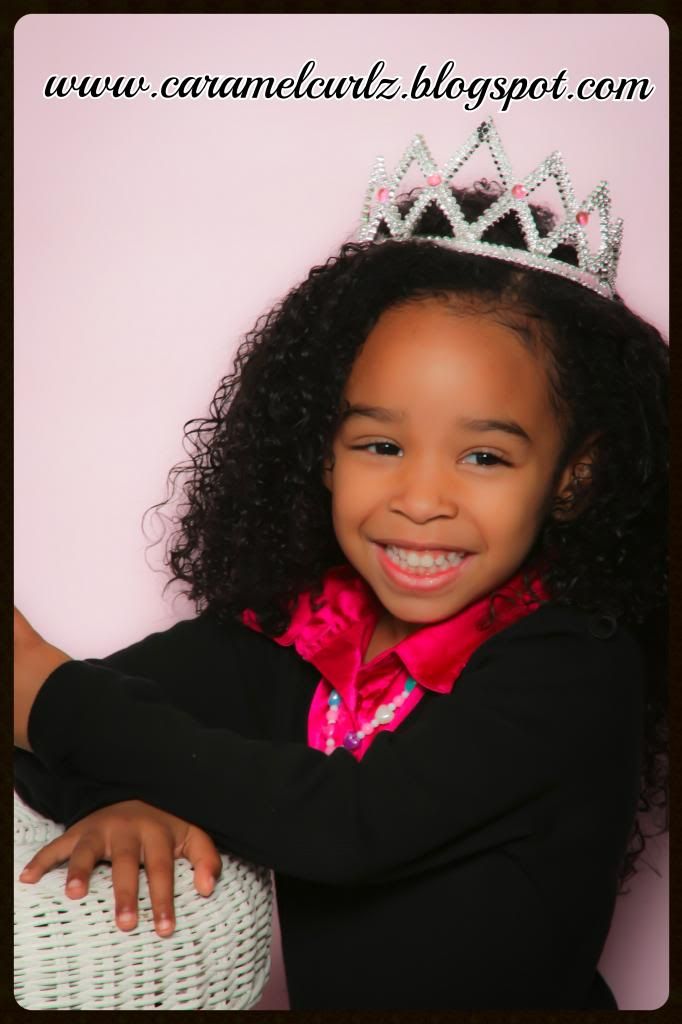
Monday, February 11, 2013

Great Style & 4th Birthday Photos!


Ms. Bree turned 4 yrs old on Friday but her party is schedule for this upcoming Saturday, make sure you don't miss Royal Birthday Party- Part II

While we wait for the big day to come, we surely are having some fun getting ready for it.


We started by having her pictures taken on Saturday morning.  

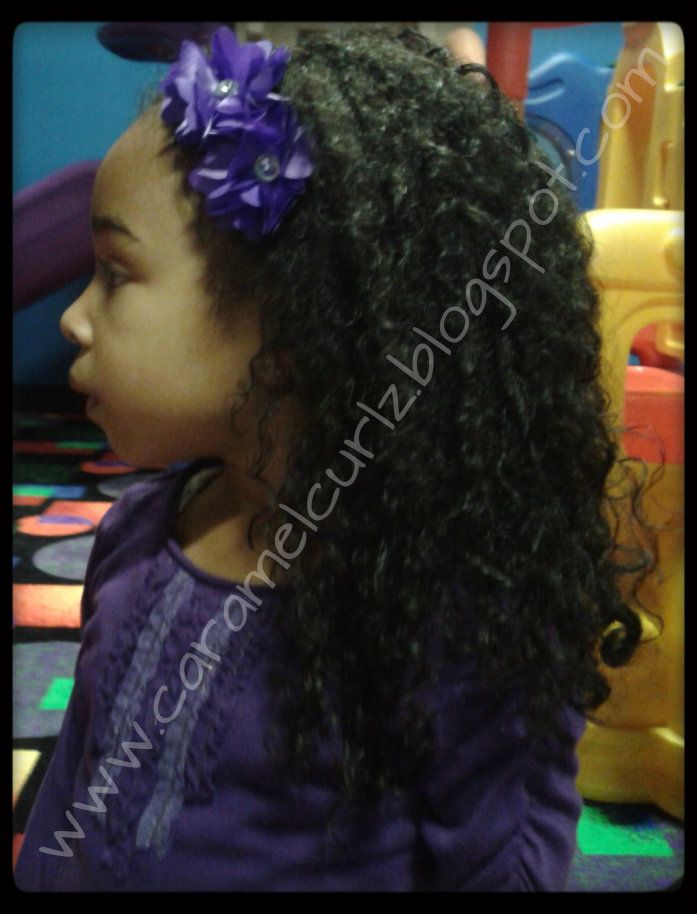
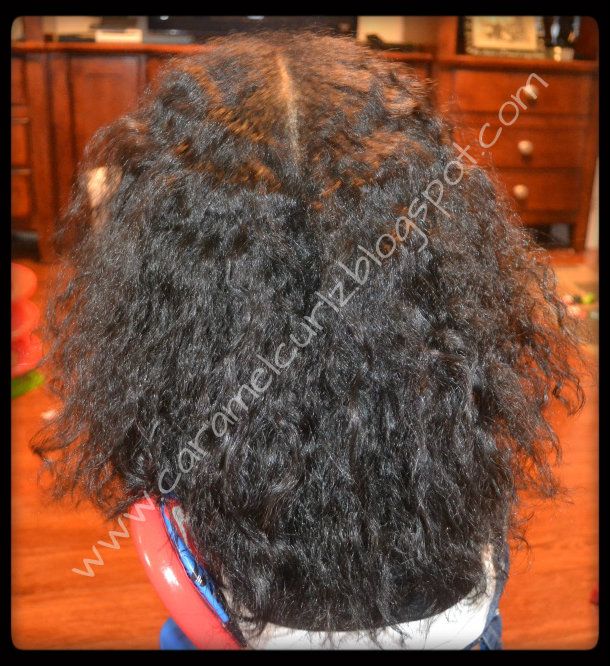
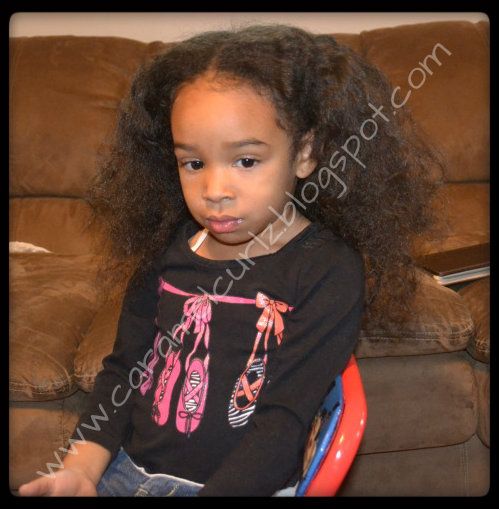
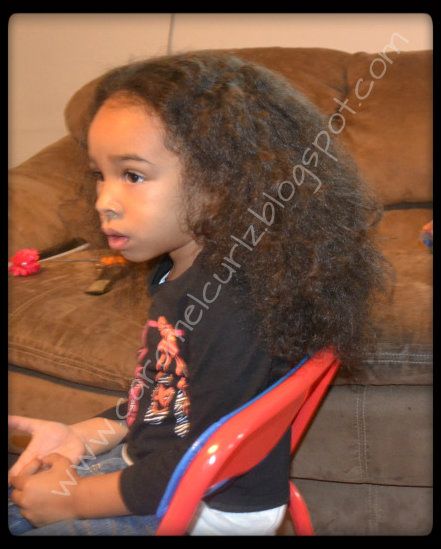
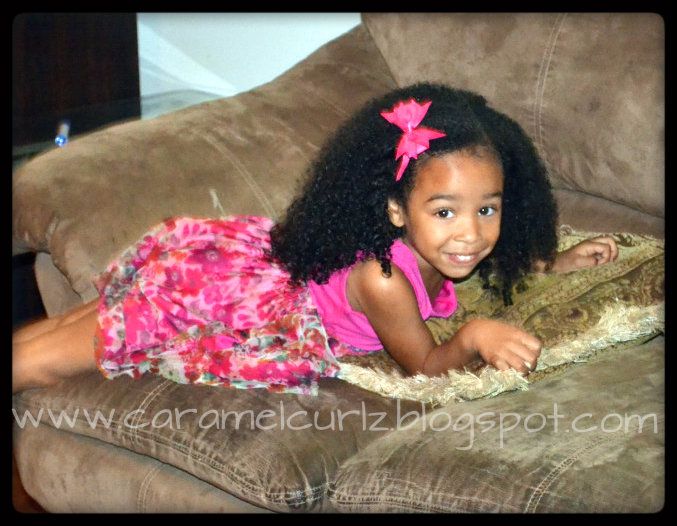
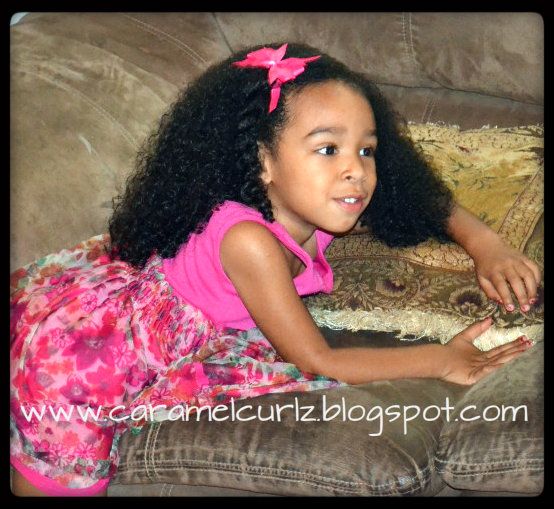
After a few requests from our facebook fans, Ms. Bree rocked her natural curls for this photo session.  Make sure you follow us on facebook: CaramelCurlzNSwirls


Ms. Bree's photo session was scheduled for 11:00 a.m., therefore I washed her hair around 9:00 a.m. giving the hair enough time to air dry.  I do not use a blow dryer to dry her hair (at all)

I Washed her hair using the following:
    *Creme of Nature Argan Oil Moisturizing Shampoo;
    *Suave Moroccan Infusion Shine Conditioner (review will be posted soon);

To style it:
    *100% Coconut Oil applied to wet hair;
    *Bee Mine Luscious Moisturizer;
    *Bee Mine Curly Butter

I made sure that her hair was completely detangled during the conditioning process;

I used only my fingers to apply the products (no combs/brushes);

I placed a towel around her to make sure her clothes didn't get wet and I actually left it in place until her hair was almost dry.


Note: When we are at home and Ms. Bree is playing with Lil Man, I make sure that she wears her satin cap to minimize the frizzies.   

She is old enough now to keep her satin cap on most of the time, if it falls off while playing, she is really good about letting me know right and I just put it back on.


Thursday, January 31, 2013

Good Bye to our Protective Style #1

Wow, Ms. Bree's protective style lasted 24 days!! 

But I think is time to say good bye to the box braids and is now time to do a pre-poo wash treatment and band it for a couple of days in order to style it.  

This is a quick post summarizing the last four weeks.  If you missed our original post, make sure you read Back to School and Box Braids as our Protective Style  which was posted on January 7th, 2013.


DAY 1


Day 4:

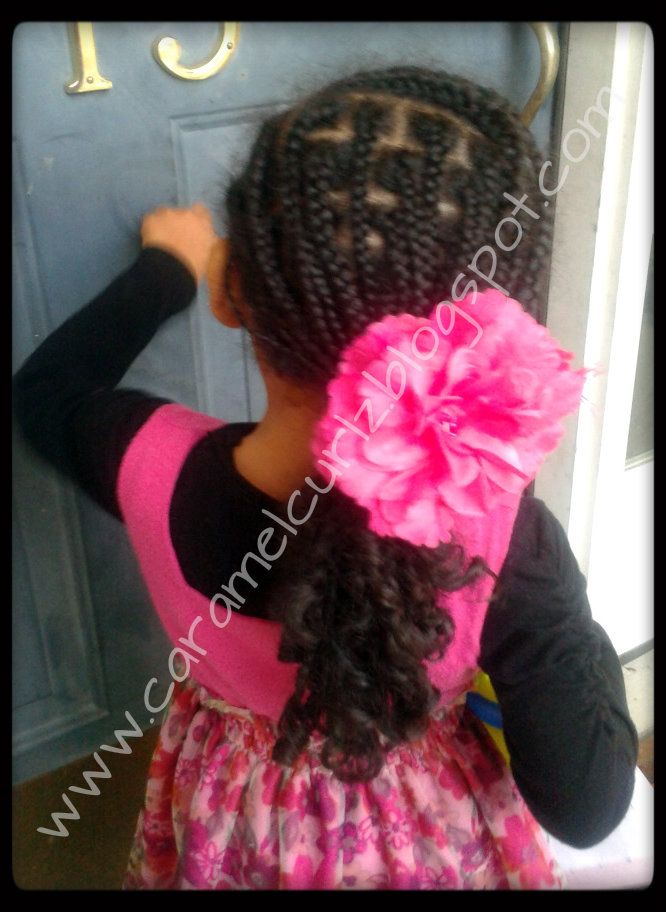
Box Braids in a single pony tail (flower hair clip)

Day 5

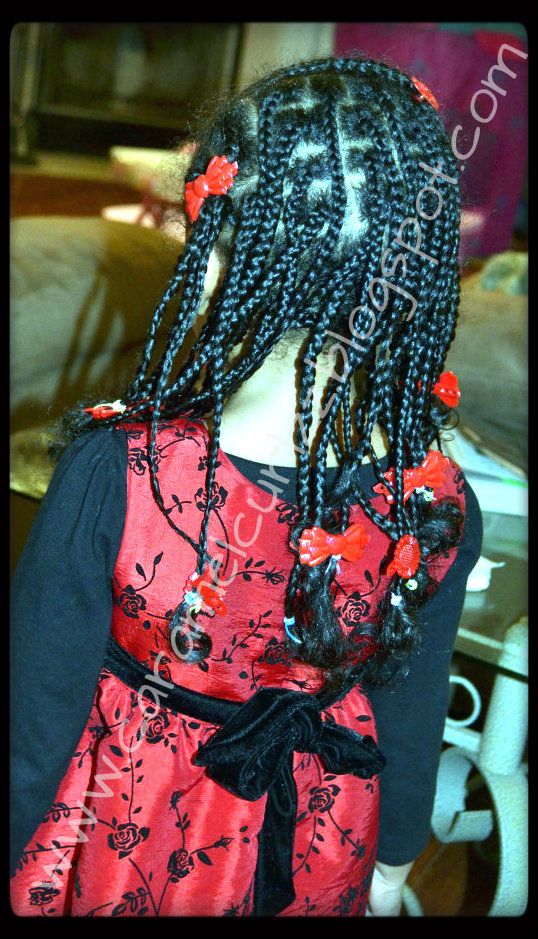
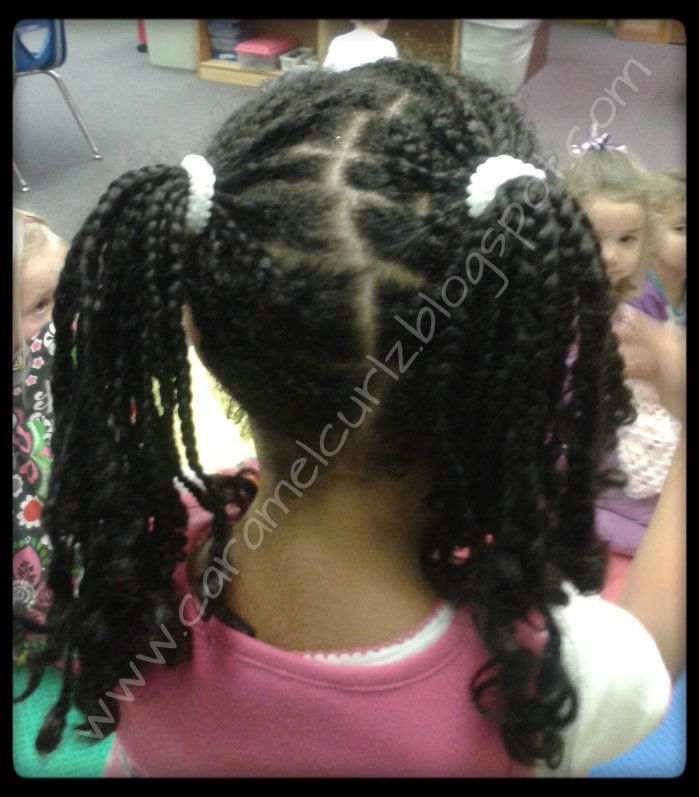
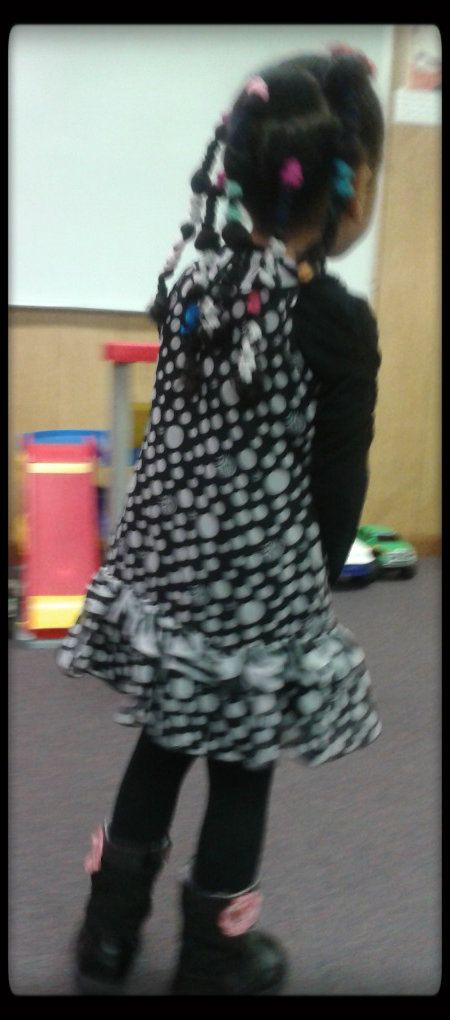
"Box Braids in 2 Pony Tails"

Day 9:

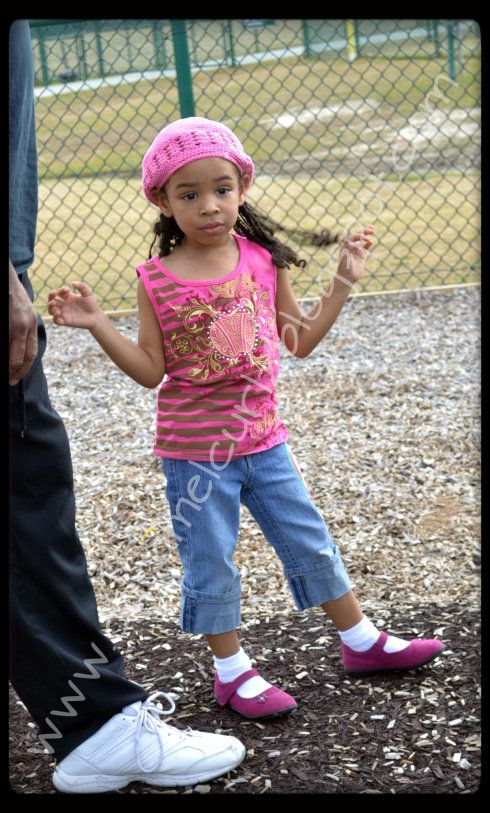
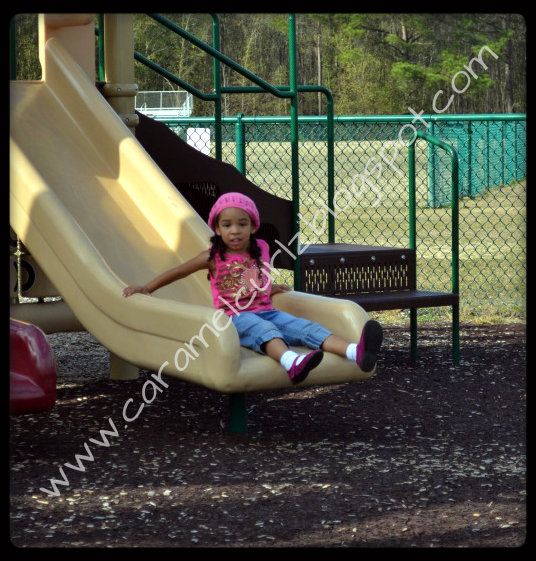
Lose box braids with crochet hat.


The important thing to remember is that while box braids are a great protective style, you must remember to continue to care for their hair as you  normally would do.

If you missed our post on how we maintain our box braids, please read our post here: How to Maintain Box Braids

I always used Bee Mine Natural Hair Products daily to keep her hair hydrated and to give her braids a healthy and shiny look.  

Also remember to massage the scalp every so often and check the braids at least one a day to make sure they are not too tight and causing stress on the scalp.

Day 20


Day 24


I will be washing her hair tonight and most likely I will band it and keep it that way for a day or two until I have enough time to style her hair again.


Tuesday, January 15, 2013

Day 9 of Box Braids

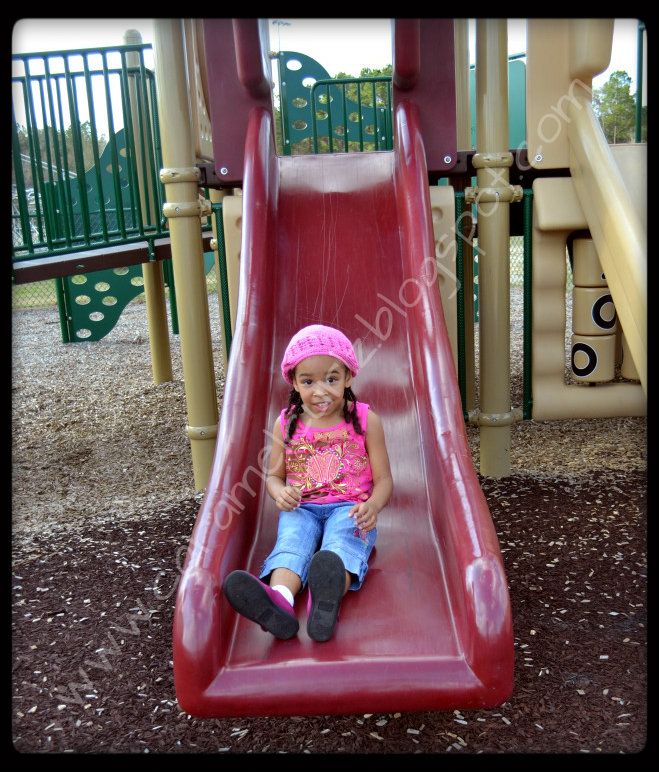
Due to the amazing good weather we are experiencing, my husband and I decided to take the kids to the park.


Ms. Bree's protective style are small box braids and cornrows.  My original plan plan was to leave this style for two weeks, we are now on day 9 and I'm seriously thinking about undoing the cornrows and do more box braids.


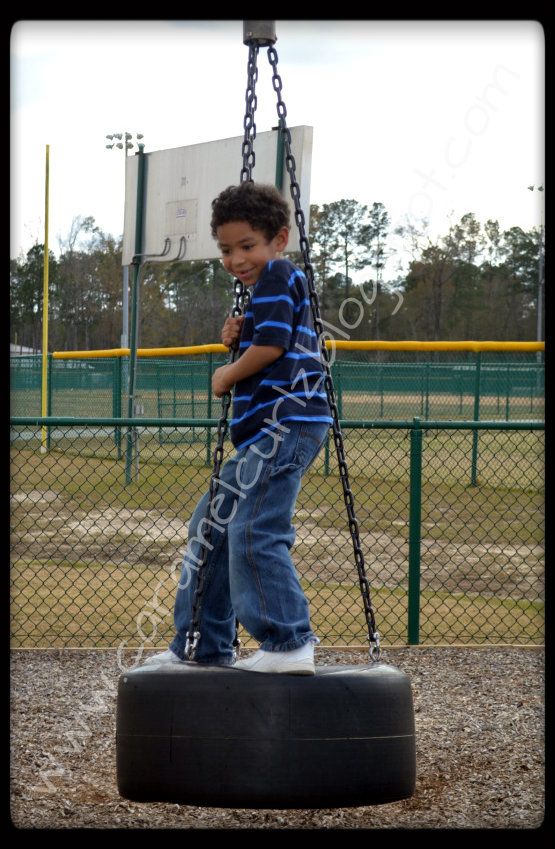
Little Man still is letting his hair grow, look at that hair!


Now remember, just because the hair is in a protective style, it doesn't mean you don't have anything to it.   It is important to keep the edges and ends moisturized as well.  You can use your favorite moisturizer for this.
  
I spray her braids daily (once a day) with Bee Mine Juicy Moisturizing Daily Spritz.


And I usually wash her scalp (without taking her braids out) at least once a week. The last time we did box braids, Ms. Bree had them for almost four weeks.


Tuesday, January 8, 2013

Rocking their Fro While Skating. .


As I mentioned on one of my last posts, I've decided to let Ms. Bree wear her hair "free" a bit more often in order to give her scalp a break from all the styling.  

My husband and I decided to take the kids to the new Skating Rink near our house and see how the kids felt about the whole "skating" idea.


So here they are rocking their "little big hair" while having fun at SK8 City!!


GET THE LOOK:


I washed Ms. Bree's hair in the morning then I applied the following products to her wet hair:

1. 100% Coconut Oil; and

2.  Bee Mine Luscious Moisturizer.

Ms. Bree stayed indoors the entire time until her hair was 100% dry.  NOTE:  the reason I do this is to prevent her hair from frizzing and becoming tangled.

About an hour before going to the skate rink I applied very light coat of Eco Styler Gel (with Argan Oil) !!

Now, Little Man has not had a haircut in about three (3) weeks because he kindly informed me that he does NOT want his hair cut.  (We will see how long that lasts)


Little Man's hair is different from my daughter's hair.  

After washing his hair  with Curly Q's Cleaning Creme and Curly Q's Coconut Cream Moisturizer Conditioner, I applied the following:

1. Bee Mine Luscious Moisturizer with a little bit of 
2. Bee Mine Curly Butter and done.  

His hair retains moisture a lot longer than Ms. Bree's and requires very little products.  


Monday, January 7, 2013

Back to School & Protective Style


Last week was a very short school week for the kids and I decided to keep Ms Bree's hair banded for two days.


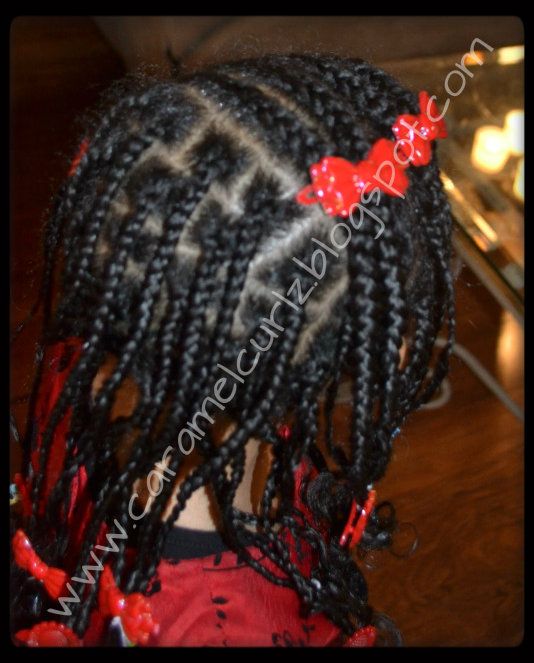
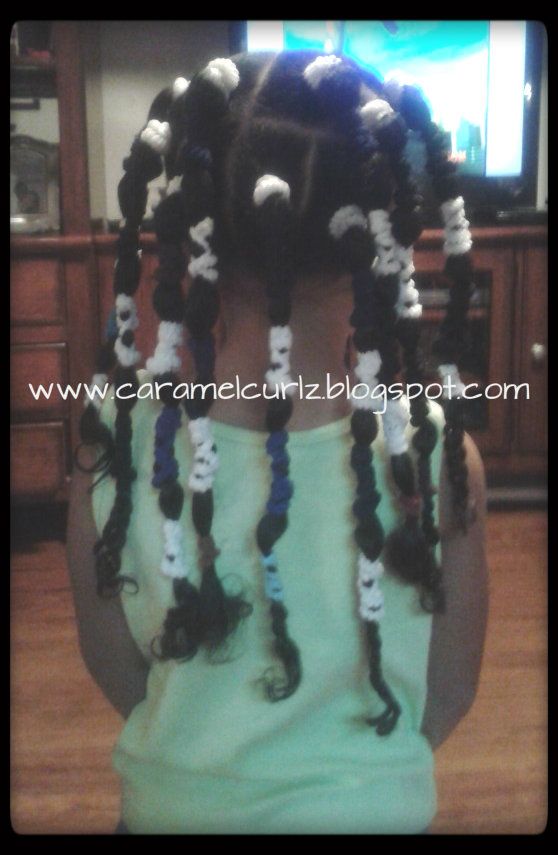
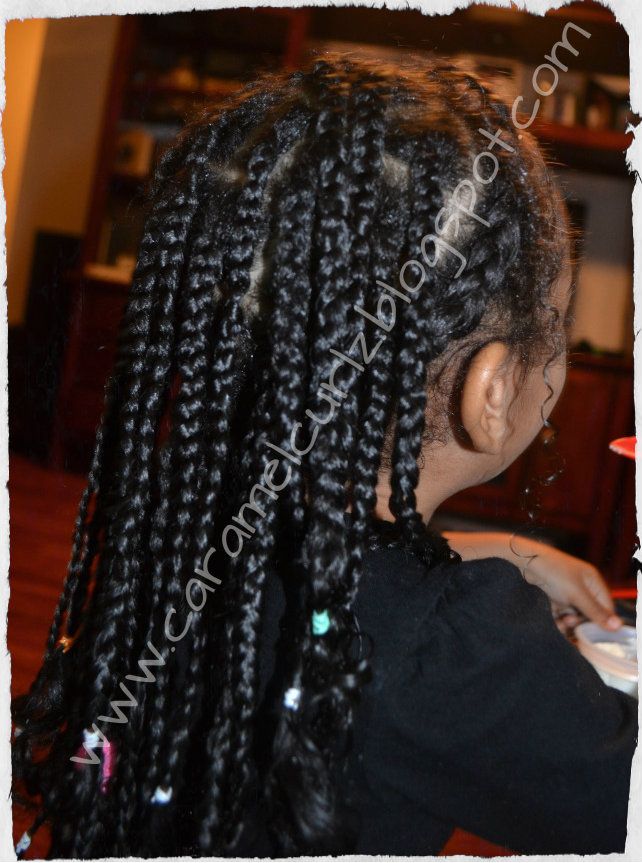
One of our favorite Blogs, Kandy Land Kurls is hosting another great challenge, Kandy Land Kurls 2013 Protective Style Challenge, and we are showing our support by styling Ms. Bree's hair in small box braids and front cornrows in order to protect her delicate hairline.

Don't forget to head over to Kandy Land Kurls and enter their challenge and win amazing products or just to get ideas on how to do protective styles.

Due to Ms. Bree's amount of hair, I had to divide this process in two days, after all she is only three years old and keeping her still for more than 45 minutes is never a good idea.   So, I started by doing the box braids on Saturday and did the cornrows on Sunday.

The Products:

* Creme of Nature Argan Oil Moisturizing Shampoo;
* Bee Mine Deep Conditioner;
* 100% Coconut Oil;
* Bee Mine Luscious Moisturizer.

After washing and deep conditioning her hair on Tuesday:

 *  I applied 100% Coconut Oil to the wet hair;
 *  Bee Mine Luscious Moisturizer.

Sectioned her hair the way I wanted it and banded the hair for 2 days.

Before doing the box braids: 

* I removed the bands from one section and created a small square;
* I sprayed a tiny bit of water to her roots
* Applied more 100% Coconut Oil
* Followed by Bee Mine Curly Butter.  

I repeated the process until all the back sections were styled in box braids:


I used rubber bands at the ends and used a tiny bit of Eco Styler gel and did finger coils.  

NOTE:  The rubber bands do eventually break and fall off or sometimes I take them off, by the time this happens the braids and the finger coils are completely set and the braids do not unravel.  


The Cornrows:

 * I repeated the same steps by spraying a little bit of water on the roots 
 * Then I applied 100% coconut oil to her scalp and roots.
 * Followed by Bee Mine Curly butter.


After a day or two, I will gather all her box braids into a lose bun in order to protect her ends during the week.

"Protective Styles" are very important during the winter months.  It can help retain length and/or promote hair length by minimizing breakage.  

Protective styling can and is very beneficial for the hair but you must remember to continue to care for the hair properly my making sure the hair is very well  moisturized, look for tension of the scalp and by making sure the ends are protected.

Which protective style is your favorite??  Don't forget to share with us all your pictures and comments.  


Thursday, November 8, 2012

Ms. Bree's First Trim

I have been paying close attention to Ms. Bree's ends for weeks now and wondering if it was time to trim her hair.  

A lot of us wonder about the same thing, when its the right time to trim our children's hair.  Curly hair is not like straight hair where you can easily identify when the hair is experiencing split ends.  

Trimming their ends, especially those dry dull tips, will help to keep their curly hair looking neat and healthy

During my research I came across one of my favorite blogger's recent post, "When To Trim My Child's Hair" and it provided me with the answer I was looking for. 

"Trimming should be done when the hair needs it", Kandy Land Kurls states on her post and it made sense.  

I noticed my daughter's hair needed it a trim because of the following:

1.  I noticed that I had to moisturize her ends more than usual;

2. Detangling process required a little extra time;

3. I was only noticing one or two splits ends while braiding or twisting her hair.

After noticing these and after reading Kandy Land Kurls' post about when its the right to trim your child's hair, I decided that it was time to trim those rough ends.

The next step to take after you determine whether or not your child needs a trim is who is going to do it?? Should you do it yourself? or go to a Hair Salon?

Trimming the hair is very simple because the only thing you are doing is taking the very ends off.  You are not looking to make the hair even or trying to give the hair layers, you are simply getting rid off those dry ends.  

Trust me when I say this is something you can do at home.  

How I did it?? I did it by simply following the steps on Kandy Land Kurls' Post "Trimmed N's Hair". 

1.  I washed Ms. Bree's hair with Creme of Nature Argan Oil Moisturizing Shampoo;

2.  Used Herbal Essence Hello Hydration;

3.  Moisturize her hair with our favorite moisturizer- Bee Mine Luscious Moisturizer;

4.  Banded her hair.  She wore her hair banded like this for almost two days.

Why band the hair??  Curly hair suffers from shrinkage, and its better to trim the hair while its dry, it will give you a better idea as to how much you are taking off.


As you can see on the above pictures, Ms. Bree's hair is quiet long. 

Trim the Hair:

1.  Make sure you use the right shears.  By that I mean, shears that are sharp and easy to cut with.  Dull and rusty shears are probably are not a good option.

2.  Work in sections:  Do not take all the bands out at the same time, instead try Kandy Land Kurls' technique by unraveling each section and trimming it, once you are finished move to the next section.

Once we were finished with the trimming process, these were the results:


I only took about 1/4 of an inch and in some sections I took even less.  Remember you are only taking off what is damaged.  

After trimming her hair, I decided to style it in Box Braids.  

1.  Sprayed a bit of water and applied more Bee Mine Luscious Moisturizer with a bit of Bee Mine Curly Butter.


Do you have any cool tricks to trim your child's curls?? Come and share with us, we love to hear your comments and or suggestions.

Monday, October 22, 2012

Princess Cinderella Hairstyle & More

This weekend was a fun weekend for the kids. 

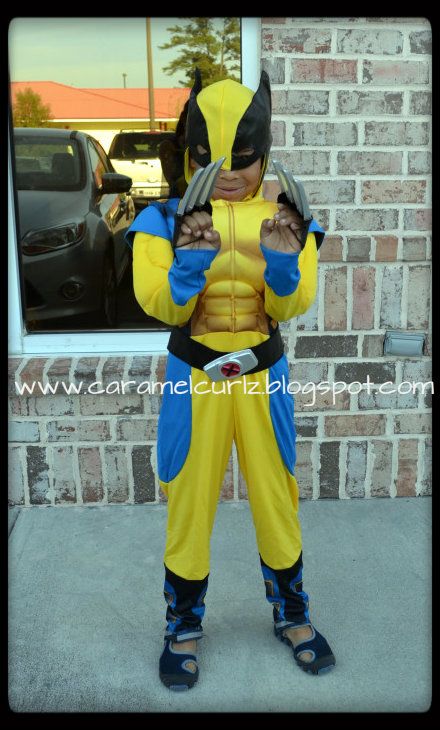
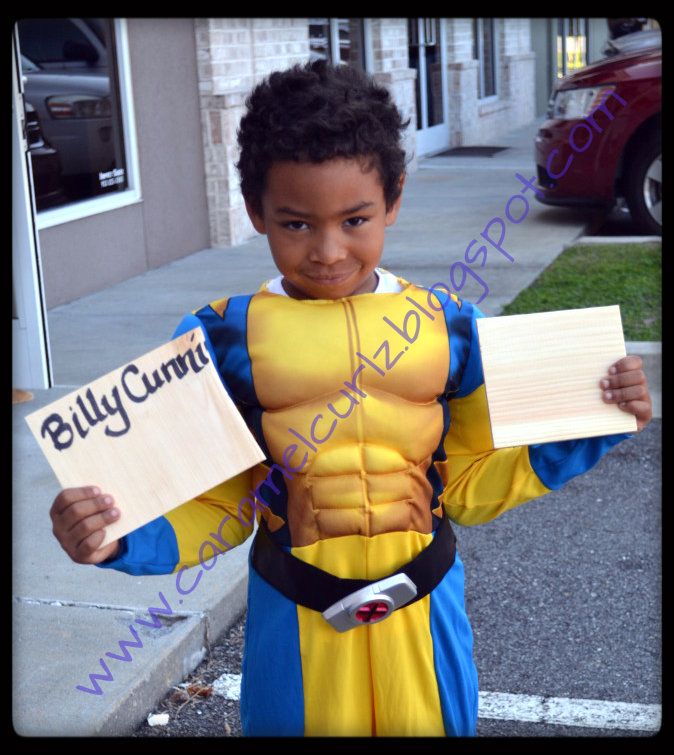
My son's karate instructor had an event called "Halloween Board Breaking" in which all the children got to wear their Halloween costume and break boards by using their punches and kicks.

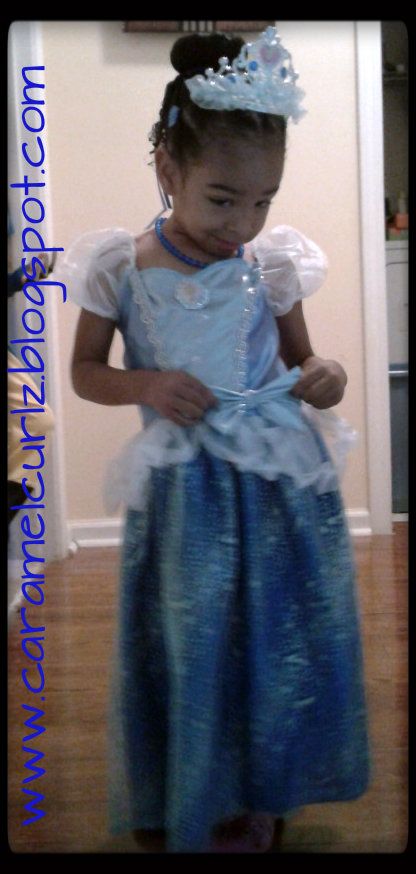
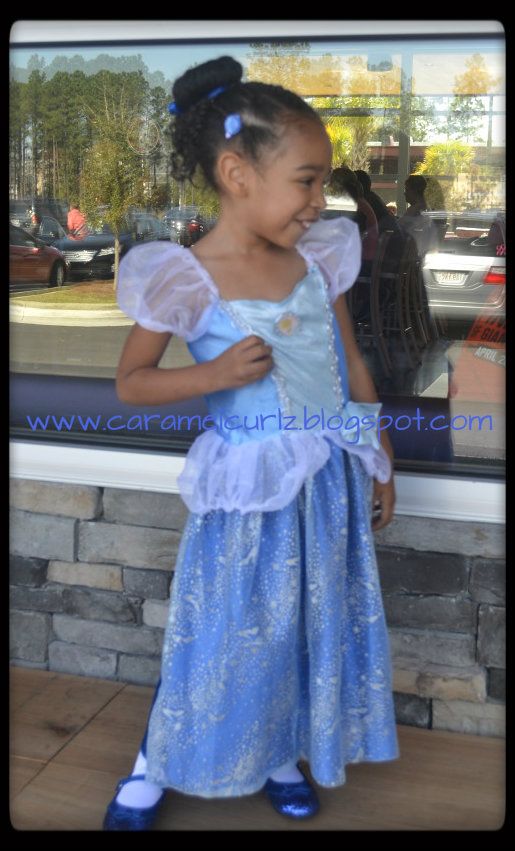
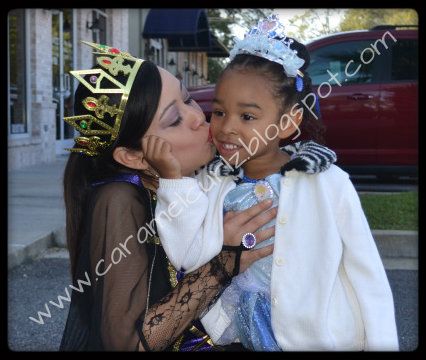
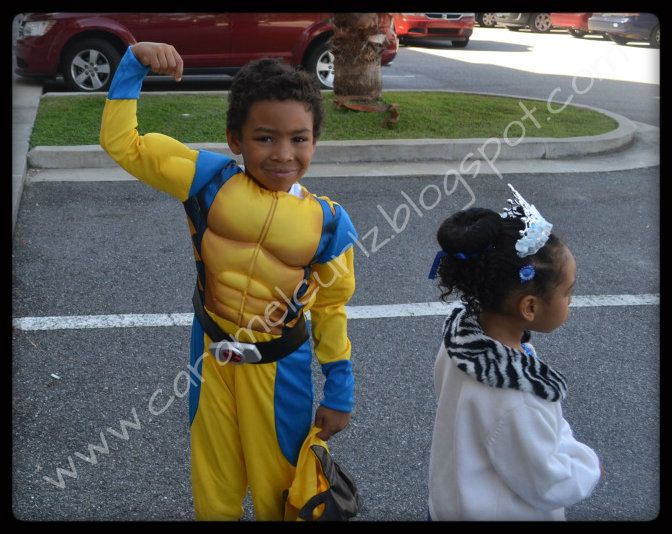
Lil B. choose to be "Wolverine" and  Ms. Bree choose to be "Cinderella"!

After my son saw "Baby Big Hair" shirt: "It's All Mine Tee",  he asked me not to cut his hair (we will see how long that lasts!).  We did had a little hard time trying to make the face mask fit properly because he has a little "fro" going on.

Here is my baby boy:


Ms. Bree's hairstyle was very simple and easy to do.  

I did a combination of medium size box twists (instead of braids) along her hair line and then combine them into a Bun.  I did not tucked the ends under the bun like I normally would do, instead I decided to leave them out and do little curls at the end by using Kinky Curly Curling Custard.   

Here is Ms. Bree:


I only used a bit of Bee Mine Curly Butter on Lil B's hair, unfortunately I believe all the product was left on the mask.  Here are some pictures of Lil B. without his mask:


Ms. Bree without her tiara:


Back View: I hope you can see the curls.  I used her side twists to secure the tiara. Ms. Bree has two more events to attend so I promise to take better pictures next time.  


Hey, who said Halloween is only for the kids?... I was talked into dressing up too... the Evil Queen! 


Are your and your little ones dressing up for Halloween?  Share your photos and styles with us, we would to see them!! 

Wednesday, October 3, 2012

A Huge Hair Day!

This past weekend we celebrated my first curly top- "6th Birthday"... My little man surely is growing up! 

Lately my husband has asked me to let Ms. Bree's curls out and free!  I know my daughter is a very busy little one and she truly hates her hair touching her face.  When I asked Ms. Bree how did she wanted to wear her hair to the birthday gathering....she replied.. "LONG AND DOWN".

So here it is... "LONG AND DOWN STYLE"


HOW TO GET THIS LOOK:


1. I washed Ms. Bree's Hair with Shea Moisture Raw Shea Butter Shampoo;

2.  After I have applied the Shea Moisture Raw Shea Butter Conditioner, I detangled her hair by using a wide tooth comb.

3. Then I rinsed out the conditioner.

4.  While her hair was still wet I applied Bee Mine Luscious Balanced Cream Moisturizer (Coconut Cream Scent-uhmmmm) and Bee Mine Curly Butter (also Coconut Cream Scent! Who me, a coconut fan??...)    As I said on my Product Review...the only mistake I made with these products is that I DIDN'T BUY THE BIG JAR! 

5.  I used my fingers to make sure the products were distributed evenly on her hair (using the raking technique).  Ms. Bree has a combination of curls, (some curls are more defined than others), on those curls that need extra help in order to dry nicely, I curled them using my fingers ("finger coils").  

6.  I left the towel on her shoulders so her outfit wouldn't get wet.  It took approximately 4 hours to air dry and these were the results:


AFTER 3 HOURS OF PLAYING:

(How we love the southern humidity! NOT!!! Ms. Bree's Hair is like mommy's hair and humidity is our worst enemy and our curls get frizzy quickly.  The difference with using the Bee Mine Products is that her curls were still looking amazing!!! The hair never got "crunchy" or "greasy".  


After the celebration was over, I carefully sectioned her hair (using only my fingers); sprayed a little bit of water and applied just a dab of Bee Mine Luscious moisturizer before I braided the section into a lose braid. 

At the end we had about five lose braids. 

Put her satin cap on, gave her a quick bath then Ms. Bree went to bed.