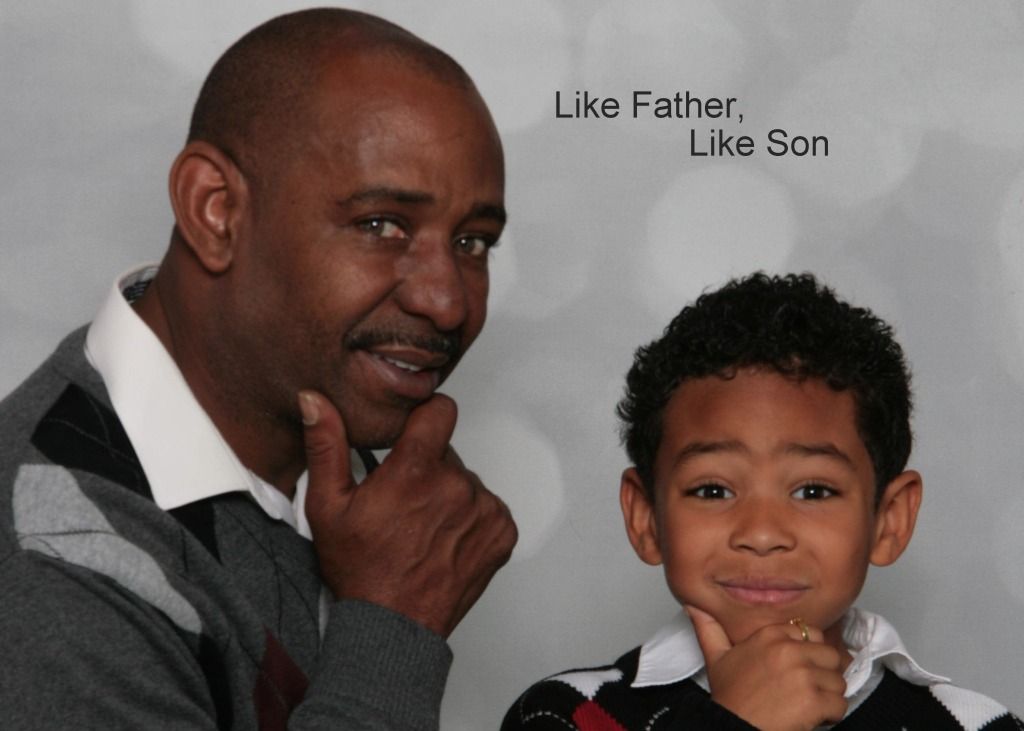
YOU DON’T CHOOSE YOUR FAMILY- THEY
ARE GOD'S GIFT TO YOU, AS YOU ARE TO THEM By Desmon TuTu.
This particular
post is about the importance of a Family Portrait and not as much about hair.
For my husband I, a
family portrait is one of the most important things you can have in your home. It's like a reminder of your family at a
specific time in your lives.
Family members' schedules can be so difficult to
coordinate, and it's easy to put off the portrait for another time when is more
convenient.
The
important thing to remember is that the best time to take a family
portrait is always NOW. We all know, life is very unpredictable and we don't have
control over certain things. However, what we
do have control of is the decision of taking family portraits and capturing as
many special moments as you can.
Families go through constant changes; they may expand, they
may shrink, and they always age. Our
kids will not be kids forever and we all are constantly going through physical
changes.
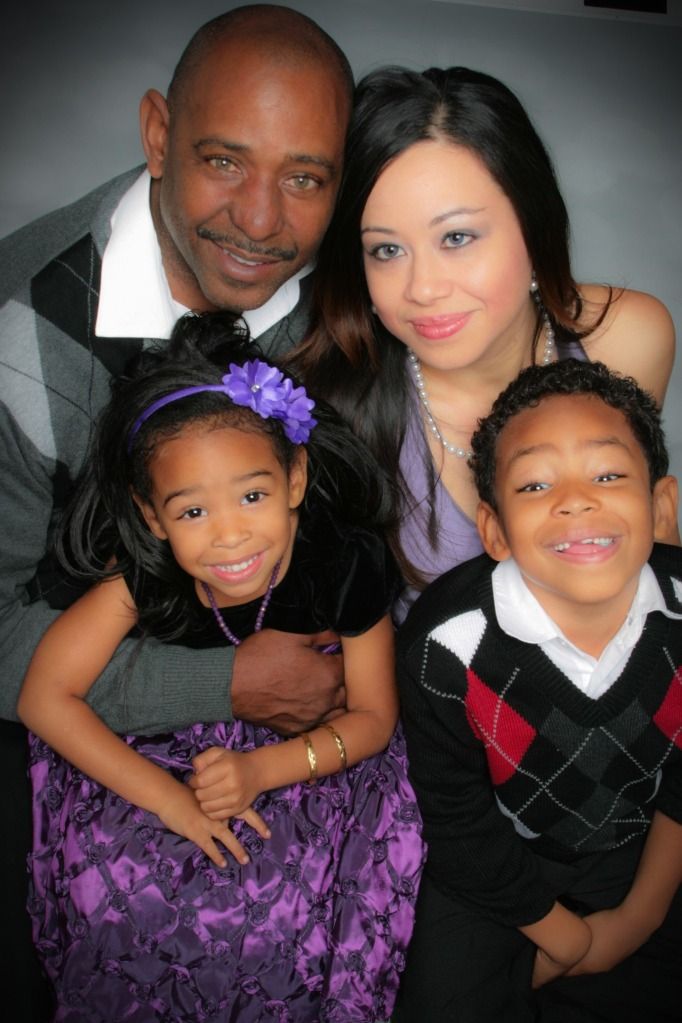
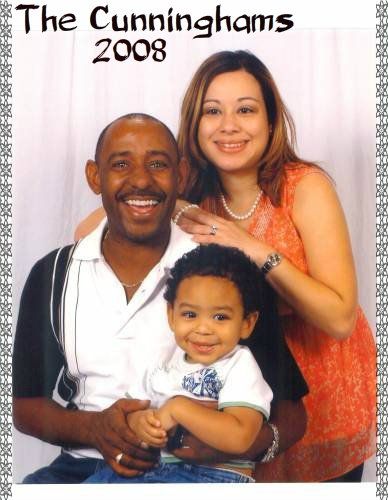
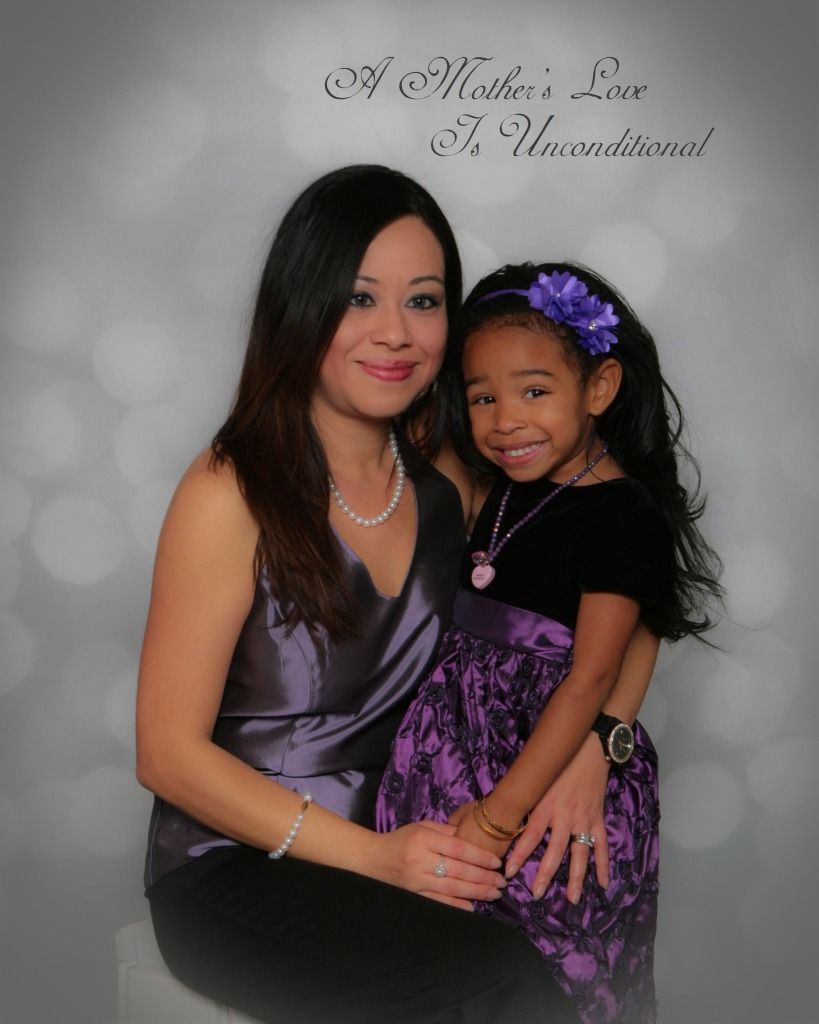
Below
is our 2008 Family Picture, Lil B was almost two years and I was about five
months pregnant with Ms. Bree.
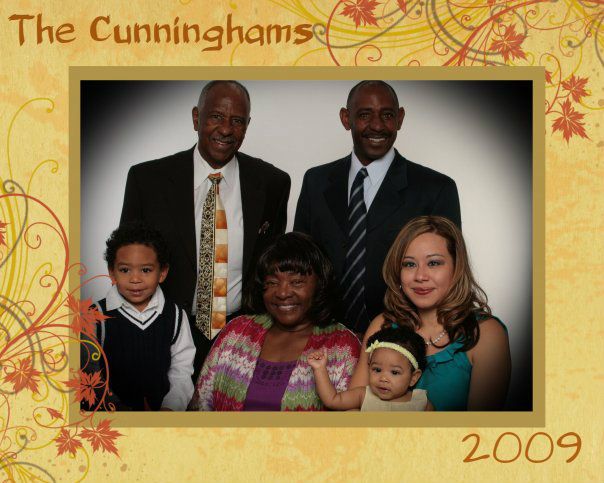
Remember
how I mentioned before that "Families may expand", below you will see
our 2009 Family Picture. In this picture
we wanted the grandparents to be included because THEY ARE part of our family
and they play a big role in our lives.
In
this picture Lil B was three years old and Ms. Bree was almost eight months old. Our family expanded by one little package!
You
don't have to spend a large amount of money on professional pictures, several
photo studios including Walmart, JC Penney and/or Sears offer different
packages at low prices.
But
you can easily have someone take it for you while you are at a gathering of
some sort or do what we did during the years 2010 and 2011, use the timer in
your camera and take your own picture!
In
2010, due to our busy schedules, we never made it to the studio BUT we still managed
to take a nice photograph together and called it 2010 Family Photo.
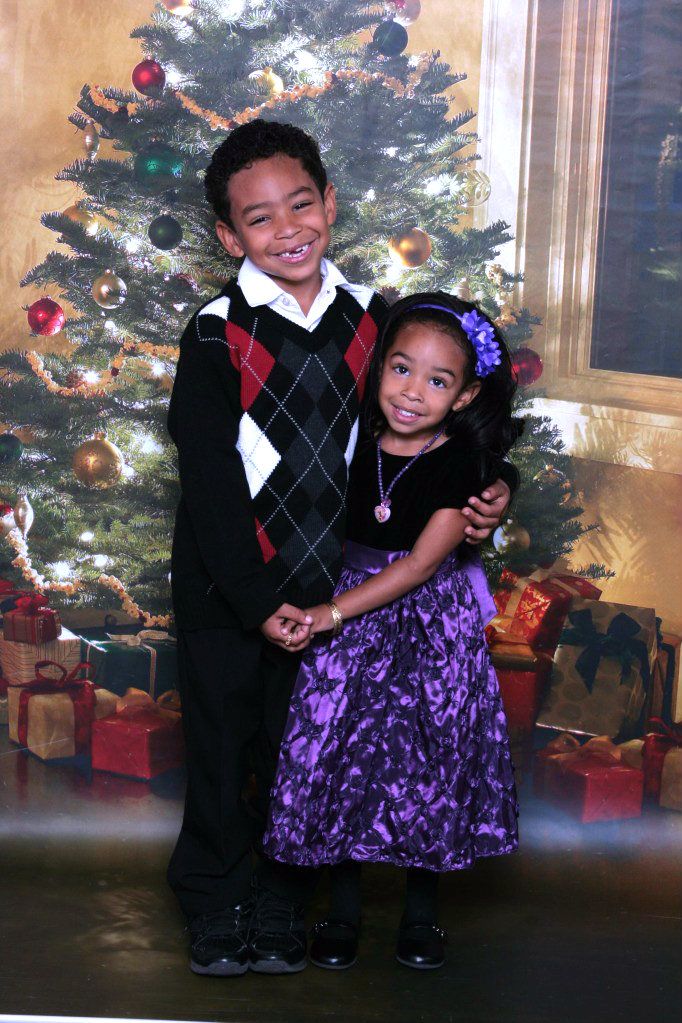
In
the picture above, you can clearly see the physical change in Ms. Bree who was
20 months old and Lil B was 4 years old.
I have lots
of pictures plastered all over my family room walls and various size picture
frames on my coffee and foyer tables. I
also have baby scrapbooks, which I made especially for each of my children.
Now days
I find it very difficult to do scrapbooks and I have opted on making photo
albums through Walgreens Photo Store Online.
Upload the pictures, pick a book and done! You can pick the book up or
have it delivered to your door.
In 2011, I kept
trying to find the perfect time to take family photos but never found it. So again, we never made it to a photo studio.
This is our 2011
Family Photo:
While you can't see much
change in Ms. Bree you can clearly see the change in Lil B. who was 5 years old
while Ms. Bree wa s 33 months.
I'm thankful that my
husband always reminds me that it's time to do our family portraits otherwise
it would never get done and I'm more than sure that one day our children will
thank their father too.
Come and share you family photos with us!
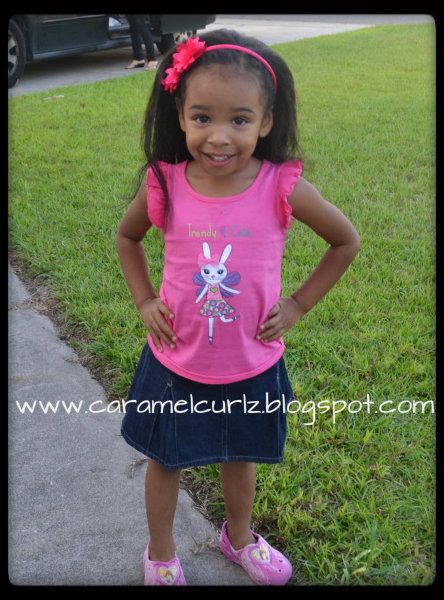
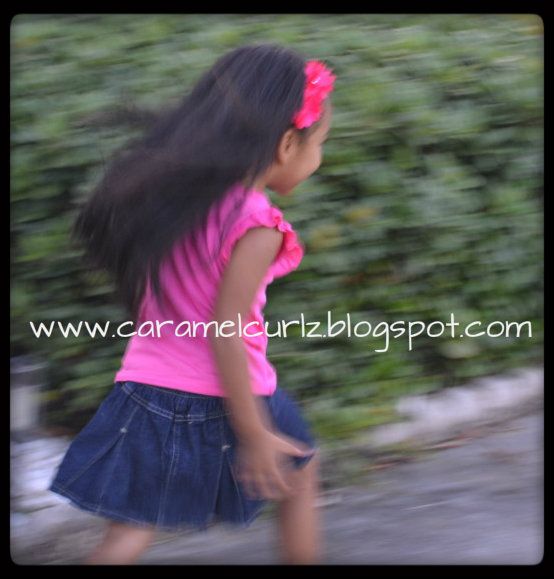
Here are more of our photos