Showing posts with label Clips Bands. Show all posts

Wednesday, October 31, 2012

A Royal Weekend...

I'm going to try to make this short but I doubt I will be able to succeed on that!

As some of you may know, we went on our last vacation before two of our biggest and busiest holidays arrive.

Although my husband and I have an amazing time with our kids during the year. Thanksgiving and Christmas are the most busiest holidays for us.  We have started following his parents' family tradition as well as our own family traditions, which includes a lot of decorations, not just indoors but outdoors.  The planning of the Thanksgiving Dinner is a special event as well as the Parent-Child activities that we have during Christmas holidays.

For our last vacation, we choose to go to Walt Disney World's Magic Kingdom, where their Dreams Come True!



Ms. Bree's last style were cornrows and box braids.  You can see our 2nd Attempt- Cornrows Post.  The day we left, I took her box braids out and I only sprayed the cornrows with Bee Mine Daily Spritz.

Florida weather did not agree well with my daughter's hair.  Now, I can add that to my list of things I don't miss from Florida!  Ms. Bree's hair got frizzy as soon as she got out of the car and so did my hair.

Before Ms. Bree went to bed:

1. I co-washed her hair by using Herbal Essence Hello Hydration and lightly rinsed it out;
2. I applied Bee Mine Luscious Moisturizer and Creme of Nature Argan Oil.
3. I section her hair in 2 by parting from ear to ear.
4.  I banded each section.

Disney's Downtown Marketplace

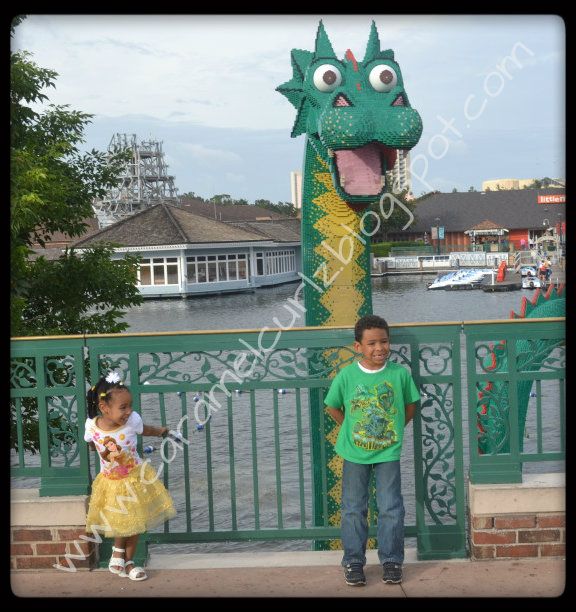
The next morning, our family decided to go to Disney Downtown Marketplace for the girls to have a little fun shopping while the boys were at Disney's Magic Quest.

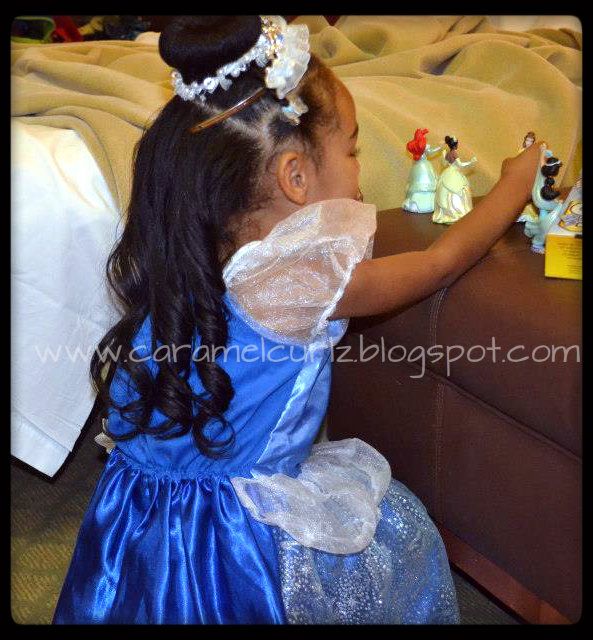
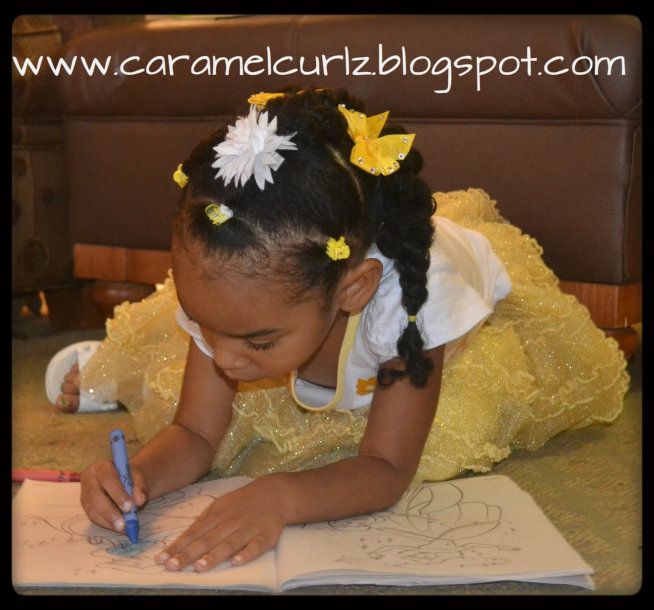
I took the bands out of her hair and pick a style that I could easily modify the next day and do her "Cinderalla Bun"..

1. I parted the bottom section in two (from top to bottom);
2. Each section was secured with a pony tail by using Goody's Ouchless Bands;
3. I sprayed a bit of water and applied more Bee Mine Luscious Moisturizer and created two twists in each pony tail.
4. On the top sections I parted three small sections around her hair line, used very small ouchless bands to secure each section.
5. I braided each section and combine them with the top section in order to create a big pony tail (Veil style).
6. I then created three twists on the top pony tail.
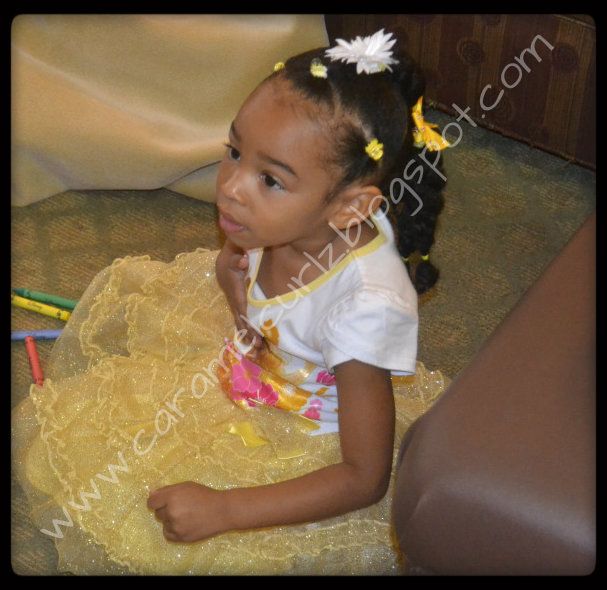
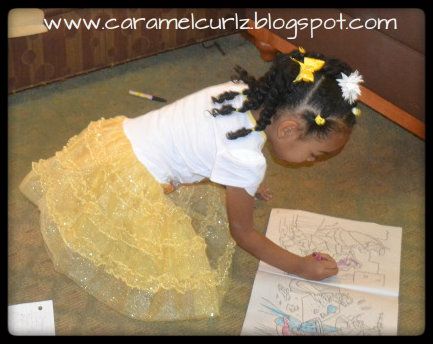
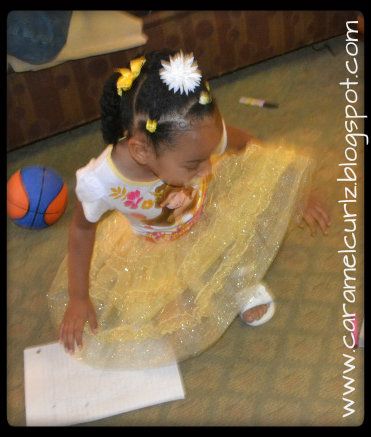
7.  I accessorized each pony tails with Yellow Bows to match her "Belle Dress".

These were the results:


After a long day out at Disney's Downtown, we went back to our sleeping quarters for a good nights rest before our big day at Disney's Magic Kingdom.

Before bedtime: I removed the bands that secured each pony tail (without removing the twists) and put her satin sleep cap on.

Our visit to Magic Kingdom

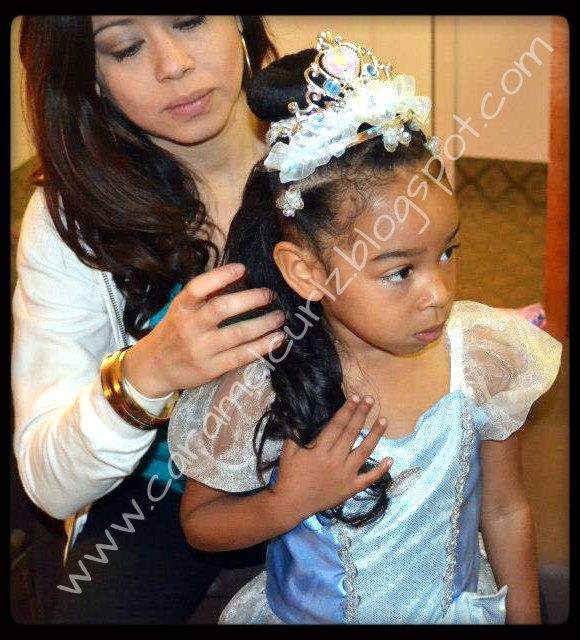
On Saturday morning, Ms. Bree and I got up a bit earlier than the boys and because her hair had already been sectioned the night before, I was able to save time on that part.

It took me about 35-40 minutes to finished the style and that includes adding all the accessories:

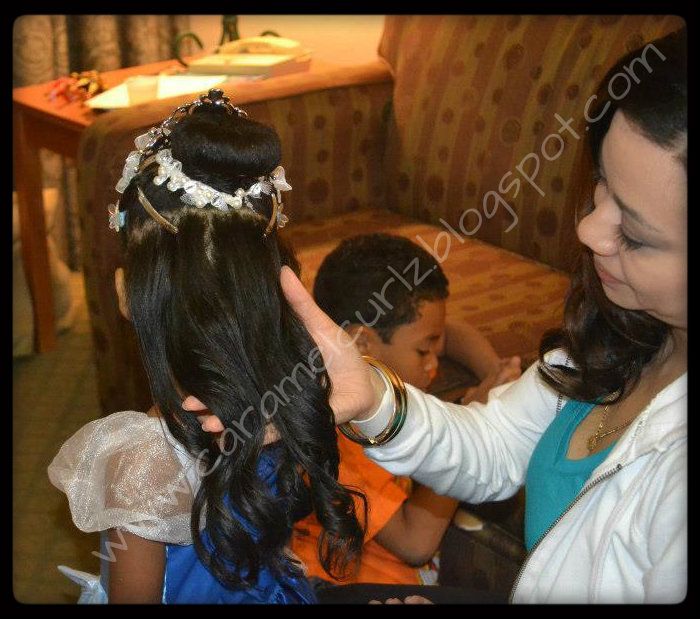
I created the curls by using the flat iron.  Instead of flat ironing the hair all the way to the ends, I stop at the middle then wrap the bottom of the hair around the flat iron (like you would normally do when using a Curling Iron) and brought the flat iron to the ends and these were the results:


The butterflies clips (clear in color) helped the tiara stayed in place.

Saturday Afternoon:

Due to the cloudy, breezy and humid weather I had to secure the back portion of her hair in a lose pony tail.
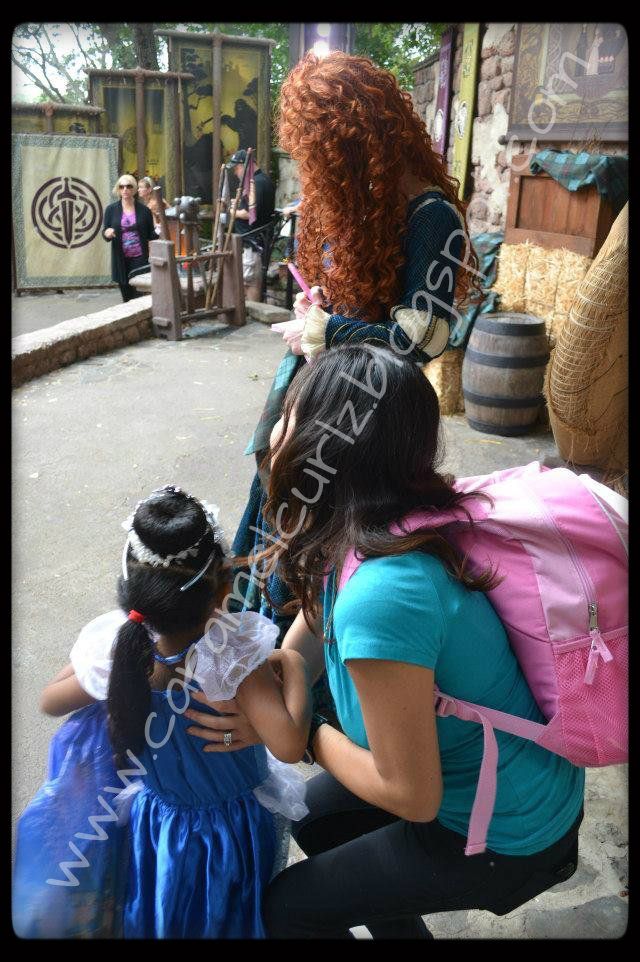

Ms. Bree's hairstyle was not affected at all by doing such adjustment.
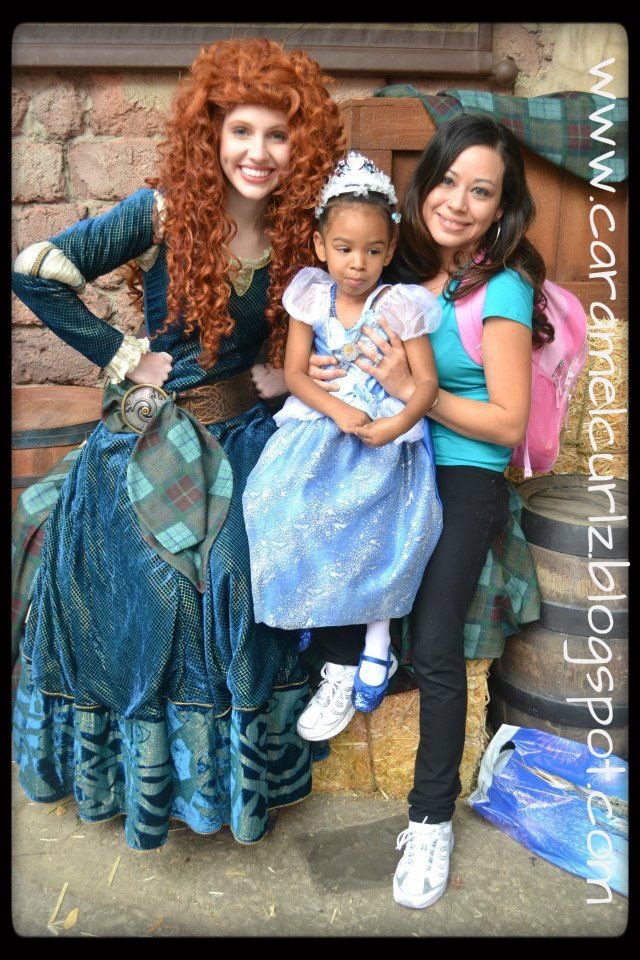


Sunday Morning:

Going home.... the only thing I did to her style was undo the Bun and do a big twist and pin it with hair pins.


Tuesday, October 16, 2012

Picture Day!

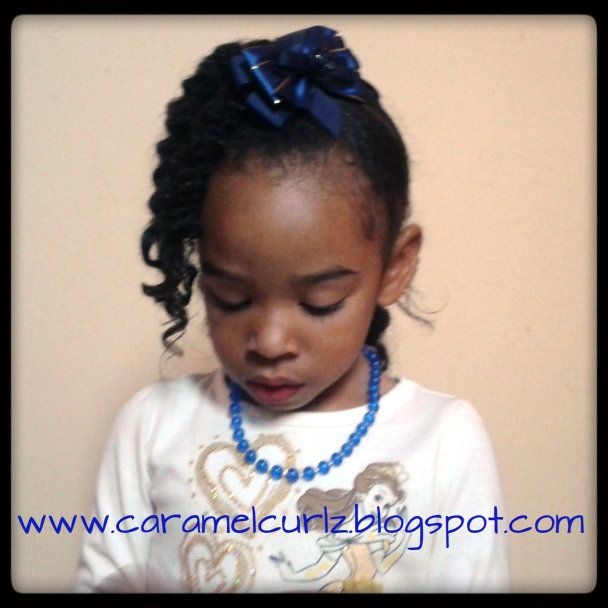
ALL READY FOR SCHOOL PICTURES!!   

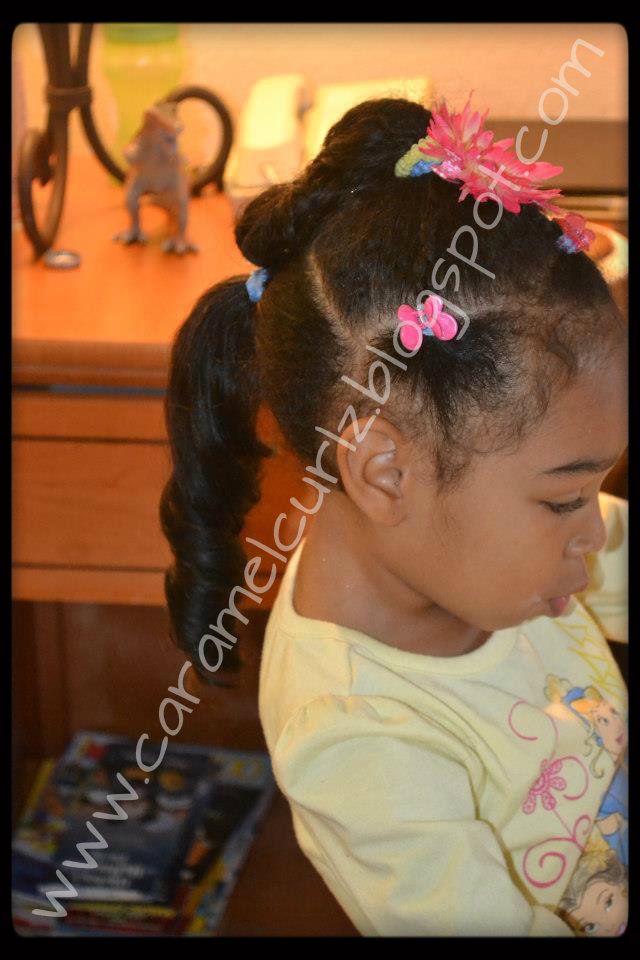
Today is individual picture day and Ms. Bree picked a very simple style.  I am so glad she did because Mondays are very hectic for us due to the extra activities my son is currently enrolled on.


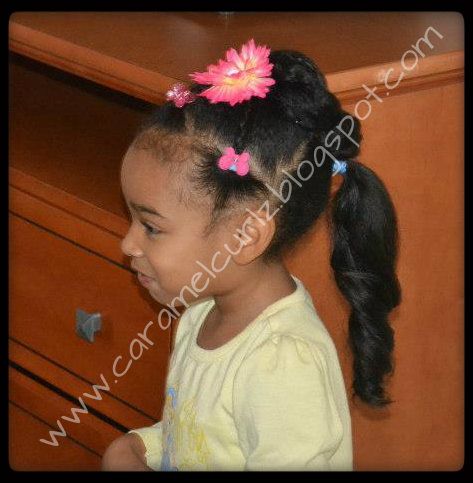
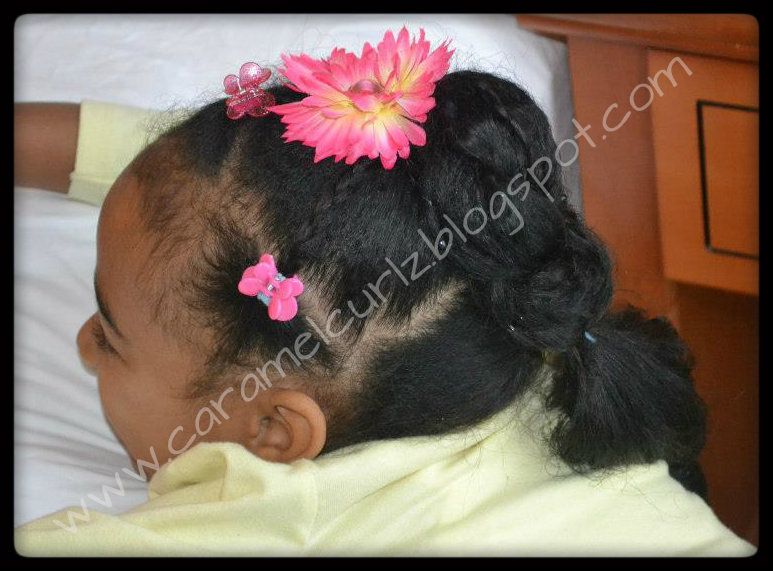
Ms. Bree has truly enjoyed her twist outs style and she asked me to do it again, but this time she wanted two ponytails so she could wear the flowers she found at the hair store.


To Get The Look:


MONDAY NIGHT: 

1.  Shampoo her hair with Cream of Nature Argan Oil Shampoo;

2.  I used Herbal Essence Hello Hydration and I lightly rinsed the hair out;


3.  Created four sections by parting from ear to ear then from forehead to nape.  

4.  On the bottom two sections:  I created a total of 8 two strand twists.  I use Bee Mine Luscious Moisturizer and a few drops of Argan Oil.


5.  On the top sections I created two pony tails secured by Goody's Ouchless Bands (I only wrap the band twice.  It was not tight at all but since I really didn't see the need for it because I was going to retouch it in the morning);

6.  I created 3  two Strand Twists on each pony tail.

7.  I then pin her twists up so they wouldn't shrink that much during the night.


This morning I carefully removed the pins and retouched her pony tails by making the edges nice and smooth. I re-banded her pony tails and applied the flower clips.

Ms. Bree also wanted the headband so I let her put it on.  

Are your kids taking school pictures??  We will love to see their pictures and styles! 

Monday, October 15, 2012

Mohawk With Twist Out Style

When I first saw the Mohawk Style I thought "what an interesting style" and it has been in the back of my mind for a while.

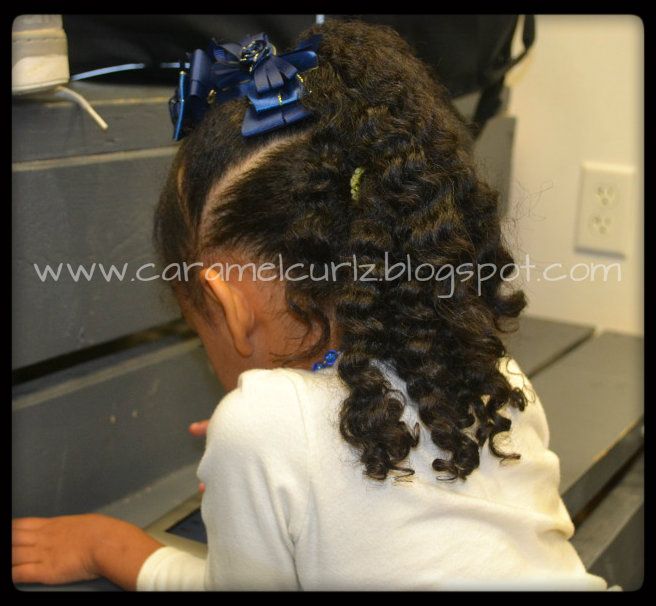
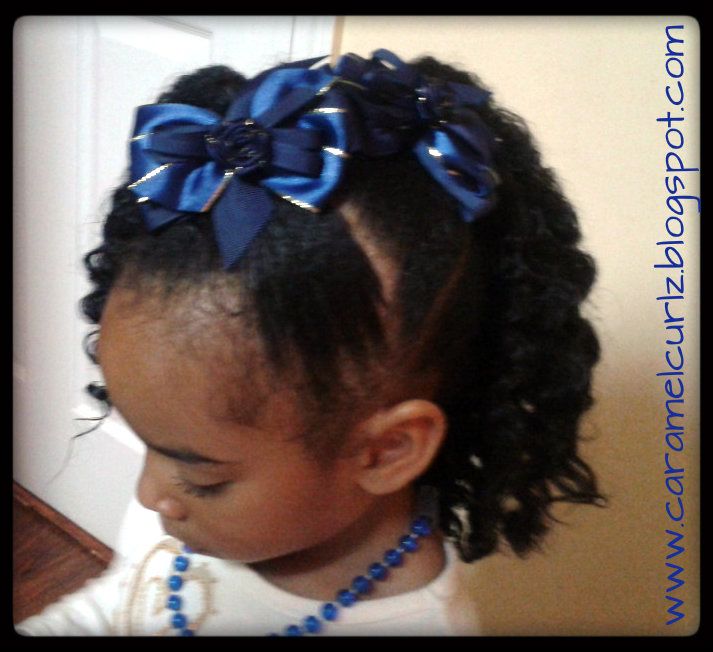
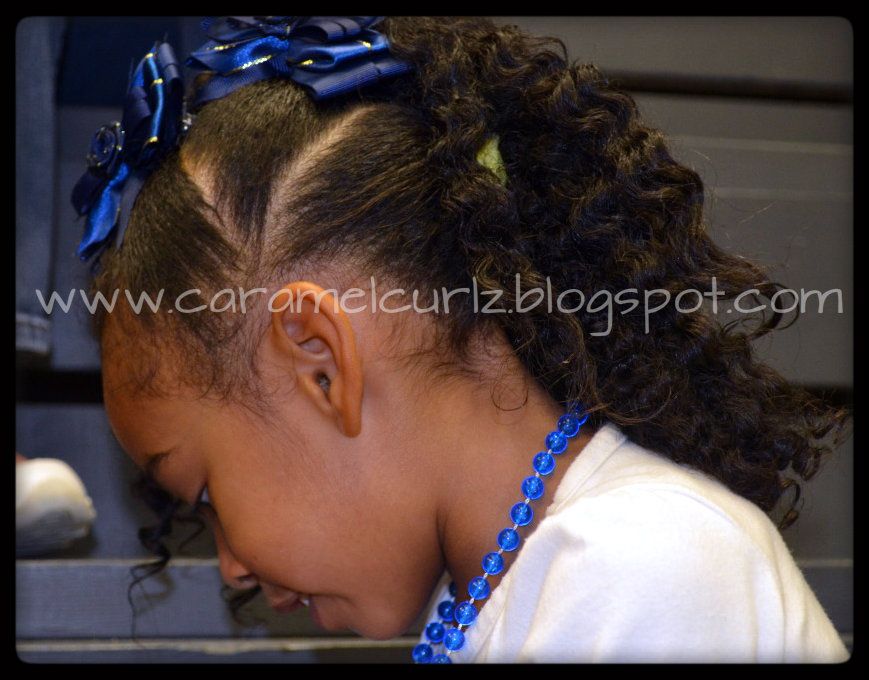
Ms. Bree has been rocking her twist out look for a few days now and I decided to do something similar to the  Rolled Mohawk on Natural Hair I saw on  Braid With Me site.  Make sure you check her website out.  The style it's beautiful and is not as complicated as you may think it is.

But Ms. Bree likes to wear her hair out so I compromised and these are the results.


1. I simply did divided her hair in three sections;

2. each section was secured with a pony tail by using "Goody's Ouchless Bands";

3. I used Curls Passion Fruit Curl Control Paste to keep the edges smooth and added a little bit more Bee Mine Curly Butter to the twist outs and made sure the ends were very well moisturized;

4. To accessorize the style, I used two bows with Alligator Clips.


AT NIGHT:

I removed all the accessories;

carefully removed the band and re-did the 2 strand twist.

She slept with satin cap on.  I was also able to find a satin pillow cover at our local hair store and it was only 5.99!!  

THE NEXT DAY:

She asked for the same style again so I did it by following steps 2-4 all over again and these were the results:


Monday, August 27, 2012

Let's Get Organized!!

If you are a hair accessory lover like I am, then most likely you are going crazy with all the accessories.  

The accessories were taking over my bedroom and bathroom until my friend had a great idea, she purchased a craft organizer box from Michaels for a very reasonable price.  What I love about the organizer box is that you can make the compartments bigger for those bands or bows/barrettes that are in the bigger side, it's completely clear so you are able to see the contents without having the need to open, and it snaps close easily.

But the more fun I was having with her hair the more accessories I found myself buying, eventually my organizer box was not big enough to hold all the accessories.

Here is where my husband came to my rescue. He had a Stereilite 6 Drawer Cart (with wheels) that he kept in our room for his personal use.  After seeing me struggle with all Ms. Bree's hair accessories, he gave me the cart and said that I could organize the accessories better by using the drawers for different items.

I immediately made this a "family project", my son an daughter got into the idea of organizing all the items by color and sizes and we had  lot of fun in the process.  For me it is always important to share various activities with my children and during this project we also talked about sizes, shapes and colors.

I really love the cart, specially the clear drawers, i can easily see the contents of them.  I also like the fact that it has wheels which allows me to roll the cart to wherever I need it to be.

There are so many different ways that you can organize your hair accessories, here are a few ideas:

* Craft organizer box: which can be found at any crafting store, (i.e. Michaels, Walmart, Target)


* Stackable Cabinet:  These come in different sizes with clear drawers.


* Ice Tray Cubes:  These are really good for small barrettes, bows and bands.

* 2 Tray Classic Tackle Box:  Some stores like Walmart actually have a Disney Princess Tackle Box and it is also very convenient for traveling.

* Hair Accessories Storage Board:  If you are a crafty mommy you can probably make your own at home with things that you probably already have.