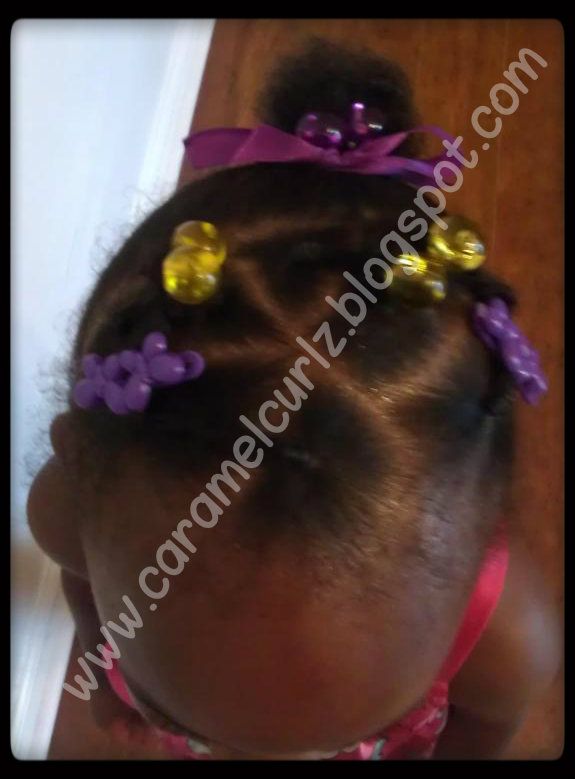
It's been a while since we used beads and Ms. Bree has kindly requested I added beads to her braids and I thought "why not".
The first time we added beads to her braids Ms. Bree decided to let her friends from school touch them and some beads were lost. And by some I mean half of the beads and snaps were lost!
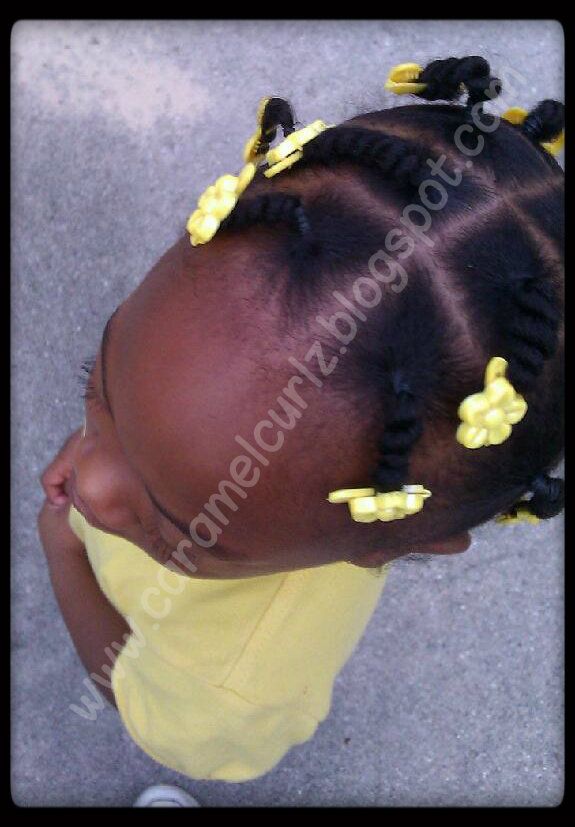
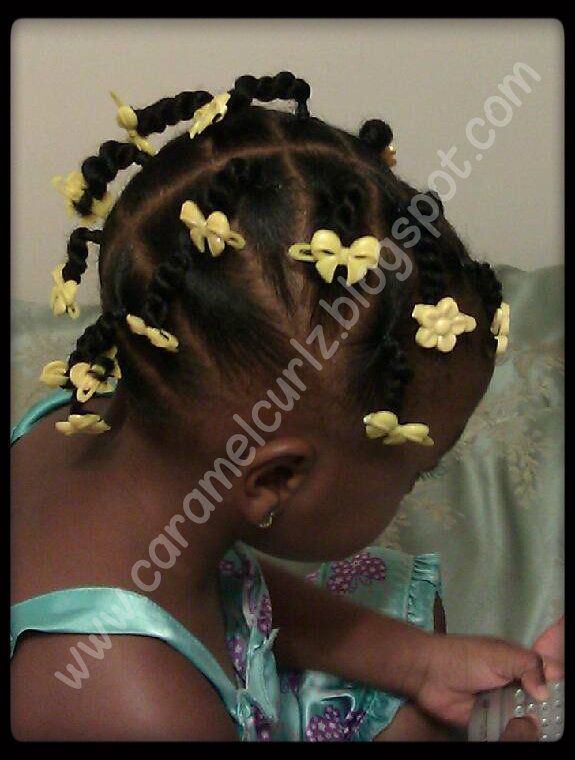
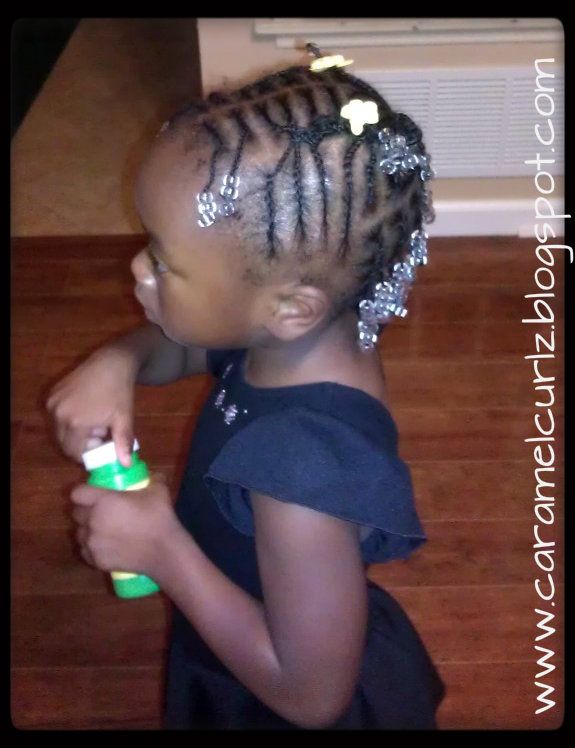
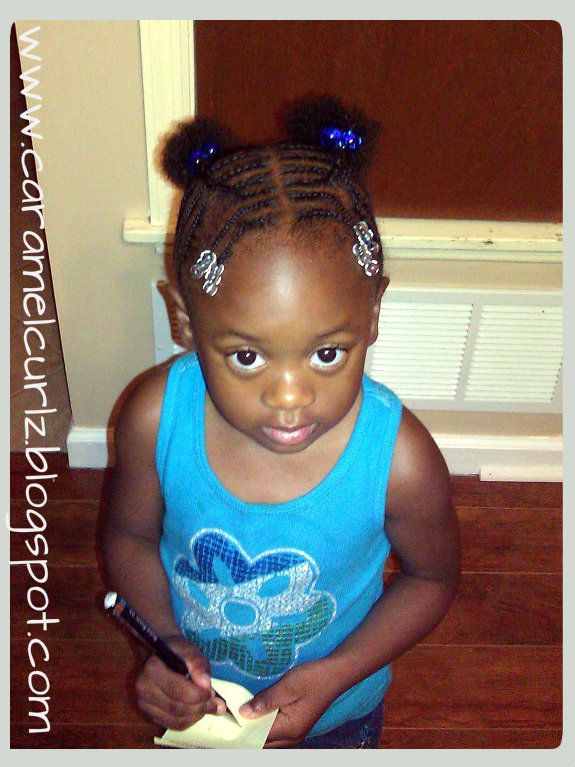
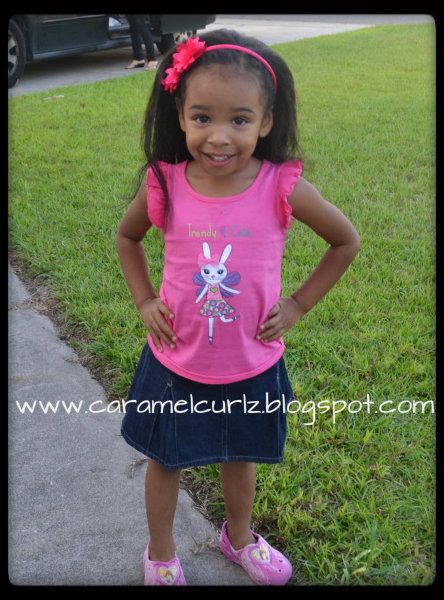
For this style I did very simple short cornrows and used medium size beads. Last time we used small beads and I really didn't like the look at the end.

After washing her hair I applied our oil mix (equal parts of Castor Oil and 100% Coconut Oil) then applied Bee Mine Luscious Moisturizer and banded her hair. For more details on banding please see our post What is Banding?
Ms Bree's hair was banded for one day before I braided her hair.
Day 2


Products used:
First, I divided each section to start braiding,
Then I damped the hair with a little bit of water;
Then applied Bee Mine Curly Butter with a little bit of Eco Styler Gel with Argan Oil and started to braid;
I secured each braid with a rubber band;
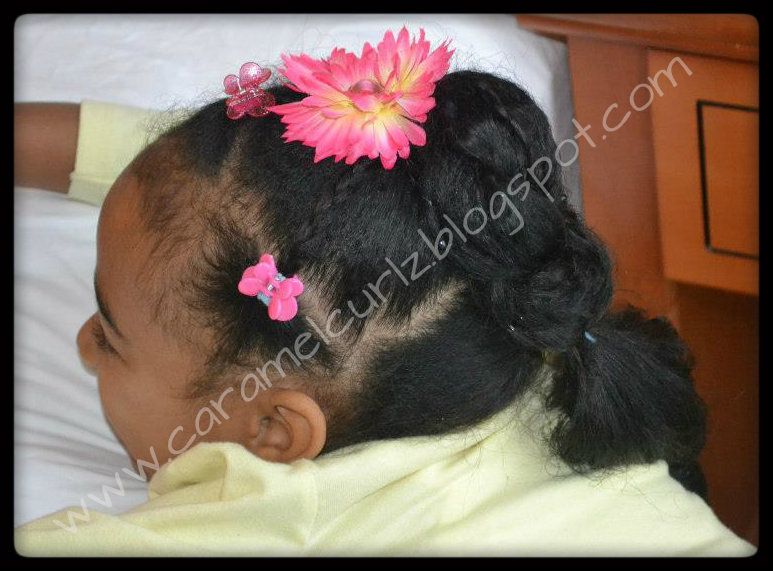
Once all her hair was braided I began to add the beads.
Each braid has 7 beads in total.
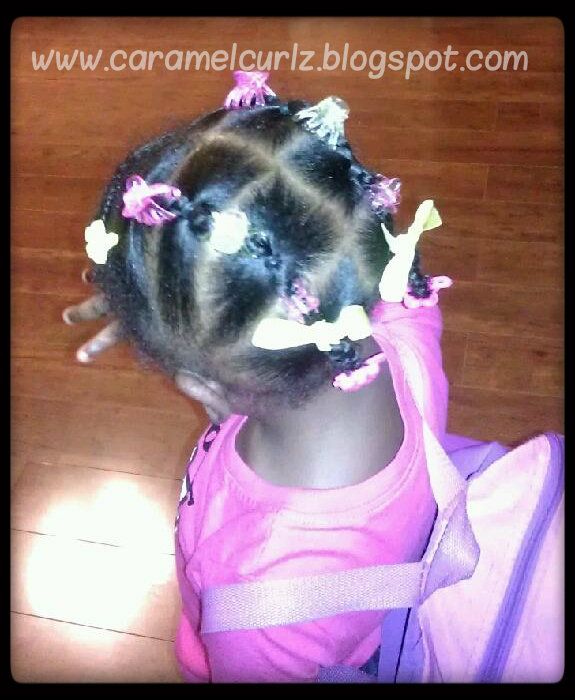
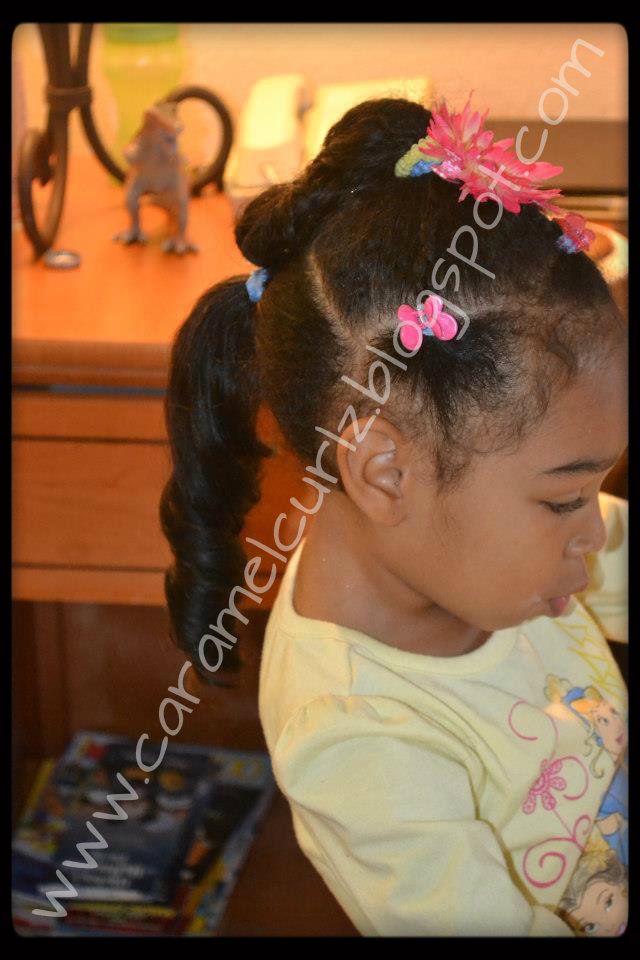
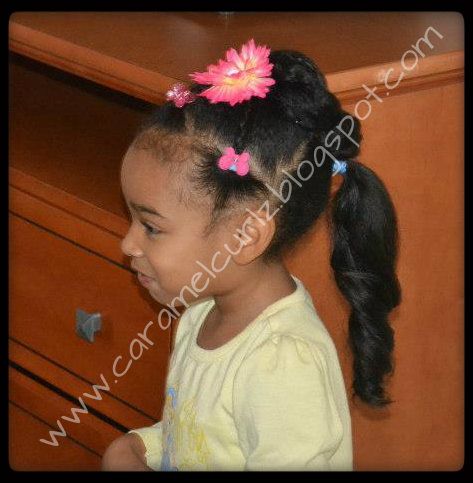
Day 3


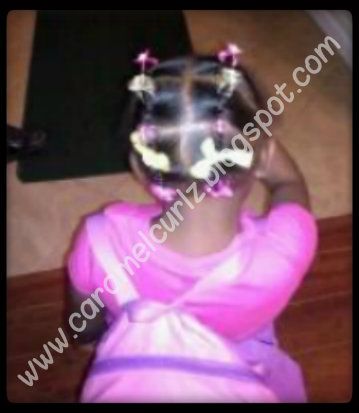
Day 5

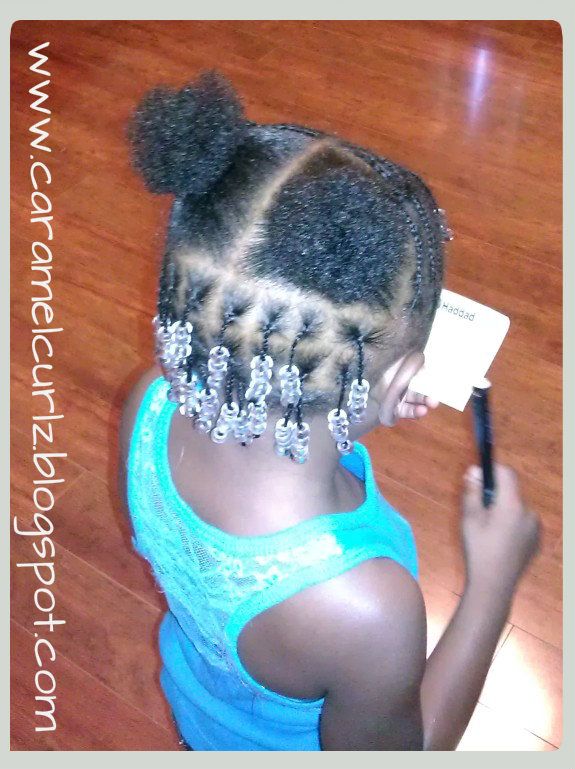
Day 7
Day 7

Maintenance:
I moisturize her scalp with Bee Loved Hair & Scalp Moisturizer at least once a day;
For the braids, I spritz Bee Mine Juicy Moisturizing Daily Spritz.
When her ends are exposed, I use either Bee Mine Curly Butter or Bee Mine Luscious Moisturizer to at least once a day (usually before bedtime).
How do you maintain the styles looking fresh??