Showing posts with label Bun. Show all posts

Thursday, August 27, 2015

Quick Updo Style for Today!

Good Morning Everyone!! 

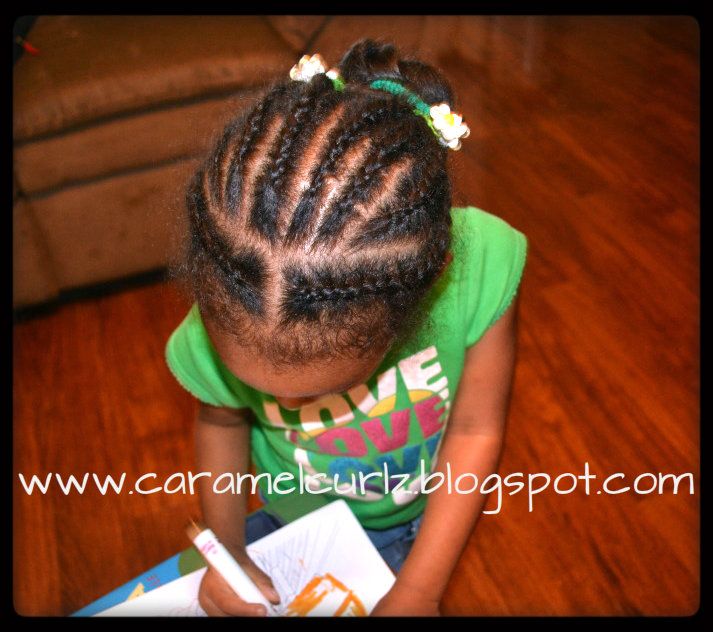
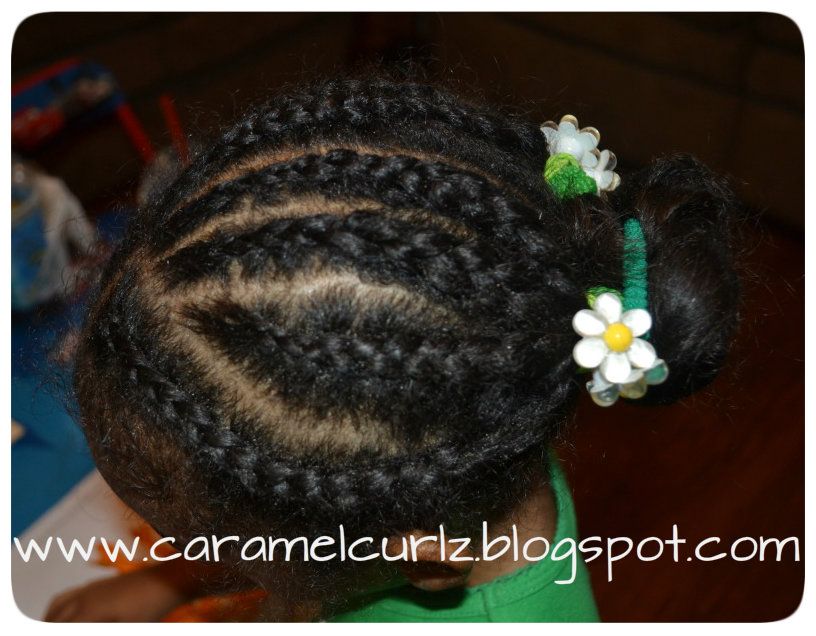
Ms. Bree 's style is a simple and quick Updo.   Perfect for days like this, when "time" was definitely not my friend...  


Cornrowed her bottom half ;
and smoothed her front section;
Then brought both sections together into a simple small bun.


I didn't use any Bun Shaper Foam or sock, just carefully twisted her hair into a bun;
secured it with hair pins.


This style is only for the next couple of days.  I will fix her parts and finish the style this weekend!! 

Have a wonderful day.... the week is almost over!!!   


Friday, May 10, 2013

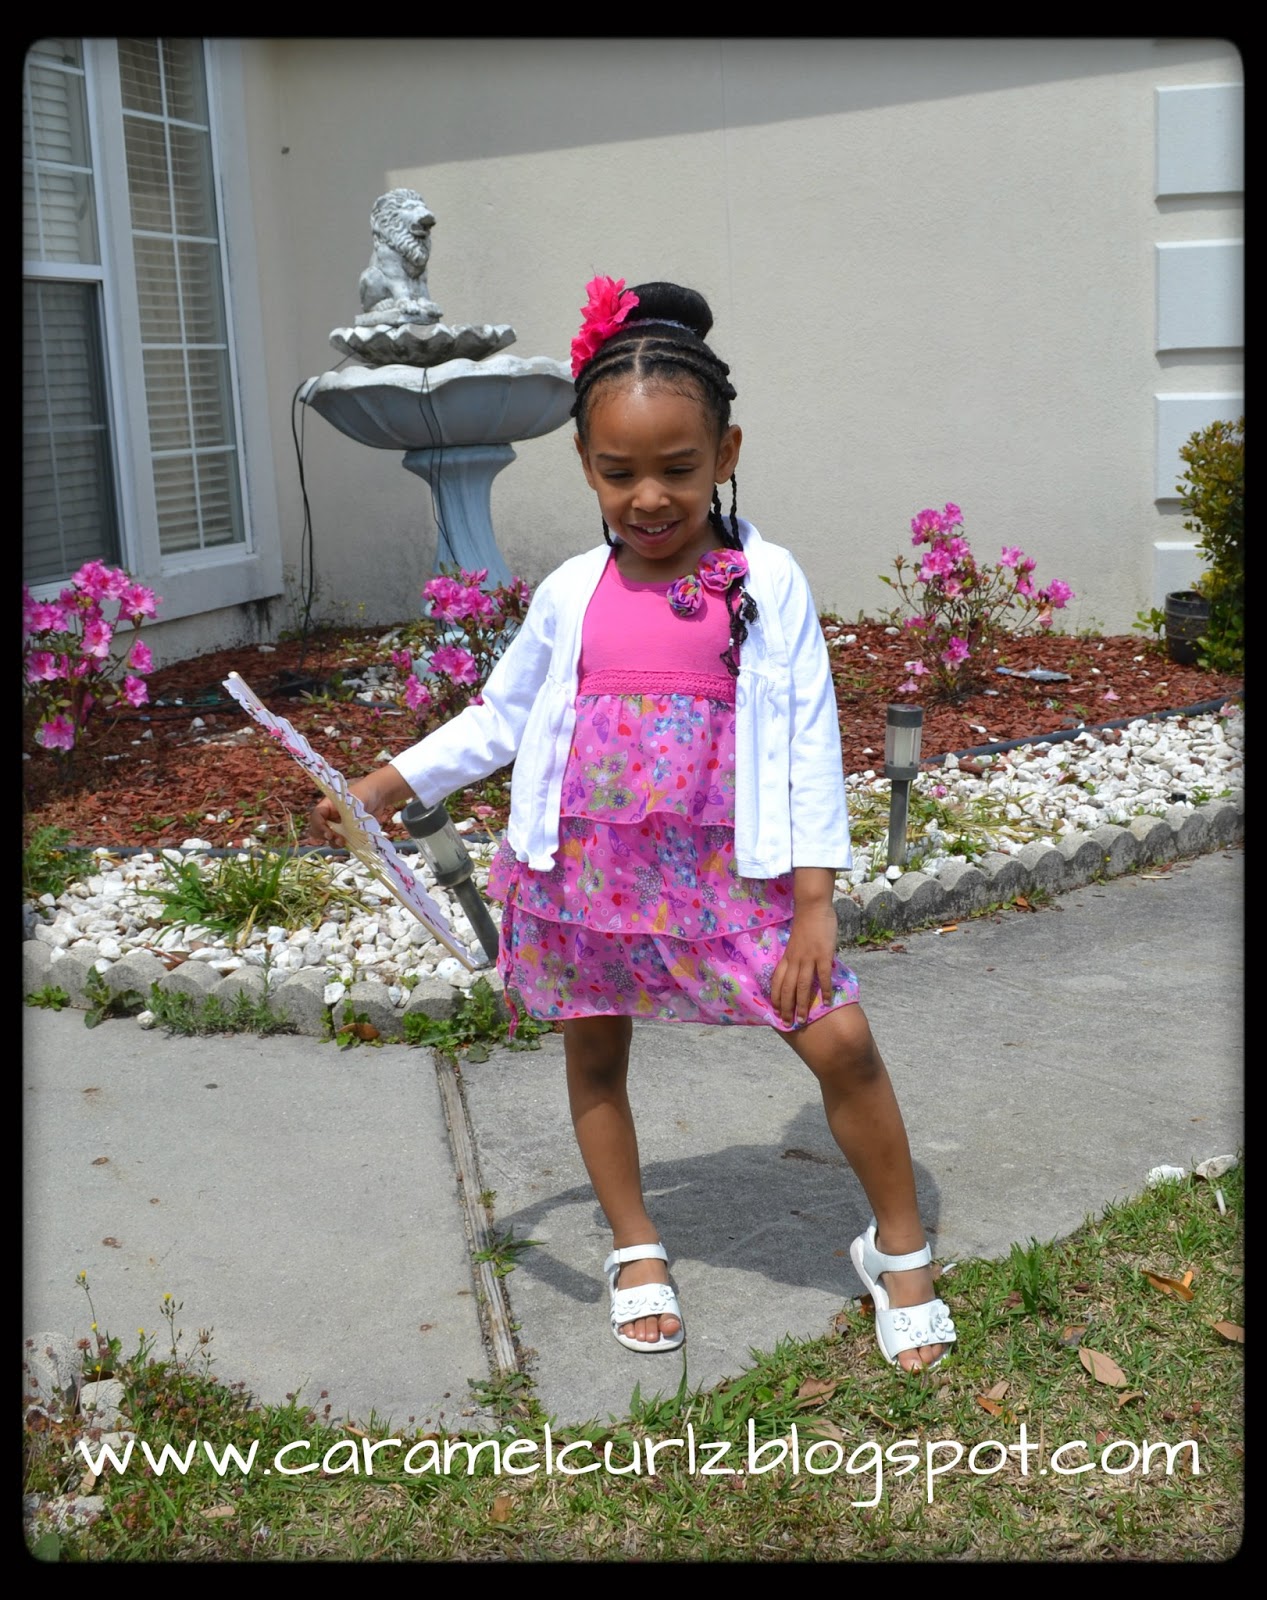
Cute & Simple- a style for Mother's Day


This is a very cute and very simple style that your little one can rock this weekend!!  


How to get this look: 

Products used after washing her hair:

100% Coconut Oil / Castor Oil (Equal parts)
Bee Mine Luscious Moisturizer

Banding Process:


I stretch Ms. Bree's hair by using several bands (i.e. small scrunchies, ouchless bands or cloth covered bands) at approximately 1/2 " to 1" apart. 

I choose banding in lieu of blow drying or flat ironing the hair because both will cause heat damage to the hair.


NOW WE ARE READY TO STYLE!

Products used to style:

Bee Mine Luscious Moisturizer
Curls Passion Fruit Curl Control Paste

Hair Tools you will need:

Wide Tooth Comb
Rat Tail Comb
10  Rubber Bands
1 Cloth cover band
3 Ouchless Hair bands/or rubber bands
5 Hair Pins
1 Flower Clip

*Remove all bands from each section;


* With your rat tail comb, part out a circle, clip the center hair so it is out of your way;


*On the bottom part of the circle, create five small box braids using a small amount of Bee Mine Curly Butter and Eco Styler Gel.


*Part the front section of the hair in the center;
*Part the left section in two equal parts and create two cornrows by using Bee Mine Curly Butter and Curls Passion Fruit Curl Control paste;
  
*Follow the same step above to do the right section.


*Collect the center section of the hair into a pony tail and secure it by using a cloth covered hair band;


*Slide the hair from the pony tail through your sock bun/foam bun;
*Cover the bun shaper with the pony tail hair as much as possible;
*once the bun is smooth apply the second hair band;
*Carefully bring all the hair toward the bottom of the bun;
*Create three braids using the loose ends of the bun.


*Bring the ends of all four cornrow braids around the bun and secure them with hair pins

The result:


Friday, September 21, 2012

Simple Cornrows Styles


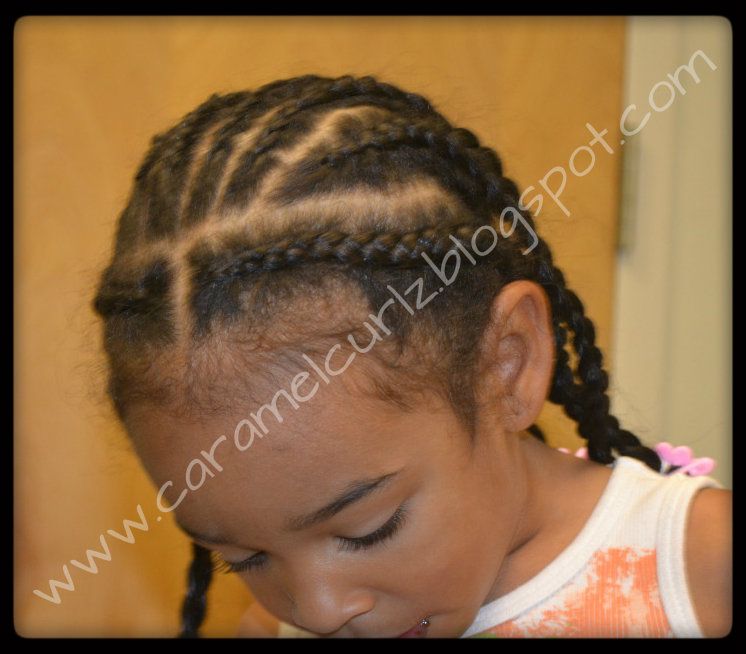
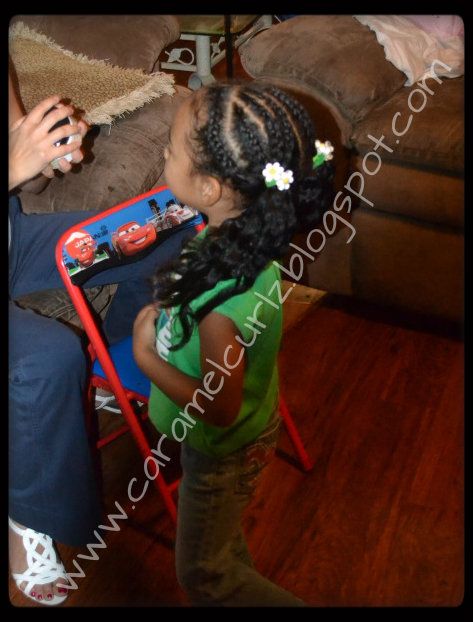
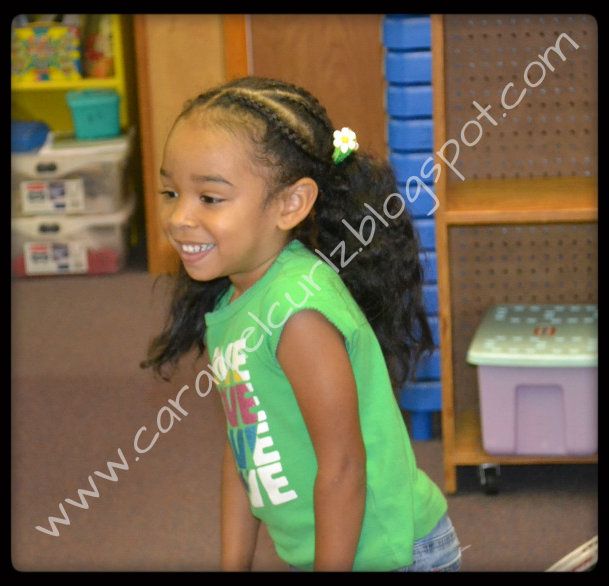
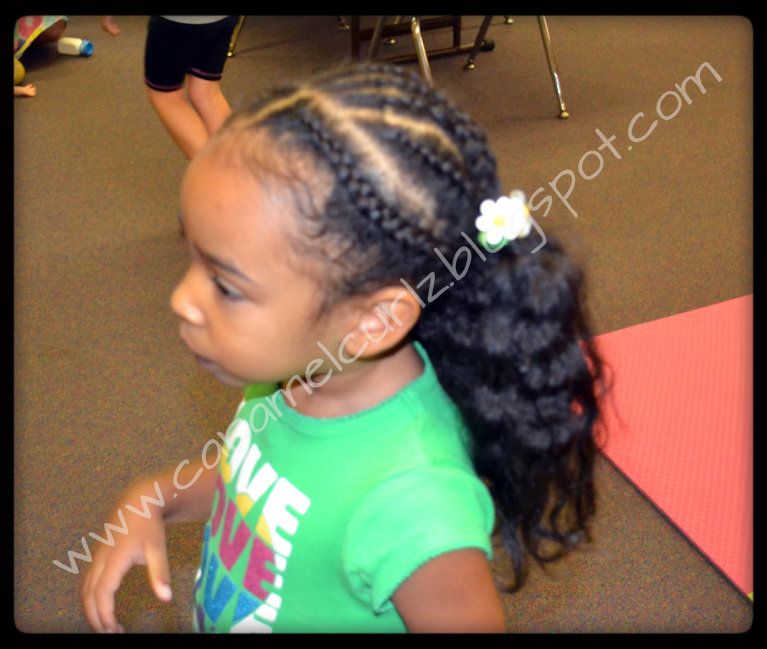
The infamous cornrows!  This particular style has become more popular now than ever.  This is a style that can be done in kids or adults, women or men.   Cornrows are also another great protective style for curly hair and is highly done during the hottest months of the year.

While some people are very talented and are able to do the most interesting and elaborate designs you can think of, that doesn't mean that you can't learn how to do simple straight cornrows.  

WOW, I must say that it took me about a month to learn how to cornrow.  I watched several you tube videos, read many "How To" guides and the only way you will learn is by practicing. 

TIP:  Believe it or not, this also came from my husband:  He suggested I purchased a Cosmetology Mannequin Head from the local hair store and practice on that.  I must agree that it was one of the greatest ideas my husband has ever had.  While I was very hesitant about spending money on buying the Mannequin Head, it was worth it! I found one for $34.99 and practice on that for about a month. After that, I felt confident enough to try it on Ms. Bree's hair.  

Yes, I had to re-do one or two cornrows but the results were amazing! Specially from someone who didn't know how to cornrow a month ago.  

As we all know, cornrows are another great protective style for curly hair and because its very easy to maintain.  They can be left in for days or for several weeks at a time as long as you carefully moisturize them. 


You can adorn the cornrows with colorful beads, snaps, clips, pretty much anything.   

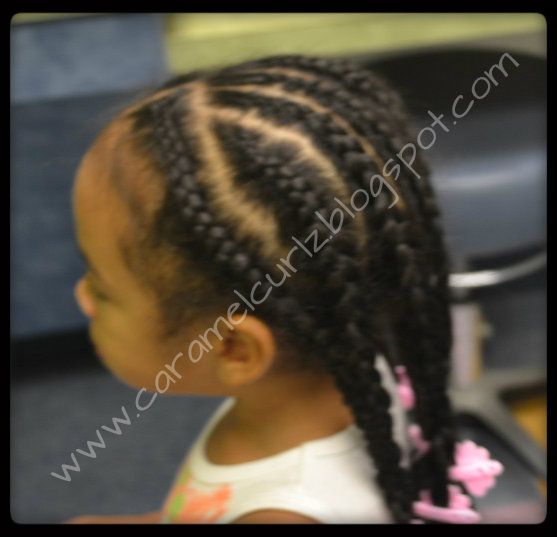
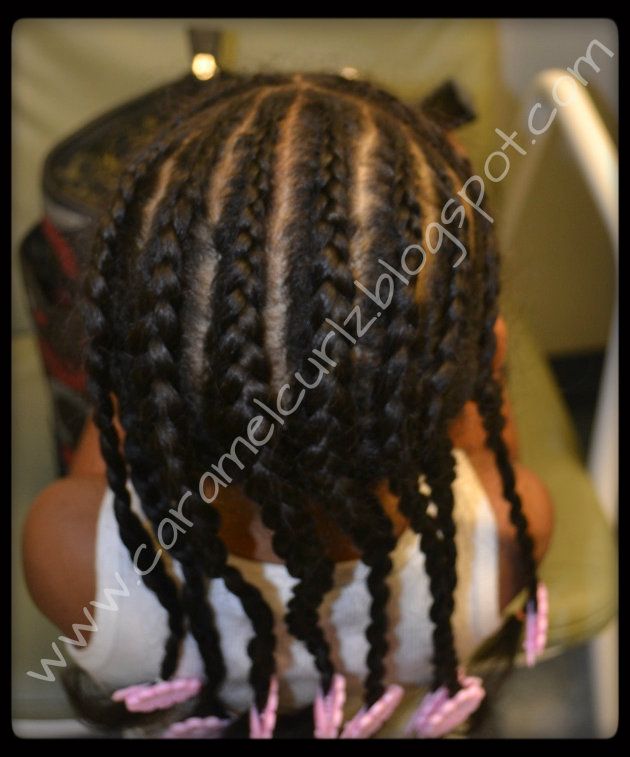
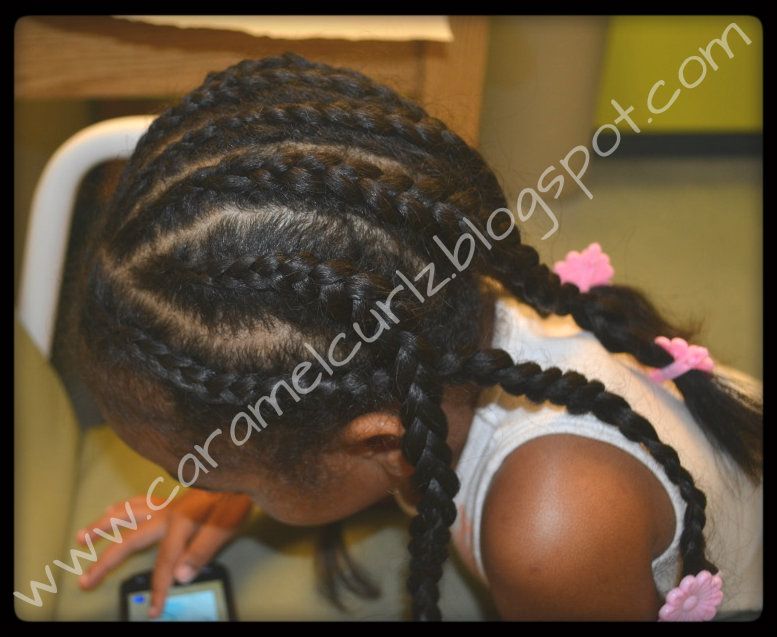
Cornrows into Pony tails (then braids out):

Day 3:


Cornrows into a messy bun: 

When I realized that her pony tails were getting a bit frizzy from playing outside, I twisted each pony tail (2 strand twist technique) and then twisted both pony tails together and created a bun.


The more you practice doing the simple straight cornrows, the more you will get used to the technique and in no time you will be able to do the more elaborate designs.