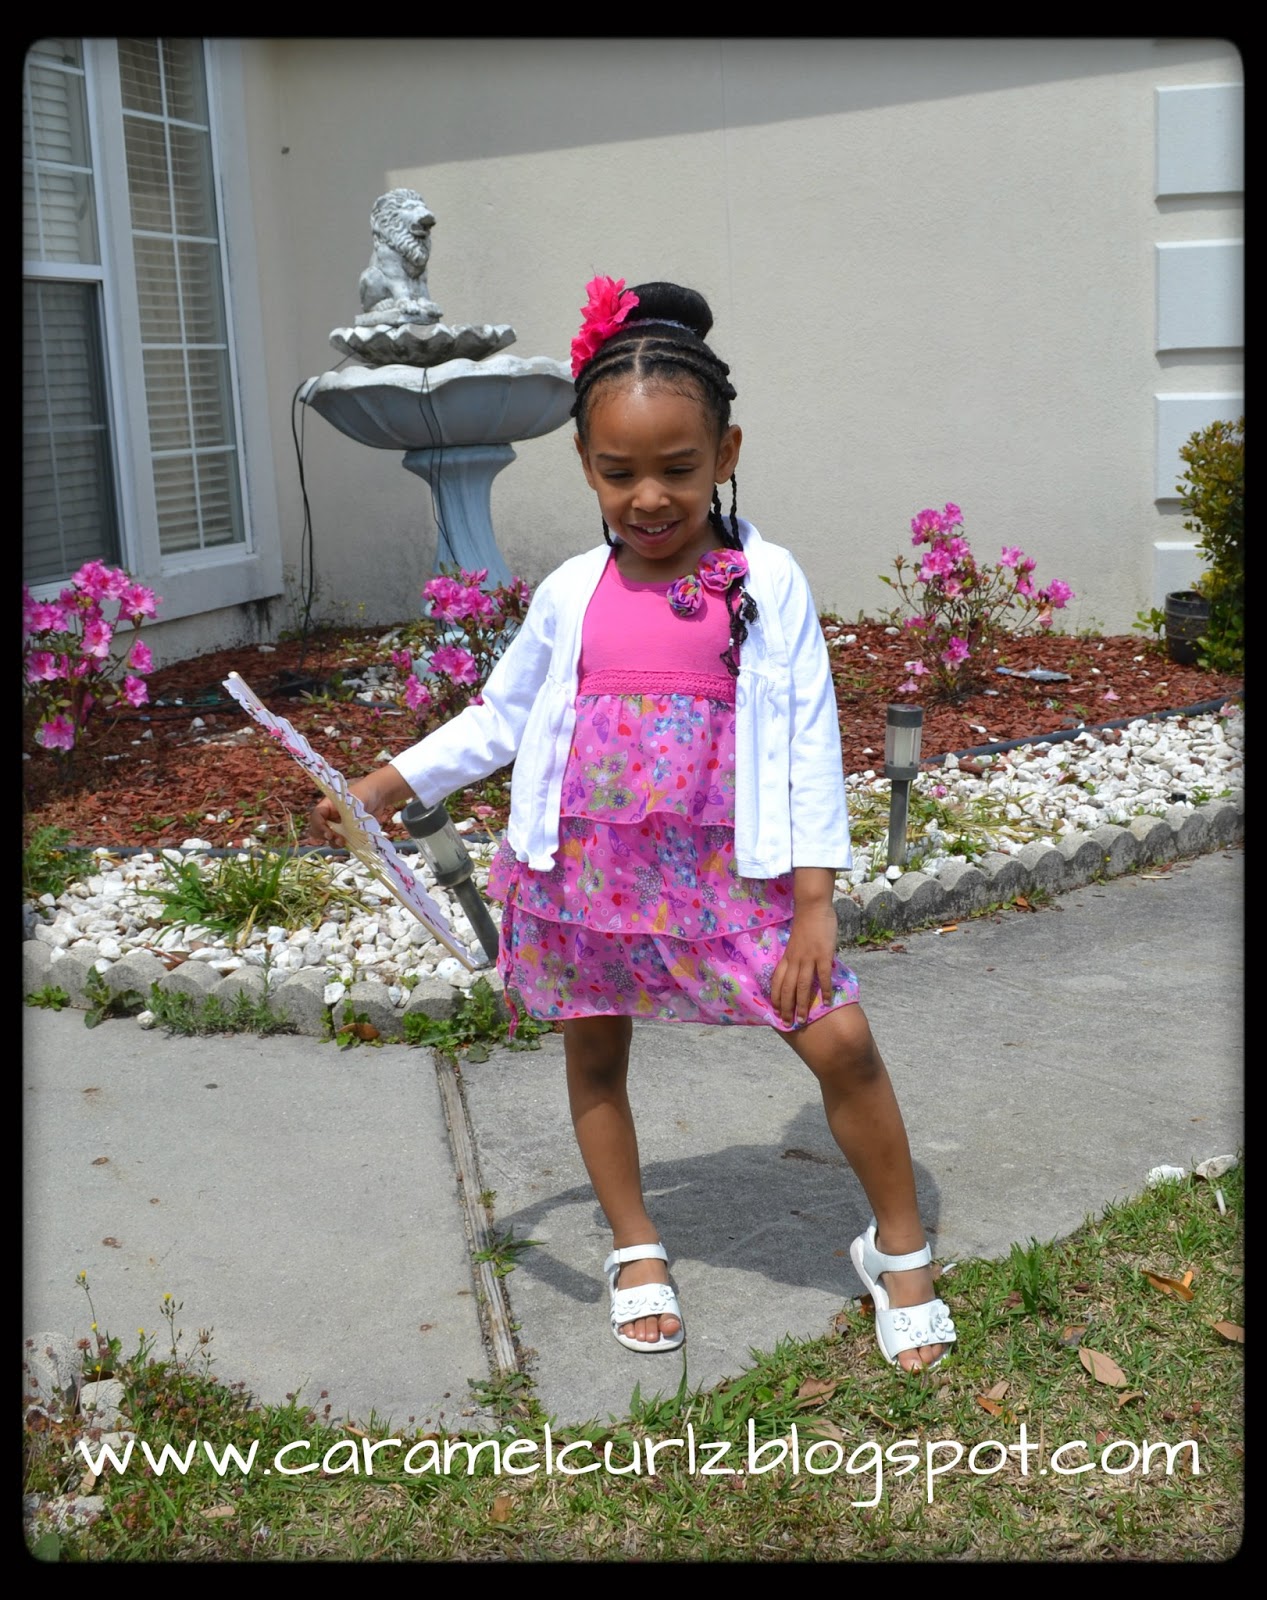
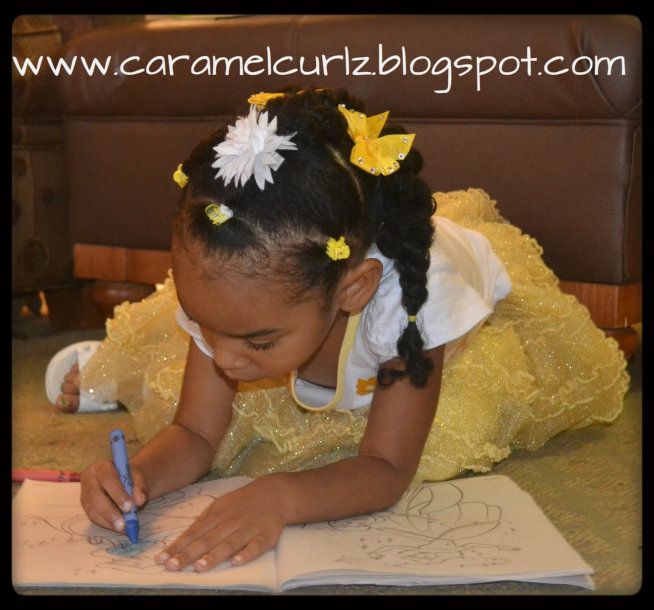
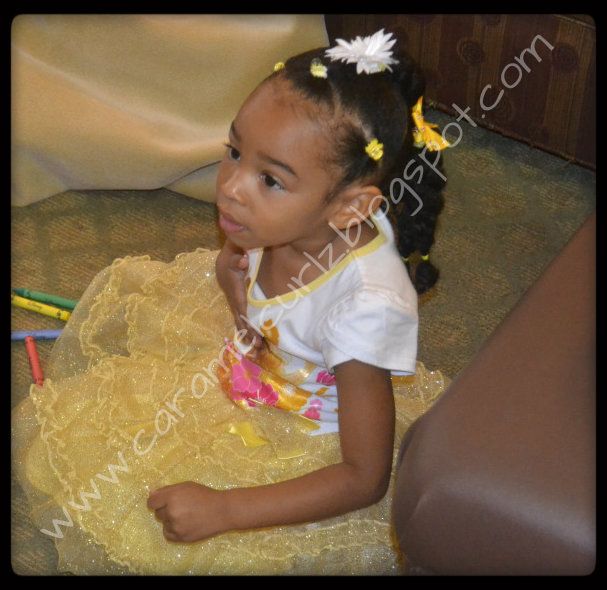
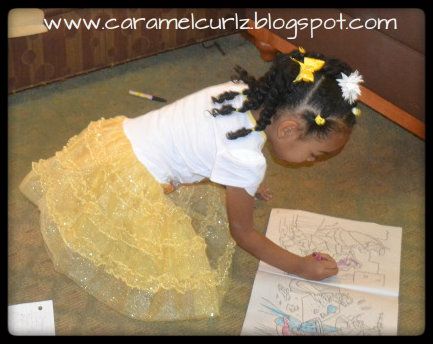
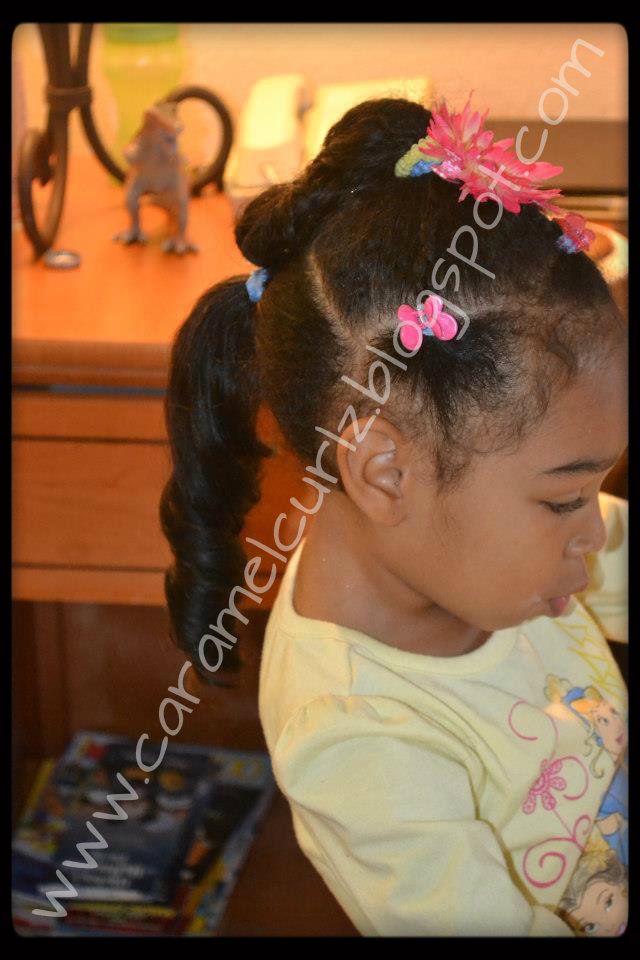
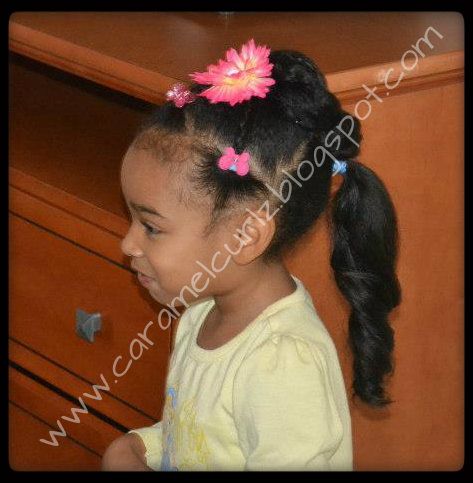
This is a very cute and very simple style that your little one can rock this weekend!!

How to get this look:
Products used after washing
her hair:
100% Coconut Oil / Castor Oil (Equal parts)
Bee Mine Luscious Moisturizer
Banding Process:

I stretch Ms. Bree's hair by using several bands (i.e.
small scrunchies, ouchless bands or cloth covered bands) at approximately 1/2
" to 1" apart.
I choose banding in lieu of blow drying or flat
ironing the hair because both will cause heat damage to the hair.

NOW WE ARE READY TO
STYLE!
Products used to style:
Bee Mine Luscious Moisturizer
Curls Passion Fruit Curl Control Paste
Hair Tools you will need:
Wide Tooth Comb
Rat Tail Comb
10 Rubber Bands
1 Cloth cover band
3 Ouchless Hair bands/or rubber bands
5 Hair Pins
1 Flower Clip
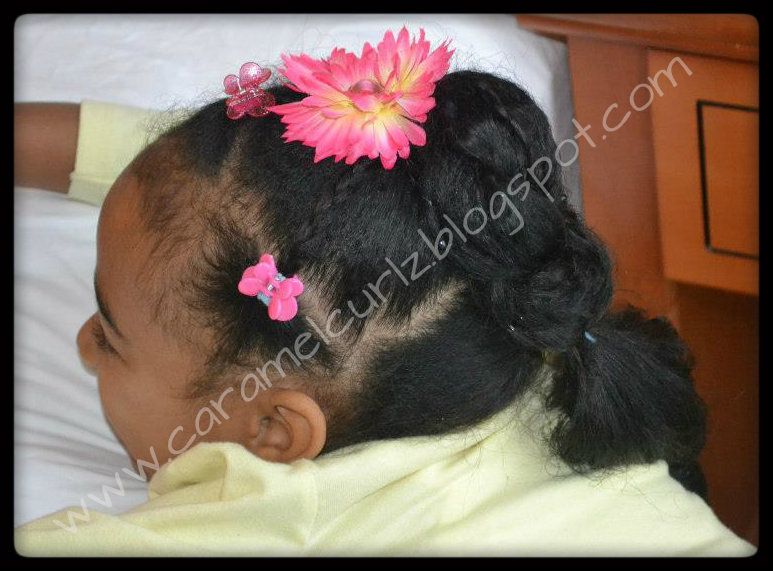
*Remove all
bands from each section;

* With your
rat tail comb, part out a circle, clip the center hair so it is out of your
way;

*On the
bottom part of the circle, create five small box braids using a small amount of
Bee Mine Curly Butter and Eco Styler Gel.

*Part the front
section of the hair in the center;
*Part the
left section in two equal parts and create two cornrows by using Bee Mine Curly
Butter and Curls Passion Fruit Curl Control paste;
*Follow the
same step above to do the right section.

*Collect the
center section of the hair into a pony tail and secure it by using a cloth
covered hair band;

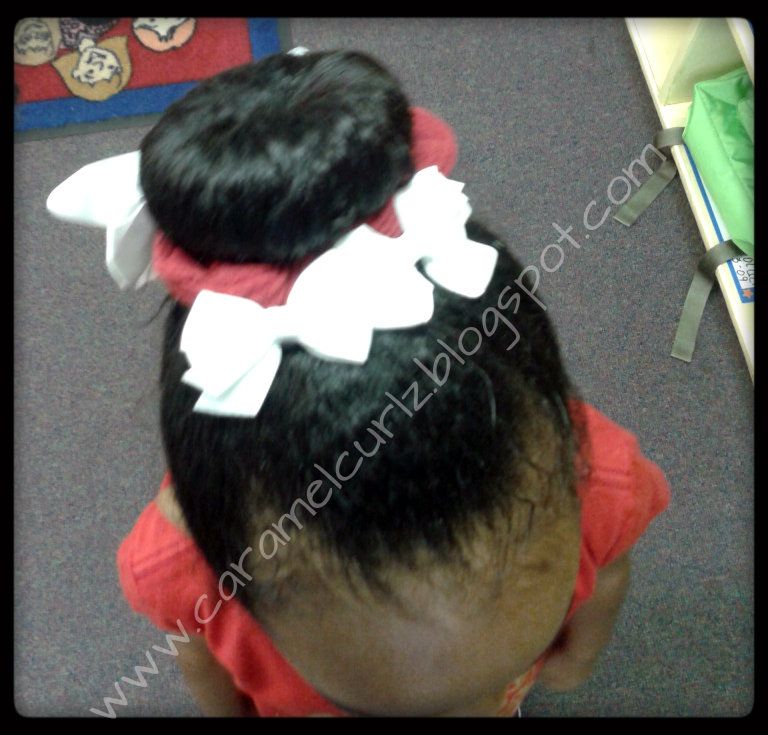
*Slide the
hair from the pony tail through your sock bun/foam bun;
*Cover the
bun shaper with the pony tail hair as much as possible;
*once the
bun is smooth apply the second hair band;
*Carefully
bring all the hair toward the bottom of the bun;
*Create
three braids using the loose ends of the bun.

*Bring the
ends of all four cornrow braids around the bun and secure them with hair pins
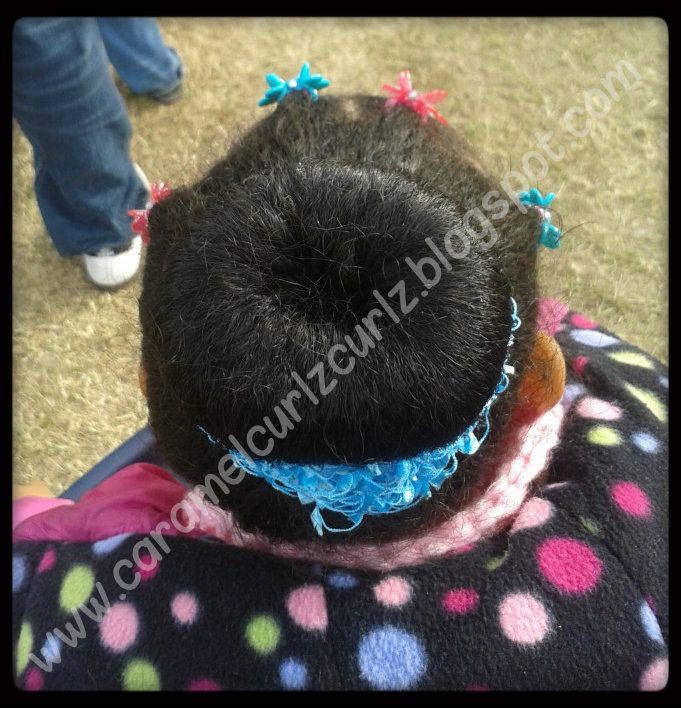
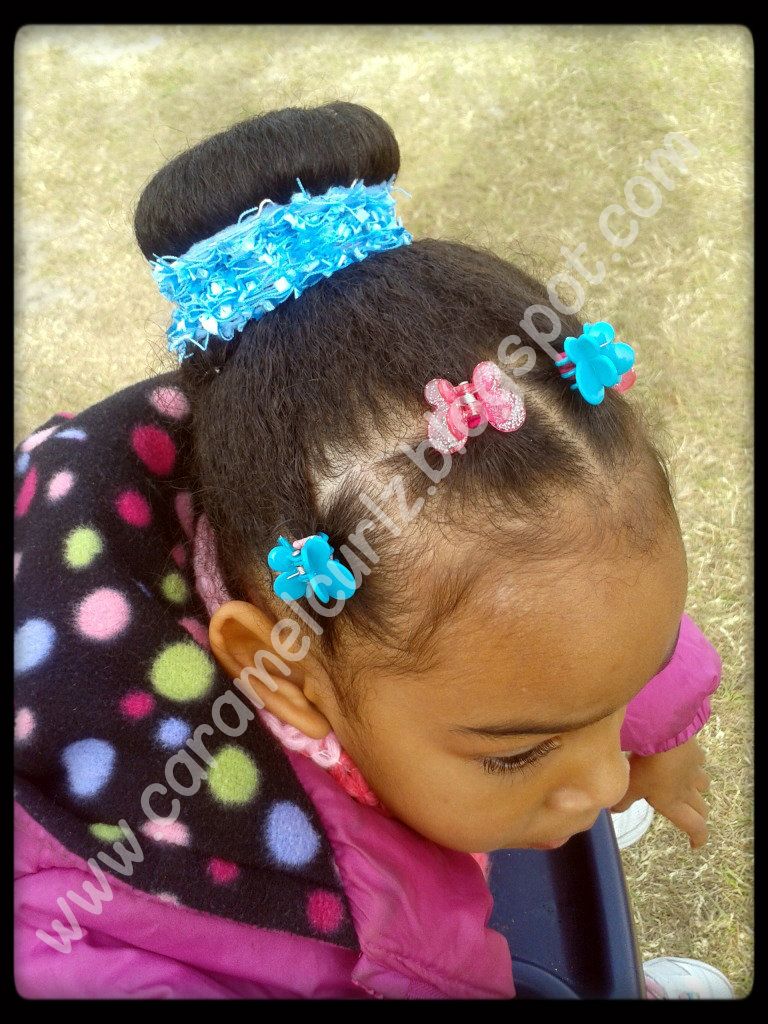
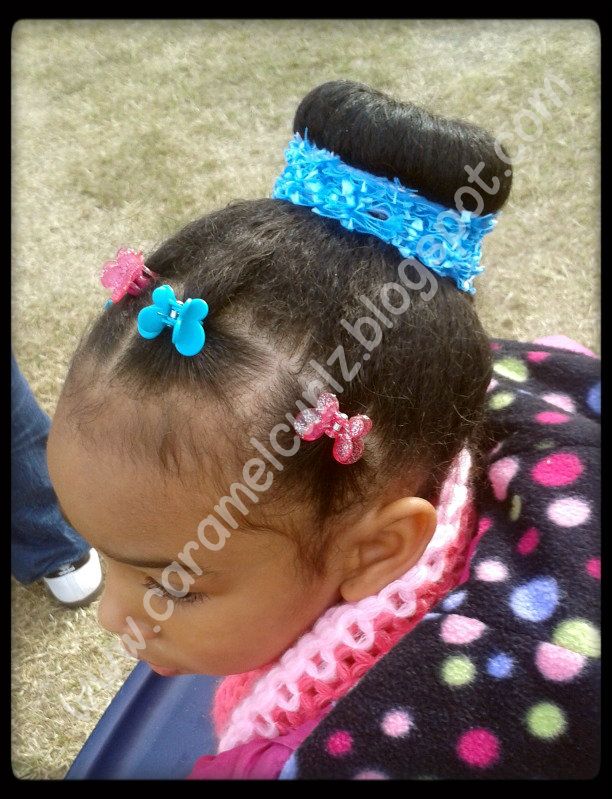
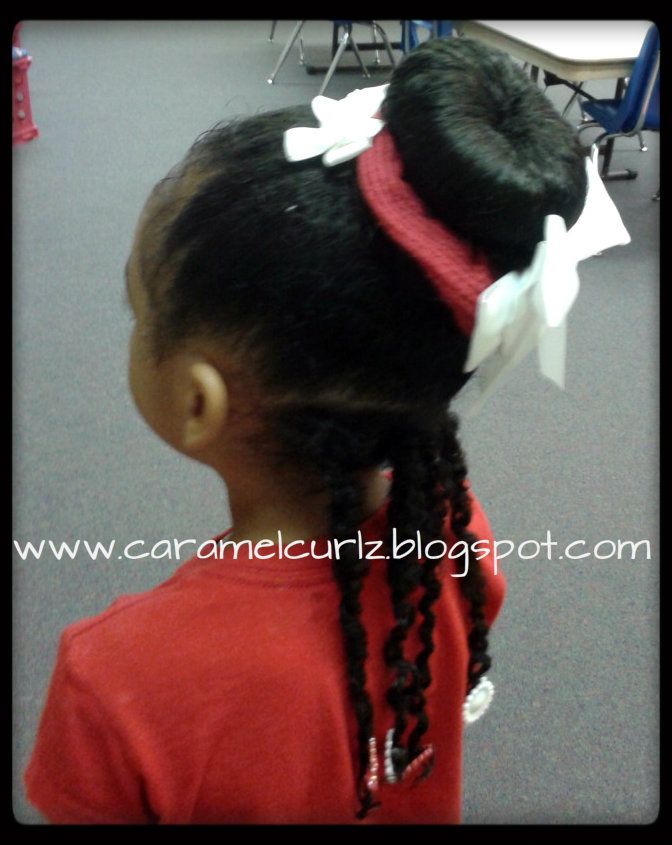
The result: