Showing posts with label hair style for girls. Show all posts

Monday, May 12, 2014

Our Style for School Pictures....


      School Picture Day is one of those day I hate and love.  I hate them because as parents, we make sure that our little ones are wearing the perfect outfit and their hair is styled just the right way but more often than not, the results are catastrophic.   Their hair is out of place, the shirts or pants have grass stains because they have been outside playing just before the picture was taken or how about the "ketchup" stains... I remember when my son took his Pre-Kindergartner pictures, he had ketchup stains all over the front of his shirt! oh boy! that was interesting to see..    

      I love picture day because it helps me keep better track of their they change over time.  However, the reality is, school pictures are one of the few pictures that we actually frame and hang for our family and friends to see.  

      After our  first catastrophe,  we made sure he took an extra outfit, got a fresh haircut and we remind him to make sure to wipe his face while he waits in line for his turn.  Let's be honest, these are kids and we never know for sure how the pictures are going to come out until we receive the envelope in his school folder.  

      After waiting approximately two to three weeks, I finally received the photos. I will be honest with all of you, I did "not" wanted to open the envelope because, I was expecting to see my son making "funny faces" or giving a "fake smile" or worst, a stained shirt or dirty shoes! 

     But curiosity won, (curiosity always wins on my end) and thankfully, this year's pictures looked great!  My son didn't make any funny faces, there was no sweat around his face, no chocolate milk mustache, his face was clean, his shirt and pants were still looking good.


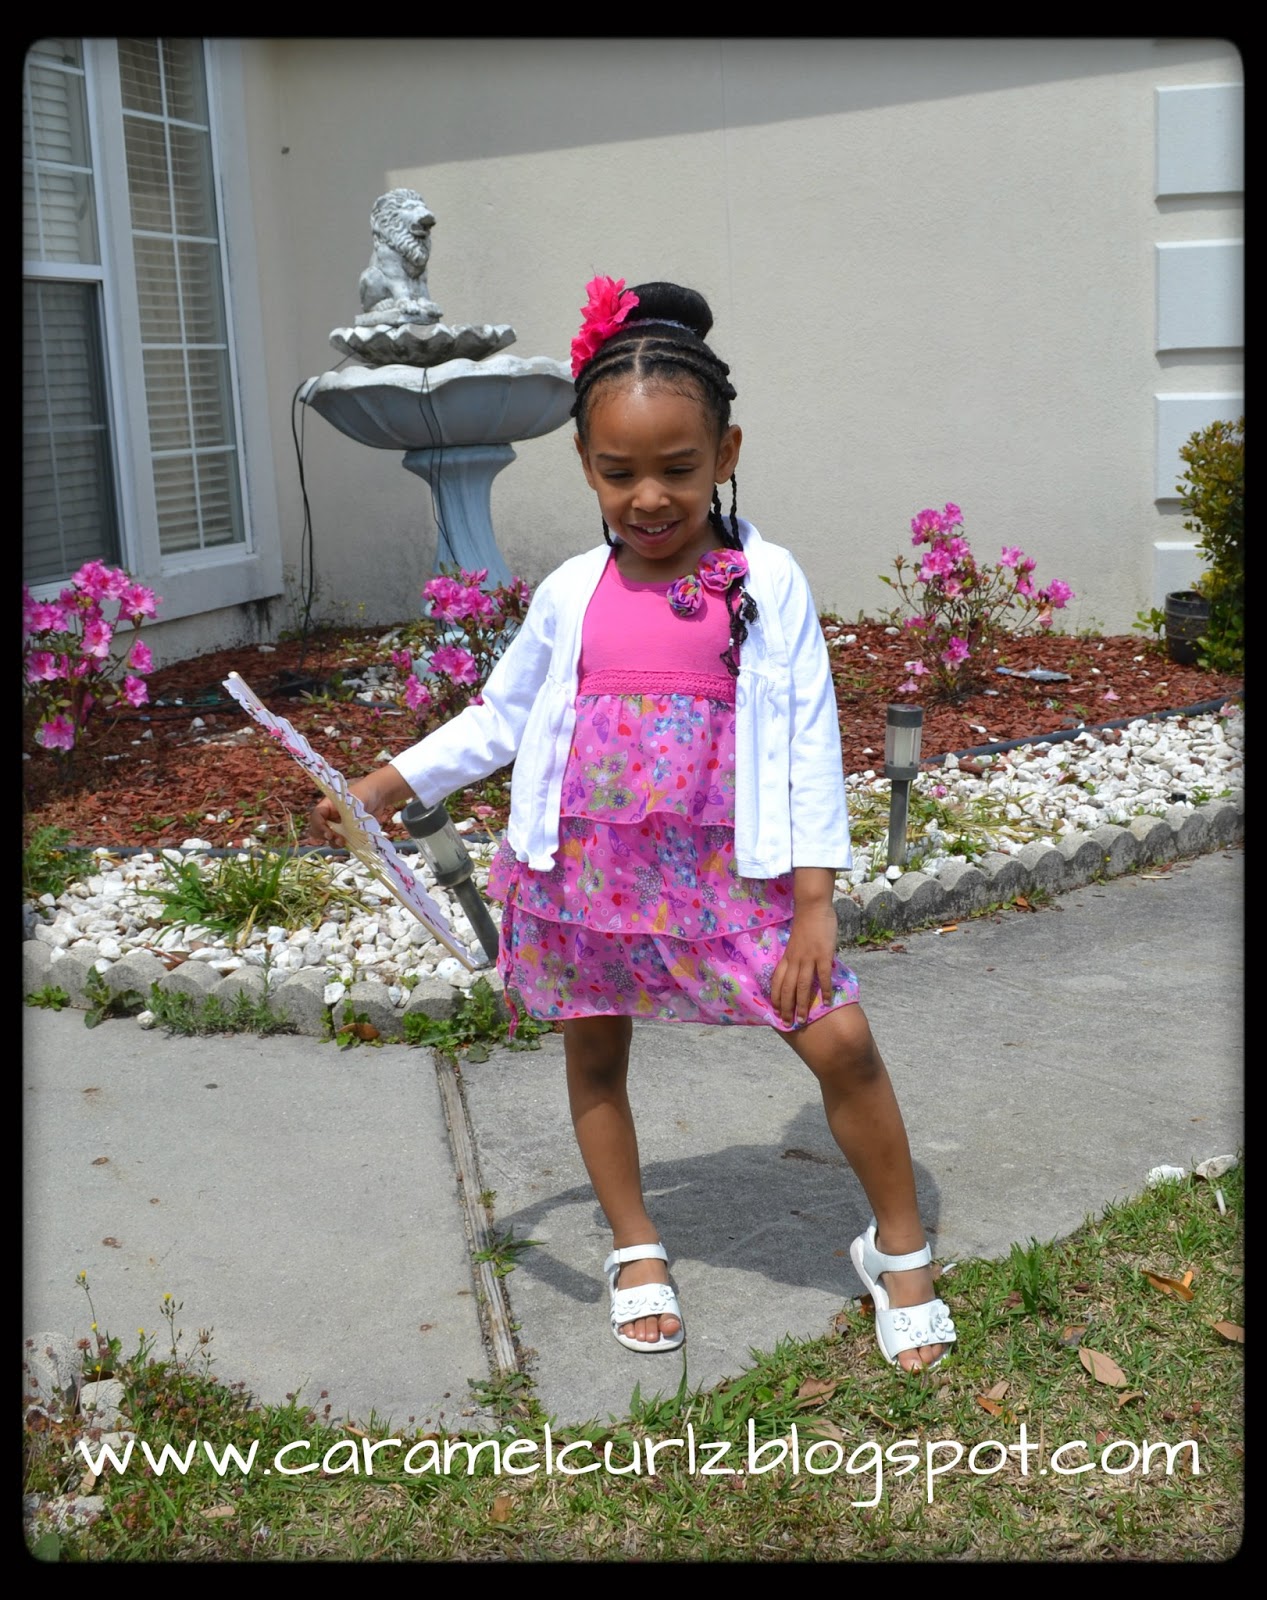
         Now, guess my reaction when I opened the envelope containing Ms Bree's photos and I saw the worst smile she has ever given.   Ms Bree has always been my photogenic child, always ready to strike a pose. Ms Bree has always enjoyed taking photos BUT this year, it was her turn to make the "funny face" and give the "fake smile" my son is famous for... I guess she lost the coin toss this year as to who would take the worst pictures.  Nevertheless, she still looked beautiful.  


     For this years's school pictures, I decided to do "Half Cornrows & Two Strand Twists" and used an "old school" hair accessories, "Butterfly Hair Clips", don't they remind you of the 90's??  :)


     My little princess looked beautiful.  I believe this picture really shows how much she has grown in just this past year.  


 "Half Cornrows & Two Strand Twists" 

I used the following products: 

*Bee Mine Curly Butter; and;
* Eco Styler Gel with Olive Oil;
* Goodys elastic bands

This was my first time using Eco Styler Gel with Olive Oil and I have to say I'm very impressed.  Her twists lasted a lot longer and were more defined than previous occasions.  


     Now, I received a lot of questions as to how I do my two strand twists, how do I make them last so long and how do I do undo them. 

    I did a quick video for all of you and I hope you are able to see how I do and undo them.  

   I will try to make a better video next time I do twists. 


PART II


  Don't forget to follow us on Instagram, Facebook, Twitter and Subscribe to our YouTube Channel!

  Thank you for following our blog! :) 


Monday, November 4, 2013

Tutorial: Simple Two Strand Twists


Hello Ladies: 

This is a very simple style and the reason why so many mothers love the Two Strands Twists style is because of it's flexibility; the fact that it's a great protective style, it looks great on toddlers, teenagers and even adults.  

The smaller the sections you use to do the twists the longer they will last, at least, that has been my experience when I do my daughter's hair.  


The tools you will need:

1.  Styling products: 
    a.  Spray bottle with your favorite mix;
    b.  Curly Butter or your favorite moisturizer;
    c.  Eco Styler Gel;

2. Rat Tail Comb  & Hair Clips for sectioning;

3. Rubber bands  


95% of the time, Ms. Bree's hair is banded for at least a day prior to styling.  After washing her hair I moisturize it by using Bee Mine Luscious Moisturizer.  This process makes sectioning the hair easier since it keeps her hair detangled and it also keeps her hair moisturized.   

I did not have the need to use my wide tooth comb but it's always wise to have one handy, just in case you encounter a tangle/knot.  

Step 1:  Using the tail part of your comb part the top section first.  Start the line right above the right ear straight across to the left ear; clip the hair out of your way using a hair clip. 

Step 2:  Now, you are left with the bottom part.  Part a smaller section of hair by using the tail part of your comb (parting from left to right). 

Step 3:  Part a small section (like doing box braids but in this case you are doing box twists); spritz a little bit of water or your favorite mix (we do not want to get the hair to wet but you'll want it damp);


Step 4:  Apply your favorite moisturizer or butter starting from the roots to the ends. Then apply a little bit of Eco Styler Gel to the section, again, from the roots to the ends of the hair;

Step 5:  Secure the section by using rubber band;

Step 6:  Split the section in half and twist the right section before you bring the piece over to the left piece, then bring the right piece over the left piece and continue until the entire section is twisted.  

OPTIONAL:  You can use rubber bands to secure the ends until the twists are 100% dry, or you can use barrettes or beads to finish the twists. 

Step 7:  Continue to make the sections and repeat 3, 4 & 5 until the entire bottom section is twisted.   


Once you are finished with the bottom section, it's time to get the top section done.  

Step 8:  Spritz water or your favorite mix on the top section; apply moisturizer or your favorite butter and secure the hair with a cloth cover band;

Step 9:  Divide the hair into equal parts, this will help you create twists that look the same in thickness; 

Step 10:  Repeat step 3, 4 & 5.  


I styled her hair Saturday Morning and these pictures were taken Monday night. is you can see in the above picture, her ends looked dry.  

I moisturize her ends and scalp as needed.  To moisturize her ends I simply damp her ends with a bit of water and apply a dab of Bee Mine Luscious Moisturizer and coil her ends using my index finger. 


STYLE UPDATES

4th Day Twists:


This was my first time using rubber bands at the base of her twists.  It is important to constantly check for any bumps around each parting line and around the hair line.  

Should you spot any stress bumps, immediately undo the style and massage the scalp with jojoba oil, and give the scalp and hair a break.

After wearing her twists for a few days, I decided her hair had enough and I removed all rubber bands and unraveled the twists.


Friday, May 10, 2013

Cute & Simple- a style for Mother's Day


This is a very cute and very simple style that your little one can rock this weekend!!  


How to get this look: 

Products used after washing her hair:

100% Coconut Oil / Castor Oil (Equal parts)
Bee Mine Luscious Moisturizer

Banding Process:


I stretch Ms. Bree's hair by using several bands (i.e. small scrunchies, ouchless bands or cloth covered bands) at approximately 1/2 " to 1" apart. 

I choose banding in lieu of blow drying or flat ironing the hair because both will cause heat damage to the hair.


NOW WE ARE READY TO STYLE!

Products used to style:

Bee Mine Luscious Moisturizer
Curls Passion Fruit Curl Control Paste

Hair Tools you will need:

Wide Tooth Comb
Rat Tail Comb
10  Rubber Bands
1 Cloth cover band
3 Ouchless Hair bands/or rubber bands
5 Hair Pins
1 Flower Clip

*Remove all bands from each section;


* With your rat tail comb, part out a circle, clip the center hair so it is out of your way;


*On the bottom part of the circle, create five small box braids using a small amount of Bee Mine Curly Butter and Eco Styler Gel.


*Part the front section of the hair in the center;
*Part the left section in two equal parts and create two cornrows by using Bee Mine Curly Butter and Curls Passion Fruit Curl Control paste;
  
*Follow the same step above to do the right section.


*Collect the center section of the hair into a pony tail and secure it by using a cloth covered hair band;


*Slide the hair from the pony tail through your sock bun/foam bun;
*Cover the bun shaper with the pony tail hair as much as possible;
*once the bun is smooth apply the second hair band;
*Carefully bring all the hair toward the bottom of the bun;
*Create three braids using the loose ends of the bun.


*Bring the ends of all four cornrow braids around the bun and secure them with hair pins

The result:


Wednesday, March 20, 2013

Simple Styles: Braid Out


I'm going to try to make this as short as possible... I will not get upset if you need to stop and come back later to finish reading it!  This post its all about "Braids Out".  Below you will see pictures of Braids Out from two different styles.  

On our last post, Short Cornrows and Beads, Ms Bree had a few cornrows on top and a few on the back.  

This is what her curlz looked like when I took the braids out.


Product Used:  Bee Mine Bee Lovely Daily Moisturizer;
Hello Kitty Headband from Target.


DAY 2-Half Up Pony Tail


The picture below was taken after school.  As you all can see, her hair gained a little bit of "volume".. Ha ha! Her curlz still looked amazing and was soft!  

Product Used:  Bee Mine Bee Lovely Daily Moisturizing
1 Ouchless Band
1 Bow Hair Clip to match her shirt.


DAY 3- Messy Bun


The messy bun was easy to do, by now her hair was "big" so I just spritz some water and applied a bit more of Bee Mine Bee Lovely Daily Moisturizer and gathered all the hair in one loose pony tail.

Then I grabbed the end of the pony tail and pined (hair pins) all ends close to the band securing the pony tail.  

As you can probably see from the pictures above, it was time to co-wash and style her hair, which I did.  

I washed her hair with Bee Mine Botanical Moisturizing Shampoo;
Conditioner her hair with Bee Mine Avocado Conditioner;

And because she enjoyed wearing her hair out so much, I decided to give her another week of wearing her hair down and I did 10 braids in order to do a Braid Out.

After rinsing her hair out:

I applied our mix of 100% Extra Virgin Coconut Oil and Castor Oil;
then I applied Bee Mine Luscious Moisturizer with a little Bee Mine Curly Butter;
and did the braids.   

I sent her to school wearing the braids;

Once I've picked Ms. Bree up from school, I got her ready for her little friend's birthday party at Chuckee Cheese and unraveled all her braids.

This is what her hair looked like:
DAY 1


As you can see, her hair was shiny and soft.


DAY 2- Just with a Headband


I damped her hair a little bit and applied Bee Mine Deja Hair Milk;
and just a simple black Headband to accessorize

DAY 3


For Day 3, I again damped her hair a little bit and applied Bee Mine Deja Hair Milk...