Showing posts with label flowers. Show all posts

Friday, March 25, 2016

Easy Spring Crafts for Kids- Project 2

Hello everyone and welcome to our second post on "Easy Spring Crafts for Kids".


PROJECT #2
Colorful Mini Flower Pot   


First, let me start by giving all of you an update on Ms. Bree's condition.  Yesterday was our follow up appointment with Dr. Oliver, ENT.  I'm happy to share that she is recovering nicely and has been given the "green light" to ease herself into her regular activities.  However, her desire to jump on the trampoline is going to have to wait a few more days.  Ms. Bree is back at school today and she was beyond excited! Thank you for all the prayers, positive vibes, and well wishes!  We truly appreciate your support. 

Now, let's start with our second easy spring craft for kids made by kids.  This craft is not only easy and fun to make but it will be easy on your wallet as well.  

You will need the following: 

1. 2 3/4 inch Clay Pot........$1.29
2. Outdoor Paint................$0.79
3. Soil...................................Free
4. Flower seeds pockets...$0.89
5. Stickers...........................Free


Let your little ones paint their miniature pots, once they have finished their master piece, set the pots aside for drying. 

After their clay pots are completely dry, it is time to DECORATE as much or as little as they want to!!  


I wish she would have let me apply a couple of more coats of paint to the pot in order to give it that nice bright neon pink color.  But it was not my project, it was hers and she loved the pot just the way it is.. if she is happy then I'm happy.

So there it is ladies, for less than $3.00 you are guaranteed an hour of quality time and you will be coolest mom ever! :)

Happy crafting! 


Wednesday, March 23, 2016

Easy Spring Crafts For Kids- Project 1

Welcome back everyone! 

To continue with our Spring and Easter theme this month, we have quiet a few easy crafts that you can do with your little ones while at home.  

Instead of writing a very long post, we've decided to break our Easy Spring Crafts for Kids into a series of small posts.


Project #1
Colorful Picket Fence & Flowers


These beautiful picket fences are easy to make by using things our children love to play with:

a.  "Popsicle" sticks
b.  Glue
c.  Kids' paint and
d.  Foam stickers. 

Possibilities are, you already have some these materials are home, like the paint, popsicles sticks and glue.  The foam stickers can be found at any store for less than $2.00! 

This project guarantees to give you some quality time with you little ones and it WILL NOT break the bank... this is what I call a "win-win".

The only messy part of this project is the painting of the popsicle sticks.  


Once the sticks are completely dry, it is time to glue them together.  Remember, the fence can be as long as the kids want them to be.   I always tell my kids, "Sky is the limit here"!

Once the sticks are glued in place, it is time to decorate!  You can easily display these pieces of art by sticking them onto your refrigerator or add a piece of ribbon onto to the back so that kids may hang them. 


Happy Crafting and don't forget to share with us your master pieces!!! 


Sunday, February 28, 2016

How to Easily Create a DIY Spring Wreath

Hey Everyone!! 

Spring Break is fast approaching and I am happy to welcome it!  


While Spring doesn't officially starts until March 20th, I thought we could get a head start and take advantage of the several sales the local crafting stores have available now. 


My last spring wreath was fairly easy and inexpensive to make. The total spent on making the above wreath was approximately $23.79.  

Unfortunately the ribbon didn't last very long and the letter became unglued.  Therefore, instead of fixing it I decided to change the look of it completely.  

Of course, we saved some money by using the same grape vine round wreath form.  We saved even more by buying the "Hydrangeas" at 40% off at my local craft store.  


I originally purchased eight (8) Hydrangeas, but as you can see on the above picture, it doesn't look as full as I wanted the wreath to be.  

I decided to go back to Michael's and buy two (2) more Hydrangeas and rearrange the flowers to bring them closer together until I was happy with the result.


Now, after seeing and taking in consideration both looks, I felt like it was missing something.


As I mentioned in the video, the technique is not new but it was new to me.  It is fairly easy to make, however, I had a hard time cutting the "v" due to the fact that my ribbon was a little bit thicker and my stack doubled in size because I used two sets of ribbon instead of one.

To learn more about it visit:  How to Tie a Bow from DIY Ready  


Total amount of dollars spent in flowers         $34.90
Ribbon                                                                    $  6.00 
Grape Vine Wreath Form                                     FREE
Large Letter                                                             FREE

And now my beautiful wreath is done! 

To view more of our DIY Wreaths make sure you follow us on Pinterest: Caramel Curlz & Swirls Pinterest

Friday, May 10, 2013

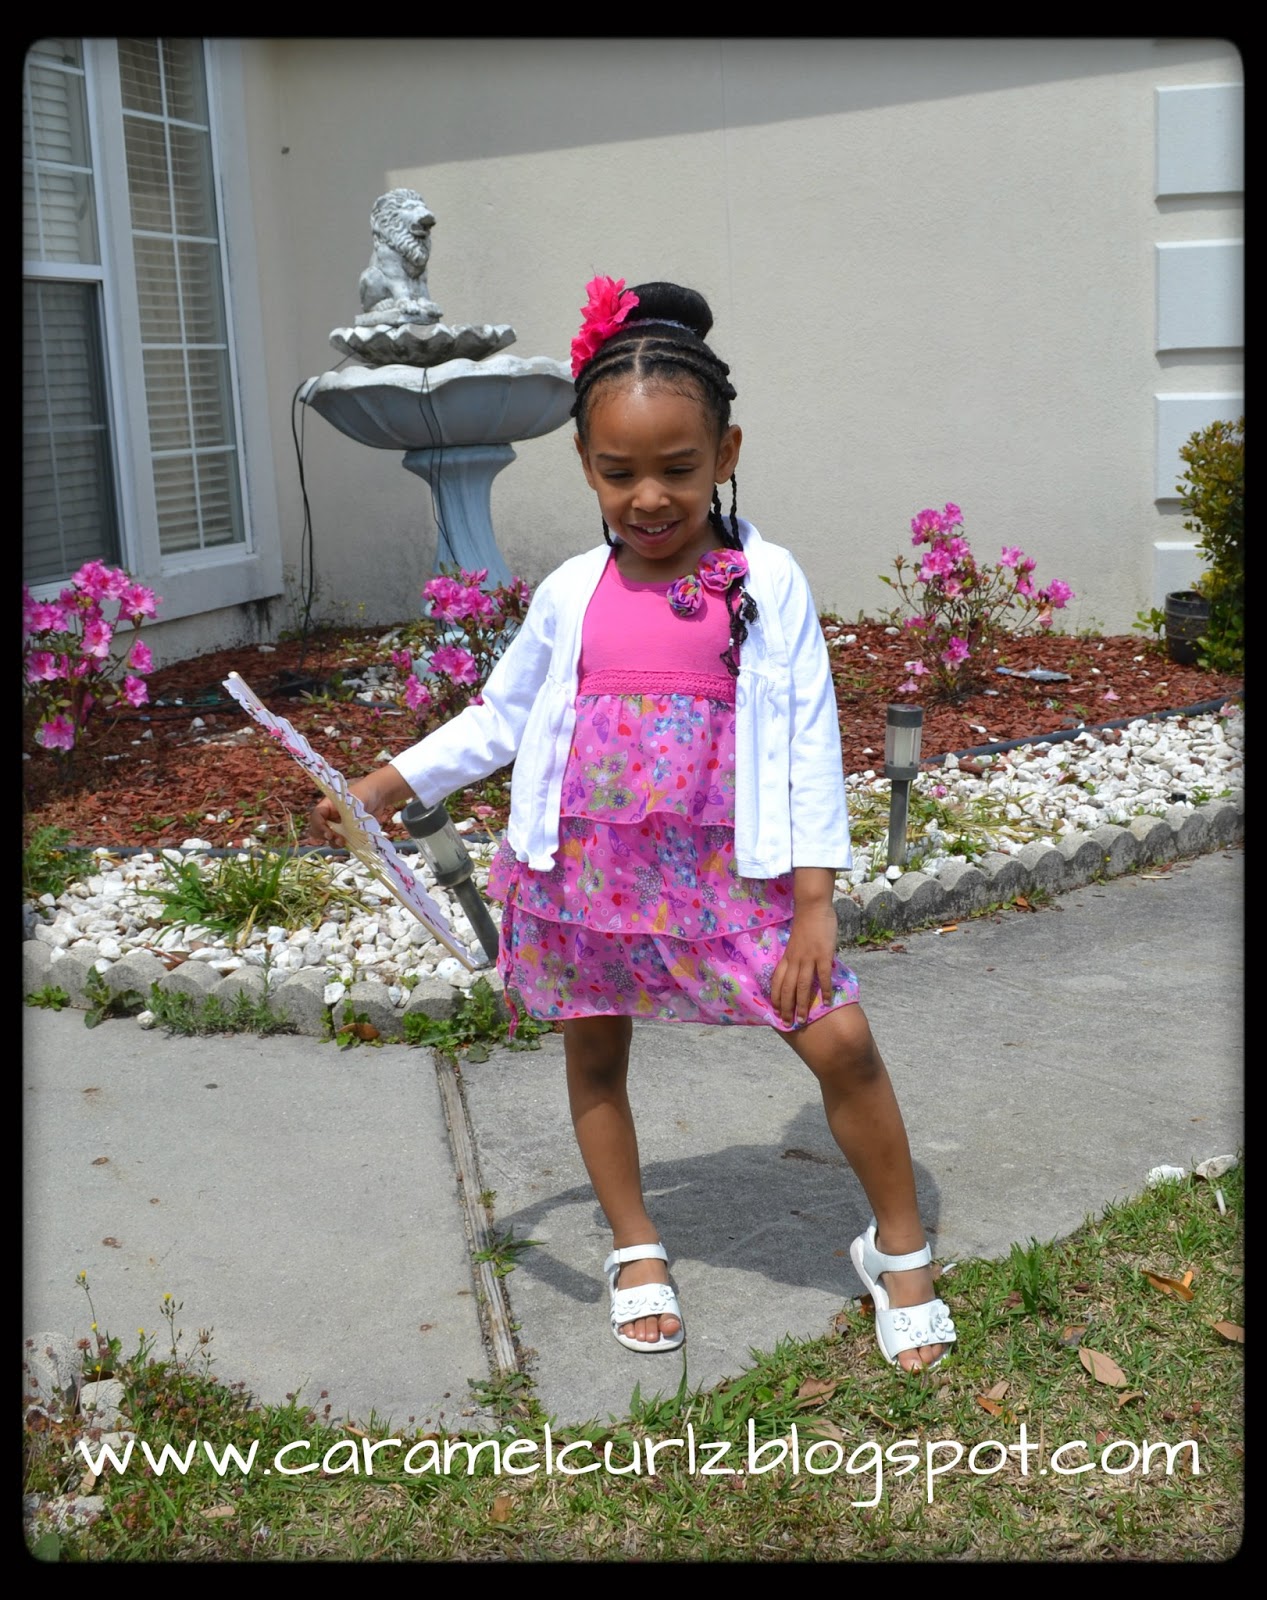
Cute & Simple- a style for Mother's Day


This is a very cute and very simple style that your little one can rock this weekend!!  


How to get this look: 

Products used after washing her hair:

100% Coconut Oil / Castor Oil (Equal parts)
Bee Mine Luscious Moisturizer

Banding Process:


I stretch Ms. Bree's hair by using several bands (i.e. small scrunchies, ouchless bands or cloth covered bands) at approximately 1/2 " to 1" apart. 

I choose banding in lieu of blow drying or flat ironing the hair because both will cause heat damage to the hair.


NOW WE ARE READY TO STYLE!

Products used to style:

Bee Mine Luscious Moisturizer
Curls Passion Fruit Curl Control Paste

Hair Tools you will need:

Wide Tooth Comb
Rat Tail Comb
10  Rubber Bands
1 Cloth cover band
3 Ouchless Hair bands/or rubber bands
5 Hair Pins
1 Flower Clip

*Remove all bands from each section;


* With your rat tail comb, part out a circle, clip the center hair so it is out of your way;


*On the bottom part of the circle, create five small box braids using a small amount of Bee Mine Curly Butter and Eco Styler Gel.


*Part the front section of the hair in the center;
*Part the left section in two equal parts and create two cornrows by using Bee Mine Curly Butter and Curls Passion Fruit Curl Control paste;
  
*Follow the same step above to do the right section.


*Collect the center section of the hair into a pony tail and secure it by using a cloth covered hair band;


*Slide the hair from the pony tail through your sock bun/foam bun;
*Cover the bun shaper with the pony tail hair as much as possible;
*once the bun is smooth apply the second hair band;
*Carefully bring all the hair toward the bottom of the bun;
*Create three braids using the loose ends of the bun.


*Bring the ends of all four cornrow braids around the bun and secure them with hair pins

The result: