Showing posts with label hairstyle for toddlers. Show all posts

Monday, November 4, 2013

Tutorial: Simple Two Strand Twists


Hello Ladies: 

This is a very simple style and the reason why so many mothers love the Two Strands Twists style is because of it's flexibility; the fact that it's a great protective style, it looks great on toddlers, teenagers and even adults.  

The smaller the sections you use to do the twists the longer they will last, at least, that has been my experience when I do my daughter's hair.  


The tools you will need:

1.  Styling products: 
    a.  Spray bottle with your favorite mix;
    b.  Curly Butter or your favorite moisturizer;
    c.  Eco Styler Gel;

2. Rat Tail Comb  & Hair Clips for sectioning;

3. Rubber bands  


95% of the time, Ms. Bree's hair is banded for at least a day prior to styling.  After washing her hair I moisturize it by using Bee Mine Luscious Moisturizer.  This process makes sectioning the hair easier since it keeps her hair detangled and it also keeps her hair moisturized.   

I did not have the need to use my wide tooth comb but it's always wise to have one handy, just in case you encounter a tangle/knot.  

Step 1:  Using the tail part of your comb part the top section first.  Start the line right above the right ear straight across to the left ear; clip the hair out of your way using a hair clip. 

Step 2:  Now, you are left with the bottom part.  Part a smaller section of hair by using the tail part of your comb (parting from left to right). 

Step 3:  Part a small section (like doing box braids but in this case you are doing box twists); spritz a little bit of water or your favorite mix (we do not want to get the hair to wet but you'll want it damp);


Step 4:  Apply your favorite moisturizer or butter starting from the roots to the ends. Then apply a little bit of Eco Styler Gel to the section, again, from the roots to the ends of the hair;

Step 5:  Secure the section by using rubber band;

Step 6:  Split the section in half and twist the right section before you bring the piece over to the left piece, then bring the right piece over the left piece and continue until the entire section is twisted.  

OPTIONAL:  You can use rubber bands to secure the ends until the twists are 100% dry, or you can use barrettes or beads to finish the twists. 

Step 7:  Continue to make the sections and repeat 3, 4 & 5 until the entire bottom section is twisted.   


Once you are finished with the bottom section, it's time to get the top section done.  

Step 8:  Spritz water or your favorite mix on the top section; apply moisturizer or your favorite butter and secure the hair with a cloth cover band;

Step 9:  Divide the hair into equal parts, this will help you create twists that look the same in thickness; 

Step 10:  Repeat step 3, 4 & 5.  


I styled her hair Saturday Morning and these pictures were taken Monday night. is you can see in the above picture, her ends looked dry.  

I moisturize her ends and scalp as needed.  To moisturize her ends I simply damp her ends with a bit of water and apply a dab of Bee Mine Luscious Moisturizer and coil her ends using my index finger. 


STYLE UPDATES

4th Day Twists:


This was my first time using rubber bands at the base of her twists.  It is important to constantly check for any bumps around each parting line and around the hair line.  

Should you spot any stress bumps, immediately undo the style and massage the scalp with jojoba oil, and give the scalp and hair a break.

After wearing her twists for a few days, I decided her hair had enough and I removed all rubber bands and unraveled the twists.


Tuesday, February 19, 2013

The Best Curly Hair Charts!

Below you will see two charts that I believe will make things easier on most of us.  

Identifying the curl pattern can be overwhelming and it can be confusing.  Our dear friend from Kandy Land Kurls found this amazing and easy to read chart.

Ms. Bree has a combination of curls but most of them are 3C and doing the LOC method works for her at all times.  

The only hair type chart that matters infographic


I also found this Curly Hair Growth Chart on @Naturallycurly.com.

Curly hair growth chart

Some of the  most asked questions in the curly hair world are about hair growth and curl pattern.  

These two charts will give  you a better idea on how fast/how long curly hair should grow and instead of obsessing about the "curl pattern", what you really need to know about curly hair. 

I think both charts are extremely helpful and I'm sure you will too! 
  

Friday, January 4, 2013

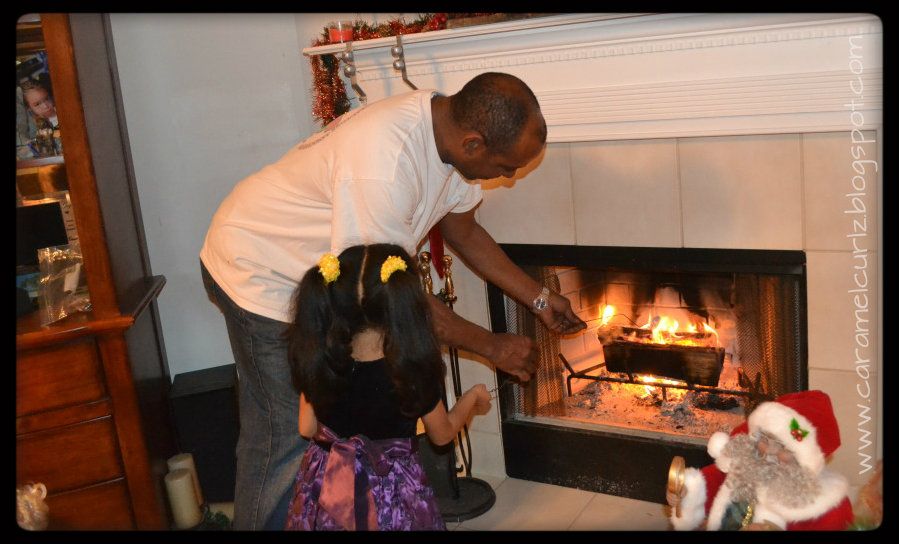
Our Christmas Celebration in Pictures!

2013 is here! Christmas and New Year's have passed and now we are trying to get back into our daily routines.  While my  husband went back to work on the 26th, I had the opportunity to stay home with the kids until January 1st.  

Ms. Bree's first day back to school was January 2nd and Lil Man's first day back to school was January 3rd.  

We were able to do a lot of special things with the kids this year and I am so glad my  husband loves to capture these moments in pictures.

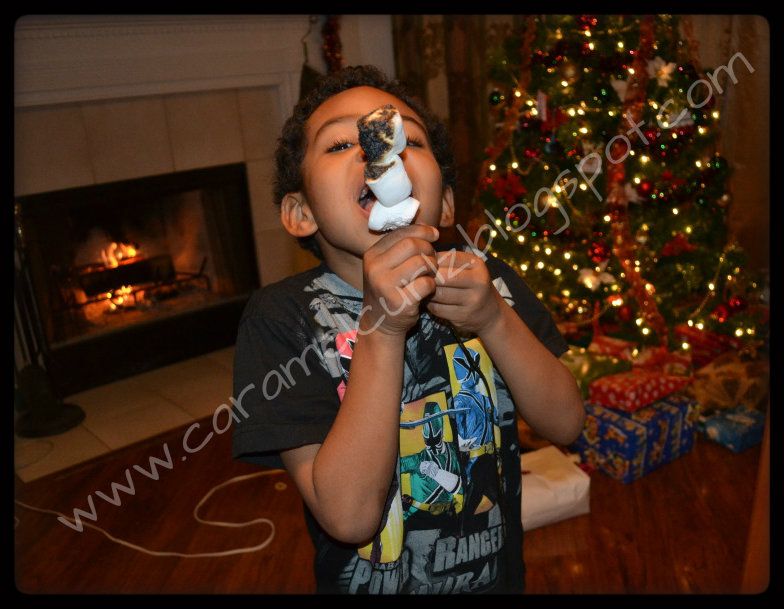
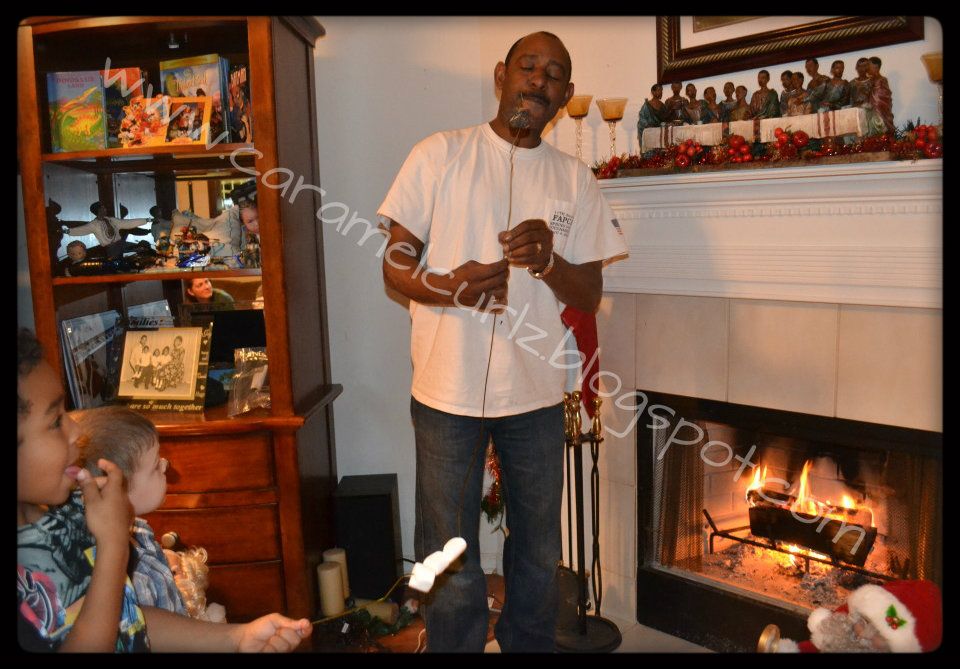
"Making Smores"- more like burning marshmallows!


Who doesn't like to make S'mores?? I think every child does, I personally never had one before and after this I will probably never will!  

My son had the great idea of making some and my husband just went along with it.  

After I had gathered all the necessary ingredients to make the infamous S'mores, the children decided they didn't need any cookies and/or chocolate.  

Okay, so the kids really loved the idea  but EUK! The mess and the taste .. enough said.. lets move on.


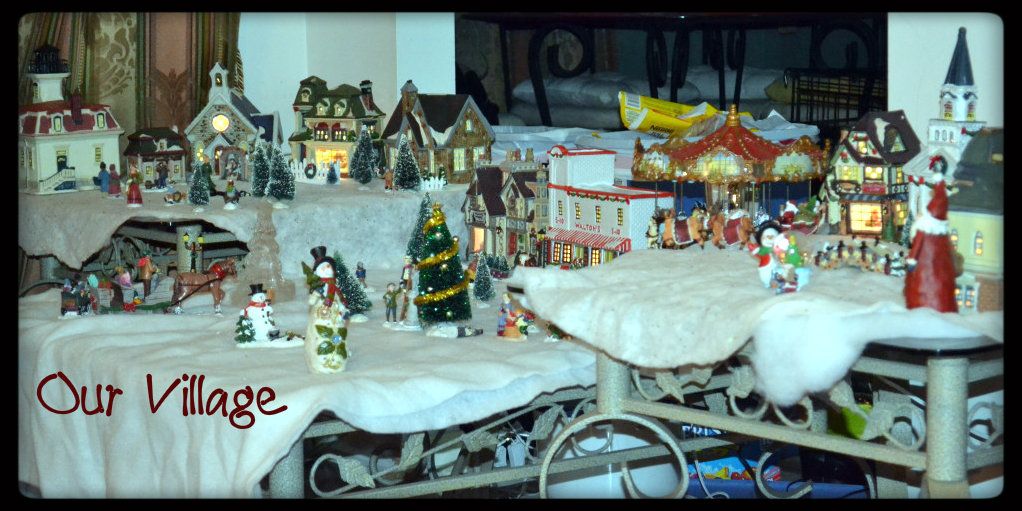
"Our Christmas Village"


The assembling of our "Christmas Village" is something I do with my children every year.  

This can be fun but a headache is always guaranteed with this as well.  Every year my husband buys me a house (or two) to add to my village and now I have a total of fourteen building (i.e. Churches, Lighthouse, Fire Station, Grocery Stores, etc.) a Musical Carousel, Trees of all sizes, people and all animals.  


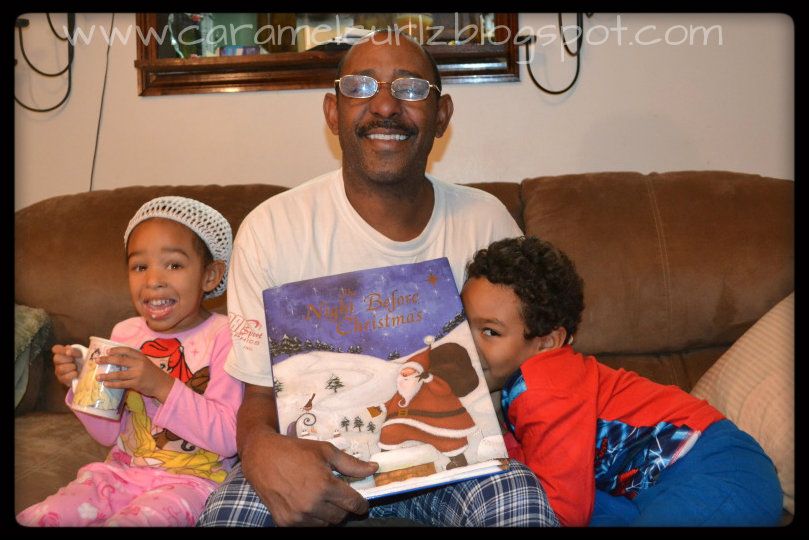
"The Night Before Christmas"


The reading of "The Night Before Christmas" is another tradition that we started a few years ago.  

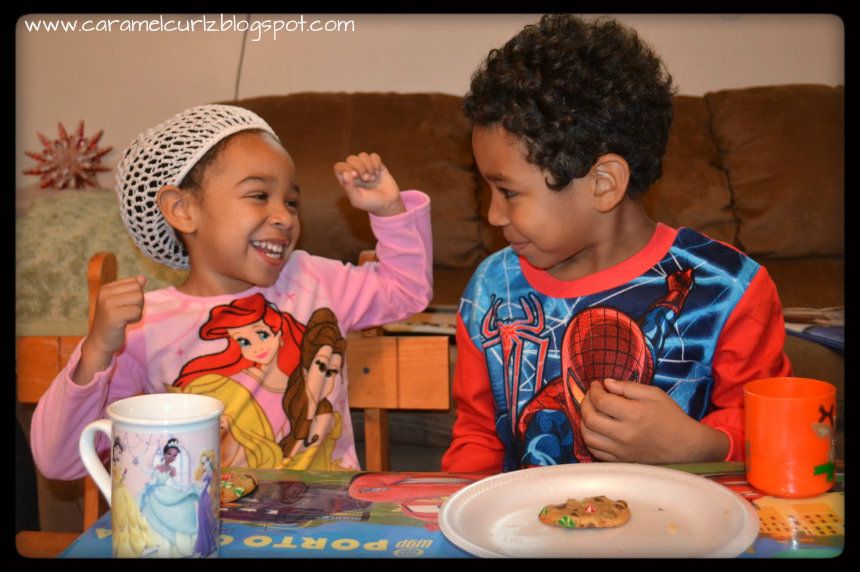
On this night each child gets to open one present (not a toy, we give the kids new pajamas with matching slippers and a book), we drink hot cocoa and eat cookies.  


Little Man is now 6 years old and he knows exactly what kind of present he gets the night before Christmas and always looks forward to it.

"The Presents"


"The Opening of Their Presents"

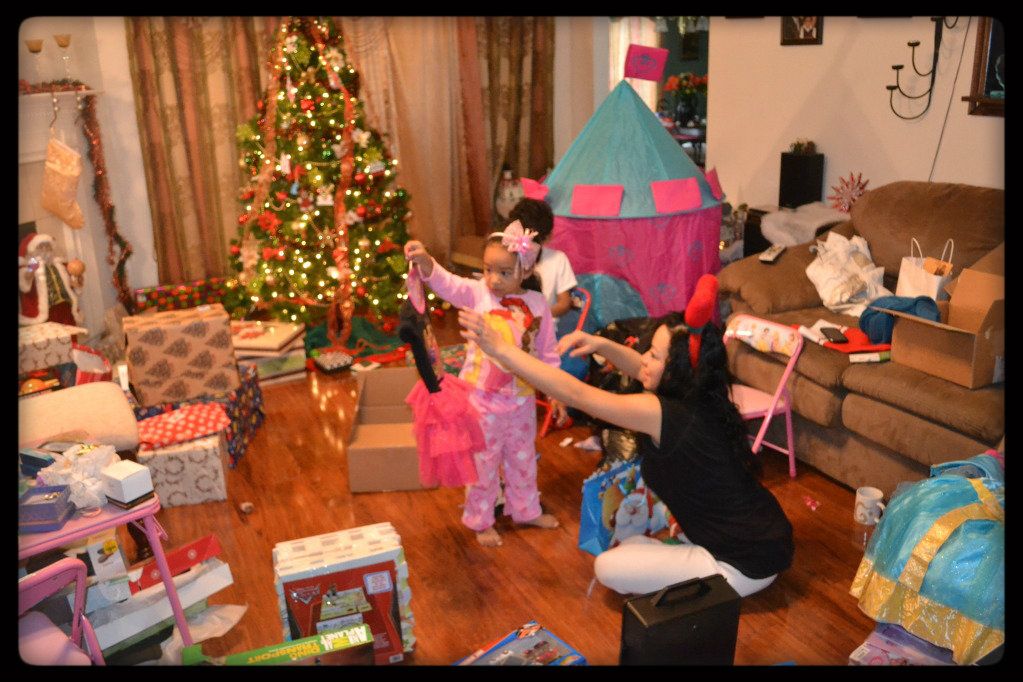
Or what I like to tall "the aftermath" (in my most dramatic voice). it took them approximately two hours and several "you can play with it later, open the next one"...to open all their gifts and there are no words for the mess afterward.  


"Christmas Dinner"


This year we invited another family over to share Christmas Dinner with us so we set up the table a bit different from previous years.

The adult table:


and the children's table:


"The Outfits"

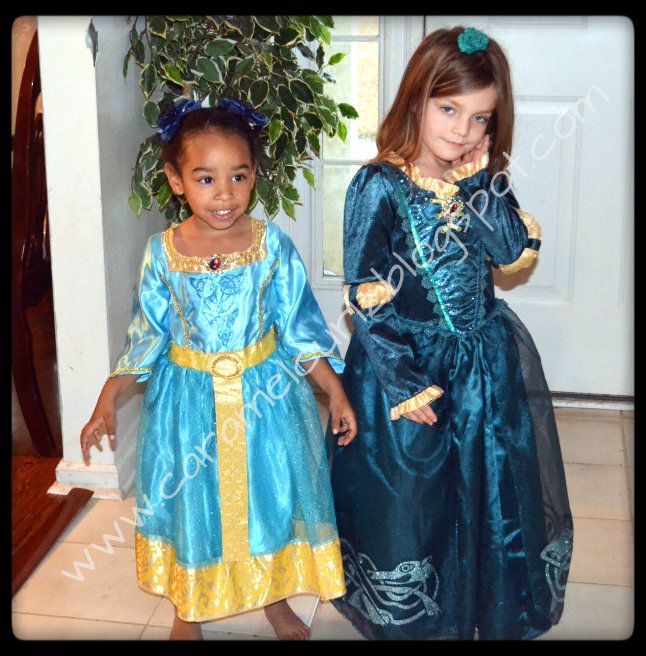
The girls decided to wear their new "Brave" dresses.  While Ms. A. decided to wear her hair lose adorned by a single flower clip, Ms. Bree wanted two simple buns with a "zig-zag" parting.  Simple right!


The boys ...well, they were too busy playing!

We truly enjoyed staying home with the kids for almost two weeks, but now it's time to get ready for our next big event, "Ms. Bree's 4th Birthday Party"!!

Don't forget to share all your amazing pictures with us!!  


Monday, December 17, 2012

Another Bun Style

This is going to be a quick post.

This is another simple sock-bun style I did on Ms. Bree over the weekend.  

Since the kids are schedule to be home for a week (winter break) we are planning to let her hair be "free" for a few days and give her a break from braids and other similar styles.


You can see the step by step instructions by clicking "The-bun-style"


See, what did I tell you... QUICK POST!! 


Thursday, September 20, 2012

Another Curly Cutie as a Guest!

I am so happy to introduce you to one of my favorite curly cuties!  


To protect her privacy, we will call her "Ms. J".    

Ms. J's mommy is Rachel, and as a mother of a curly cutie has learned a lot about caring for Ms. J's wonderful curls.  

Rachel shares:

I wash Ms. J's hair every two week or three weeks by using the Shea Moisture Raw Shea Butter Shampoo and Reconstructive Conditioner. 

I add a little bit Jojoba Oil or Olive Oil to the conditioner and let it sit on her wet hair for about 10 to 15 minutes with a shower cap on.  Then I rinse the hair completely out.

To style her hair I use Cantu Daily Moisturizer.

I tried to do as many protective styles as possible.  Mainly in braids due to the low maintenance and the styles last a lot longer.  Once the braids are out I usually let her hair breath by just doing two simple pony tails or twists. 

My daughter's hair grows very slow so it is very important that we take good care of her hair.


Another way to style it:


ANOTHER SIMPLE STYLE:


Thank you Rachel for sharing these gorgeous styles with us.