Tuesday, September 18, 2012

Where Are The Curlz?!

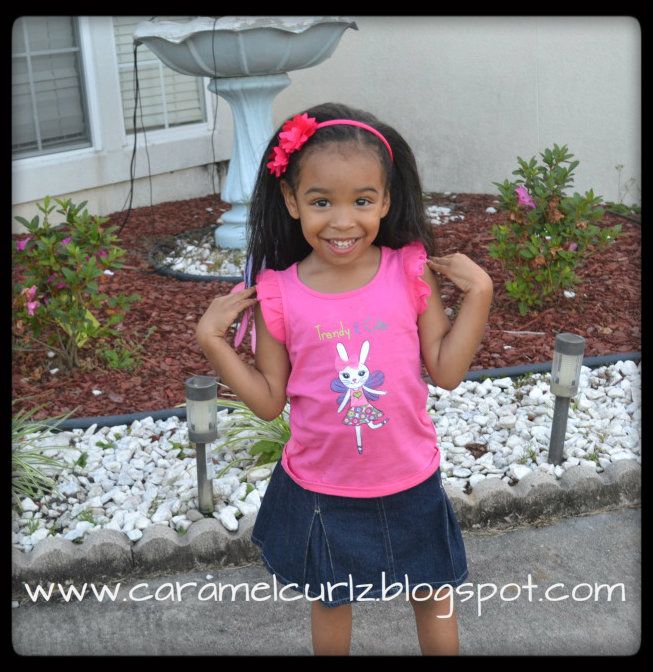
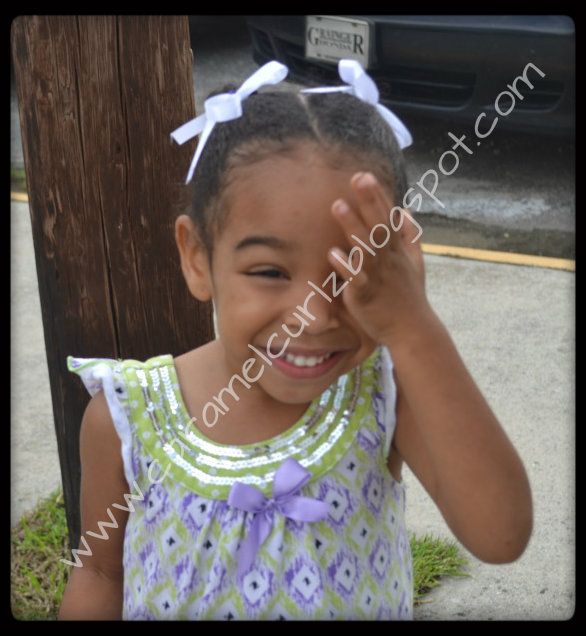
Yes, her hair is straight! and NO, I did not relaxed her hair.  

I know many parents have concerns or are afraid of using flat irons or blow dryers on their children's hair.  

I am going to share the one thing my Husband said to me almost two years ago:  "Buying cheap things will give you poor results".  Investing in a good quality tool will probably due less damage than an inexpensive hair tool.  

After a long discussion my husband convinced me to buy a good quality flat iron.  Yes, I did pay a good amount  of money for it but to be honest it was totally worth it.  
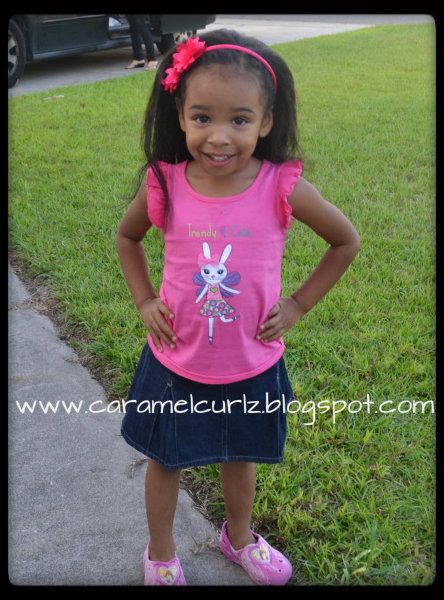


I believe this is the third time I flat iron my daughter's hair and I believe that the process has not damaged her hair because of the following reasons:

1.  I don't do it often; Ms. Bree is about to turn four and I've flat iron her hair maybe a total of three times in the last three years.  

2.  I make sure I wash, condition, moisturize and stretch her hair before flat ironing it.   I don't use the blow dryer to dry her hair.  I rather band Ms. Bree's hair in order to stretch her curl pattern.

    *Why do this? If you stretch the hair before you flat iron it then you will spend less time going over the curls repeatedly.   (See What is Banding? Post)

3.  Once the hair is stretched, I apply a heat protector.  I personally use Paul Mitchell Smoothing Gloss Drops.  

4.  I DO NOT let the flat iron sit on one spot for a long time.  In fact, I recommend you divide the hair into small sections, and gently flat iron the hair.   Smaller sections are easy to do and will prevent you from having to go over the sections repeatedly.

5.  My flat iron has different settings: 240, 280, 320, 350 and 400.
I use the 320 setting to do Ms. Bree's hair since her hair is more delicate. 


The important thing to remember is to prep the hair before you flat iron it, to moisturize the hair, and then follow with a protective style.   

I will be doing cornrows on Ms. Bree's hair as the next protective style.


**********************************************************************************************************

Paul Mitchell Express Ion Smooth 1.25 Hair Straightener Flat Iron, 1-1/4 Inch


Monday, September 17, 2012

Friday's Fresh Look!

I meant to post this sooner but our weekend got a little bit crazy! 

Due to Thursday's wild adventure, I had to re-style Ms. Bree's hair.  I decided to do something very simple that I could re-touch or re-do, if needed it.  This is her Friday Look.  

I also want to mention that we are trying two new products: Shea Moisture Raw Shea Butter Moisture Retention Shampoo and Shea Moisture Raw Shea Butter Restorative Conditioning Milk. I will post the reviews on these two products in approximately three weeks (in order to write an accurate review on the products and how her hair reacted to it).

After washing Ms. Bree's hair with the Shea Moisture Raw Shea Butter Shampoo and Conditioning Milk, I sectioned her hair in two big sections (parting from ear to ear);

I applied Bee Mine Luscious Moisturizer and detangled the bottom section with my fingers first, then I gently used the wide tooth comb to make sure her hair was completely free of any knots or tangles;

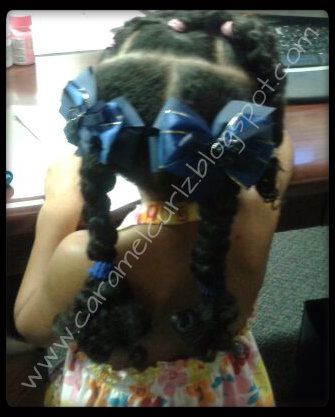
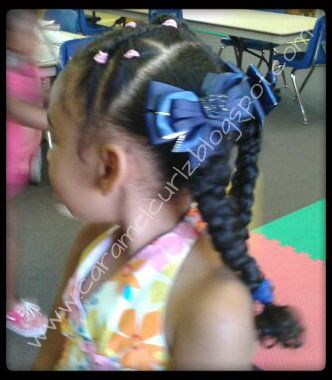
I divided the bottom section in two, (parting from top to bottom) in order to do two pony tails; then I did one big braid in each pony tail.  


After I applied Bee Mine Luscious Moisturizer to front section, I made sure it was completely detangled.  

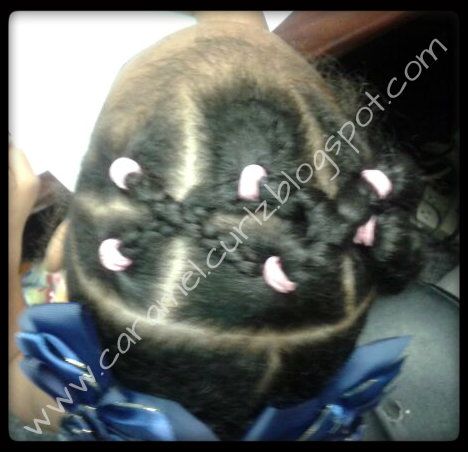
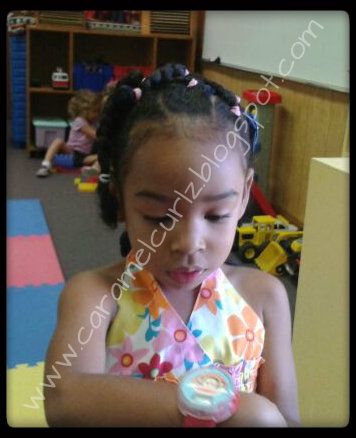
I sectioned the front part into 6 sections (see picture below);  I used ouchless bands to do the "connectors" style.  

After I applied the ouchless band on the bottom left section, I braided the hair enough to bring it over the top (middle) section, and tight the hair with another ouchless band.  

Then I repeated the process on the left top section, brought the hair over to the bottom (middle section), which formed an "X" pattern.  Then continued with the same technique and added the right sections. 


Front view:


Side view:

NOTE:  The Shea Moisture products have high reviews.  These products can be purchased online, Target, CVS, Walgreens, and/or Bed Bath & Beyond.

The only thing I can say about these products so far is that the ingredients are all organic, they have an amazing scent.

These are the listed ingredients:

Contains de-ionized water, Decyl Glucoside (sugar beets), African Butyrospermum Parkii (Shea butter) (denotes certified organic ingredients), aloe vera leaf juice, Argan Oil, Panthenol (pro-vitamin B-5, rosemary extract, sea kelp extract, vitamin E, Lonicera Caprifolium (honeysuckle) flower and Lonicera Japonica (Japanese honeysuckle) flower extract.


A Wild Looking Toddler...

As I promised Thursday, this in an update to the "All Natural Curlz" post (http://caramelcurlz.blogspot.com/2012/09/yes-all-natural-curlz.html).  

Are you ready to see this?    First, let me say that Ms. Bree had Art classes at school Thursday and as we all know, paint can be a little messy.

When she was instructed to clean her hands, well... she did more than just clean her hands, she washed her arms, her face and YES, by doing so she got her hair wet!! (which we all knoe is a big NO NO)

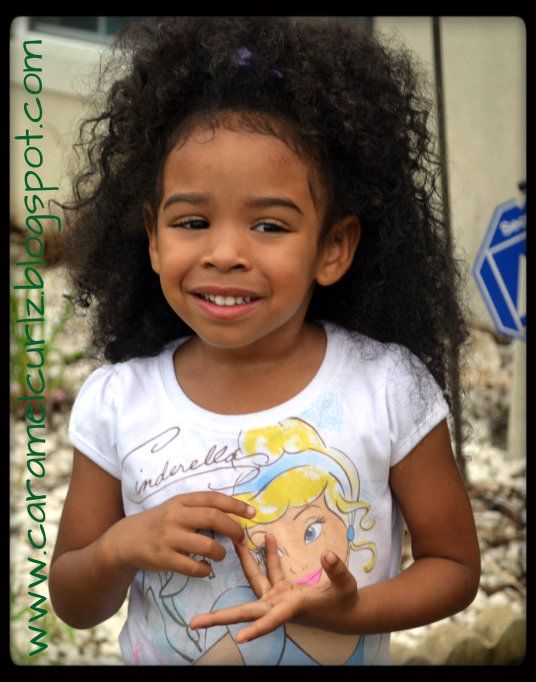
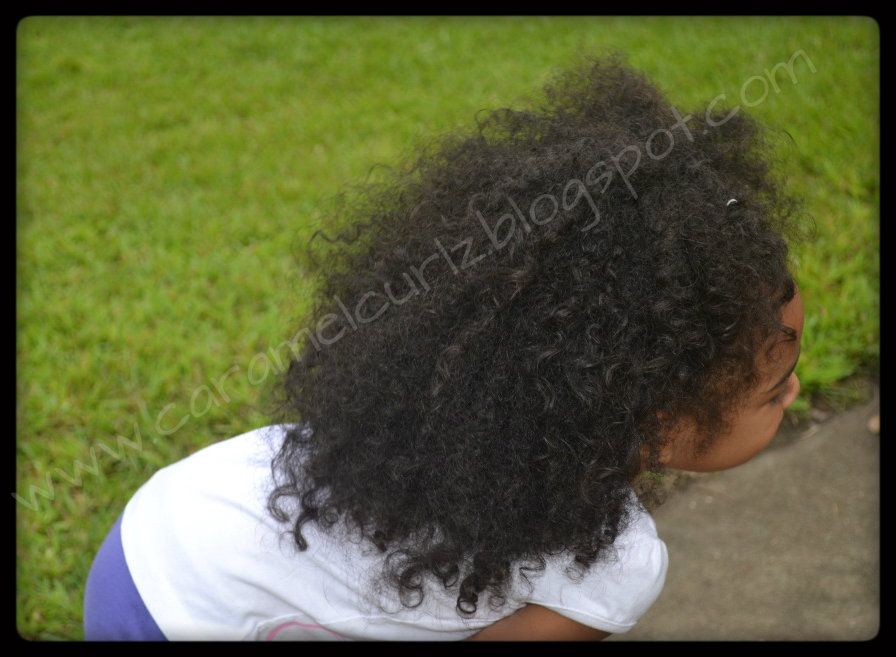
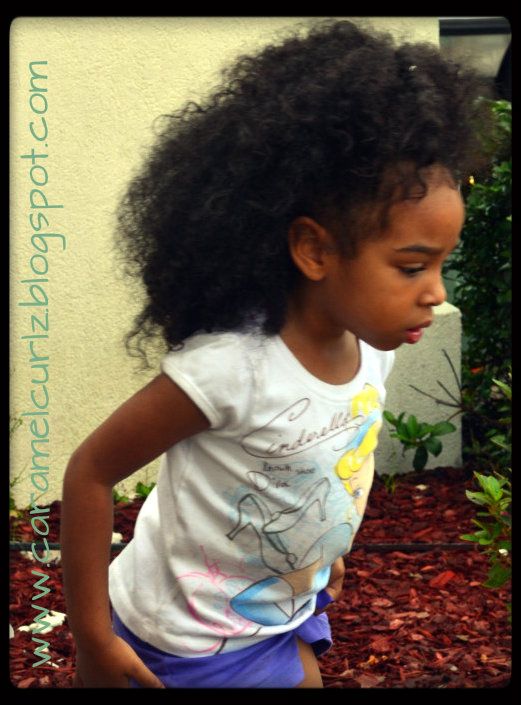
Thereafter, she went outside to the playground and when I picked her up from school, her hair was WILD!! 


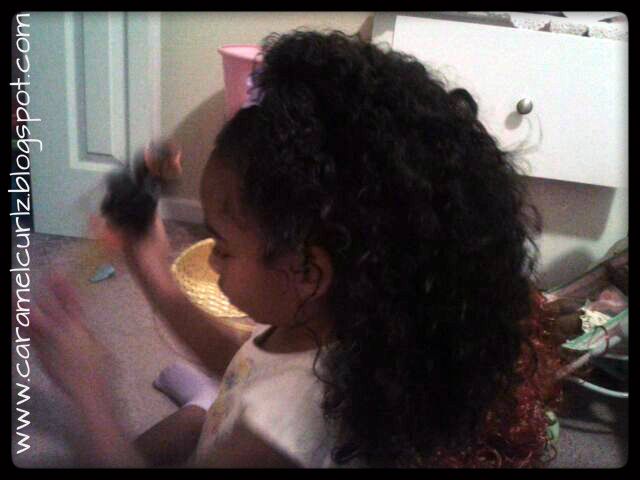
BEFORE SCHOOL:


AFTER SCHOOL:


Ms. Bree really enjoyed having her natural curls free and by using Kinky Curly products we accomplished a nice soft look that lasted for more than a day.  I deeply believe that it would have lasted longer if she would not have played with water.

I want to also add that her hair was not tangled at all! In fact, I had very little trouble sectioning the hair in order to get it washed and conditioned.

LESSON:  What I learned is that I cannot send her to school with "free curls".  Next time I'll probably do two pig tails and add the Kinky Curly products to each section.     

Overall, she loved it and had a great time showing people her natural curls, which to me is very important.   I want my daughter to feel comfortable in her own skin, to love herself from head to toes.  Although her style turned "wild", it still looked nice.


Thursday, September 13, 2012

YES.. ALL NATURAL CURLZ!!

WOW can you believe a little girl can have this much hair!?

I meant to post this yesterday but since it was my birthday, the day got crazy pretty quickly.    Ms. Bree is finally rocking her natural curls!!.  

I'm so happy I was able to accomplished this!!  It was very simple and it didn't take two hours of styling.  I accomplished this look by using:

1st: Kinky Curly Knot Today to detangle the hair and 
2nd: Kinky Curly Custard to style it.  I made sure the product was evenly distributed it by using my fingers.  

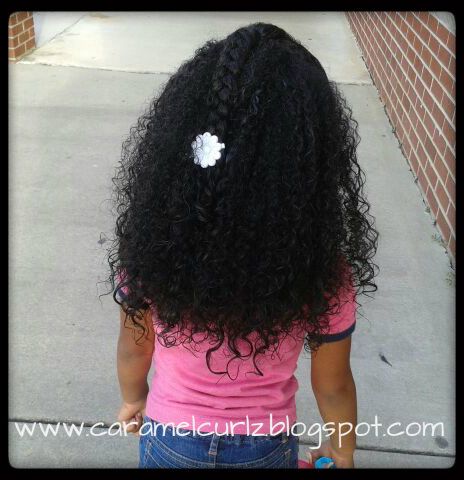
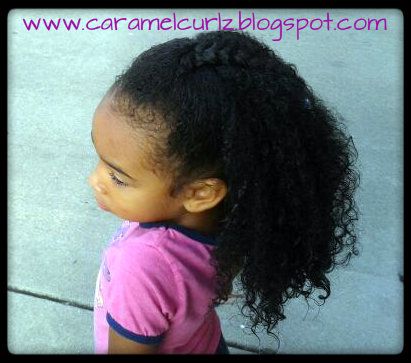
I wish I could have let her entire hair loose, but she didn't feel like having lose hair around her face so as you can on the pictures below, I divided a small section from ear to ear and did a lose braid.


This is the first time I let Ms. Bree go to school with her hair loose so I was a little bit scared of how she was going to look like at the end of the day. 

But I'm happy to say that after an entire day at school plus playground, her hair looked beautiful! So we decided to try for Day #2.!

Before Ms. Bree wen to bed, I carefully grabbed medium size sections and loosely braided the hair (at the end we had about six medium size braids).  Then the satin sleeping cap went on.

DAY 2:

This morning, I carefully removed the braids, lightly sprayed the hair with some water and applied more Kinky Curly Curling Custard to the sections that started to look a little bit frizzy.

AND THIS IS WHAT SHE LOOKS LIKE TODAY!!


Let's see how she will look this evening! So far her hair is not greasy, crunchy or tangled.   


Tuesday, September 11, 2012

A Quick Hair Style

I just wanted to share these pictures and give you an idea of a quick simple style.  

This morning it was my turn to take my oldest son too school and had to be at work at a reasonable time.  Which meant that I couldn't spend a lot of time doing Ms. Bree's hair.  

Trust me when I say, Ms. Bree's hair is not always done in a very detailed or complicated style and I have learned to be okay with it!  


A very simple style can look adorable if you just add a few accessories to it.  


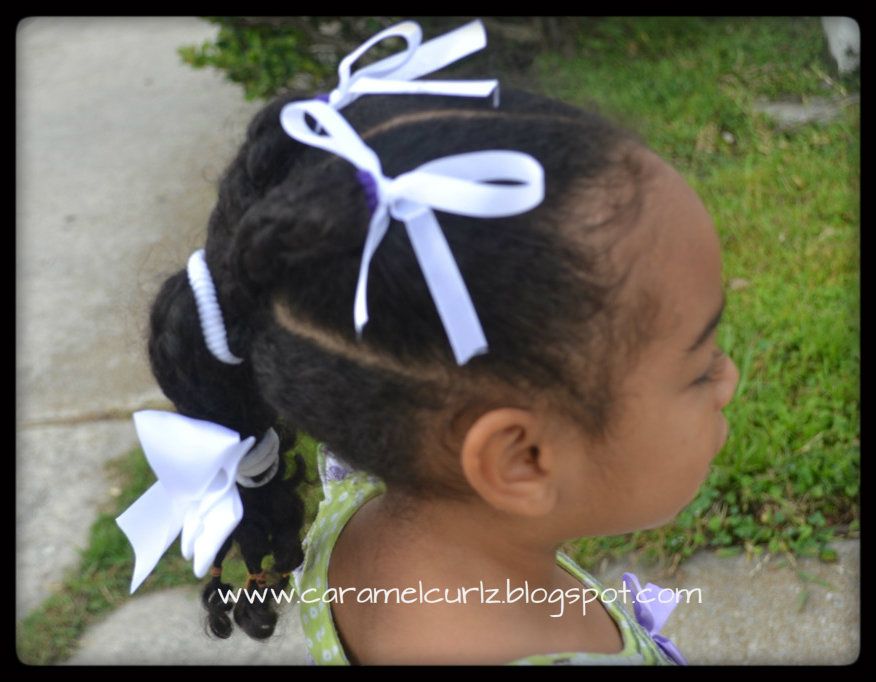
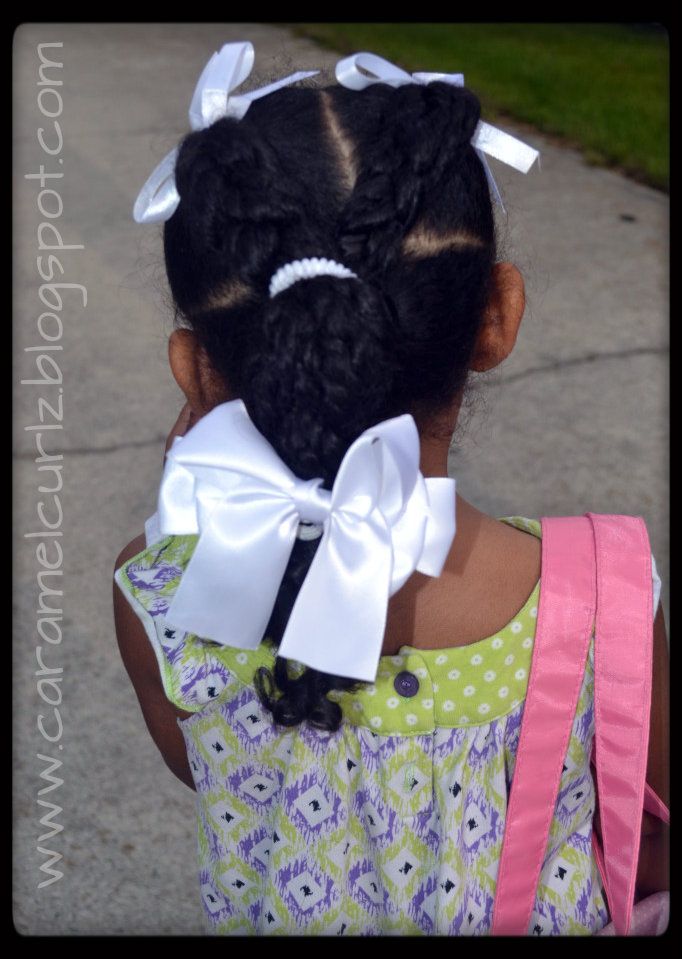
Ms. Bree has three pony tails, each pony tails has 5 twist (2 strand twists).  

I then braided all 5 twists into 1 big braid (did this to all three pony tails);
Then I braided all 3 braids into a BIGGER Braid..

Added white ribbons to the front pony tails and a bigger bow to the ends.  

AND ALL DONE! Ms. Bree was ready to school in less than 30 minutes...

Remember, Simple is also beautiful!!!