Monday, October 22, 2012

Princess Cinderella Hairstyle & More

This weekend was a fun weekend for the kids. 

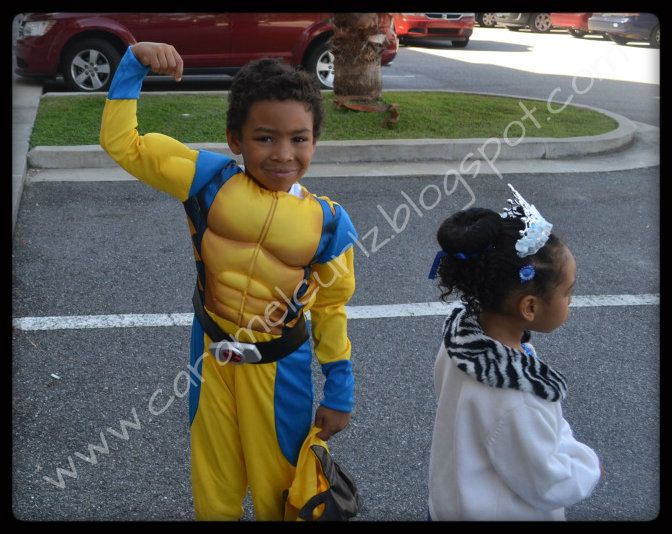
My son's karate instructor had an event called "Halloween Board Breaking" in which all the children got to wear their Halloween costume and break boards by using their punches and kicks.

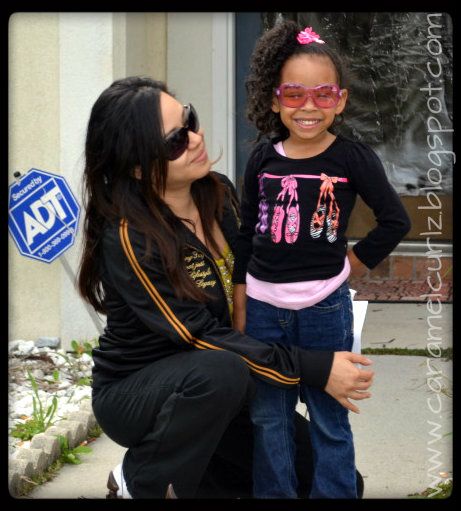
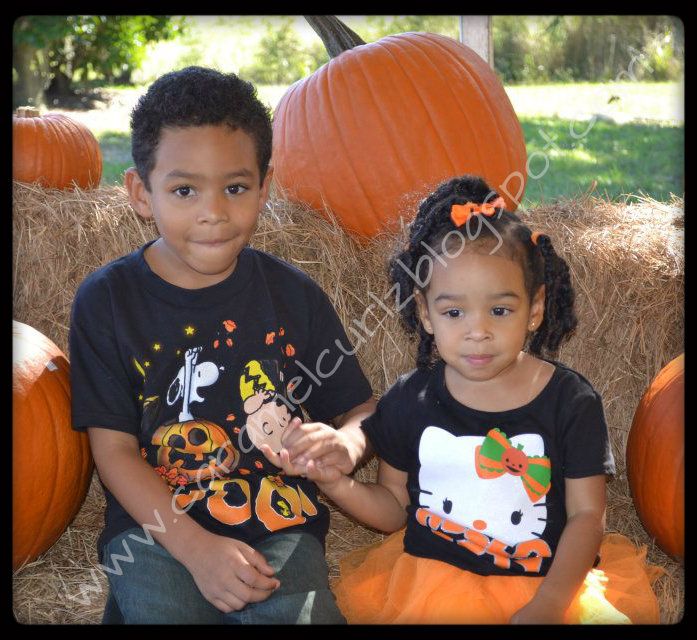
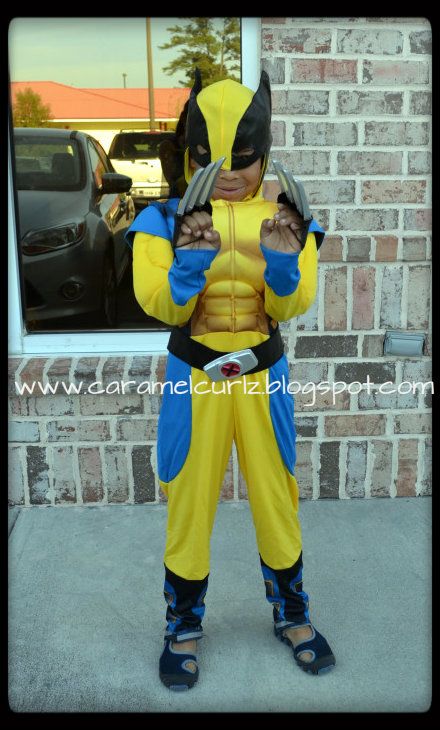
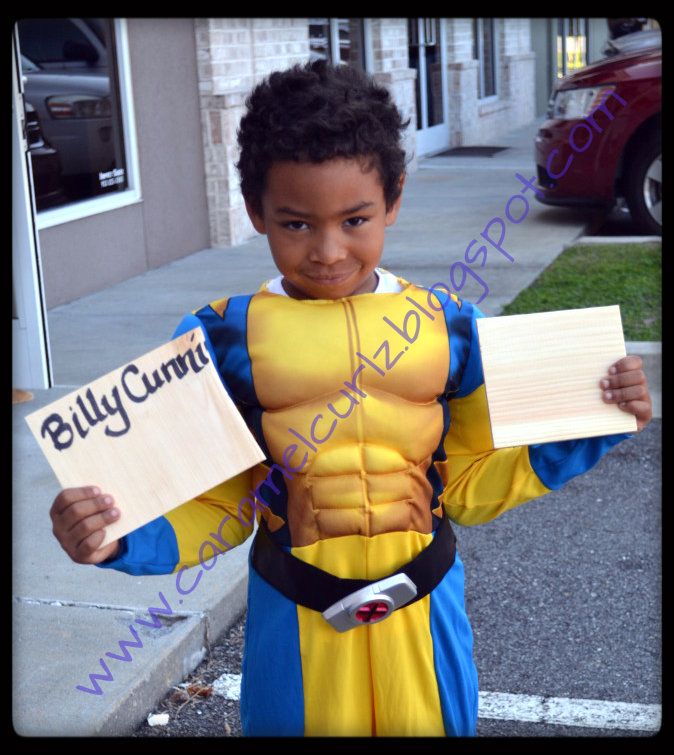
Lil B. choose to be "Wolverine" and  Ms. Bree choose to be "Cinderella"!

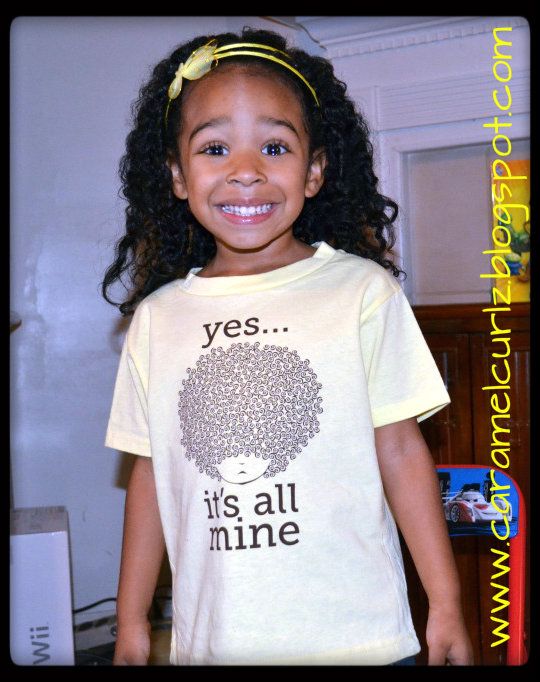
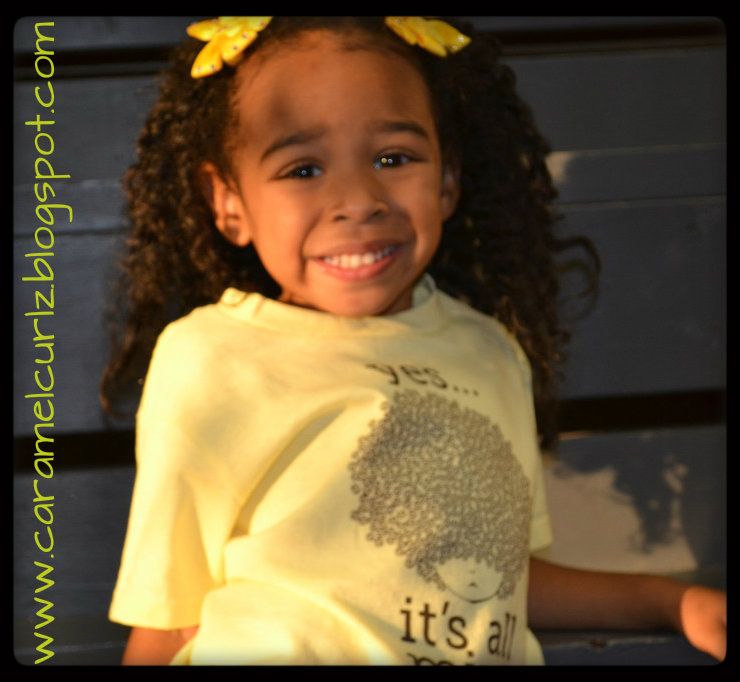
After my son saw "Baby Big Hair" shirt: "It's All Mine Tee",  he asked me not to cut his hair (we will see how long that lasts!).  We did had a little hard time trying to make the face mask fit properly because he has a little "fro" going on.

Here is my baby boy:


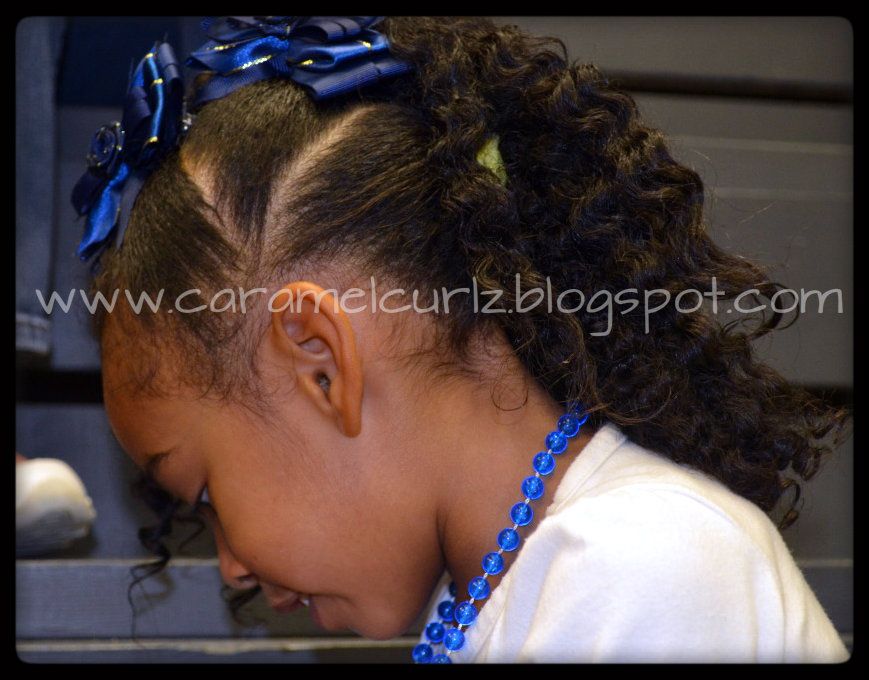
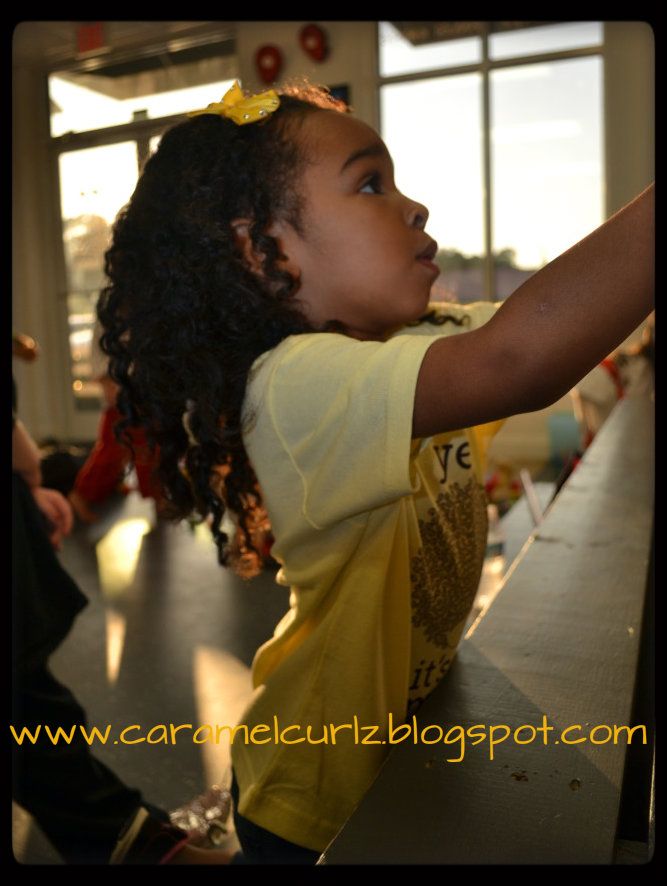
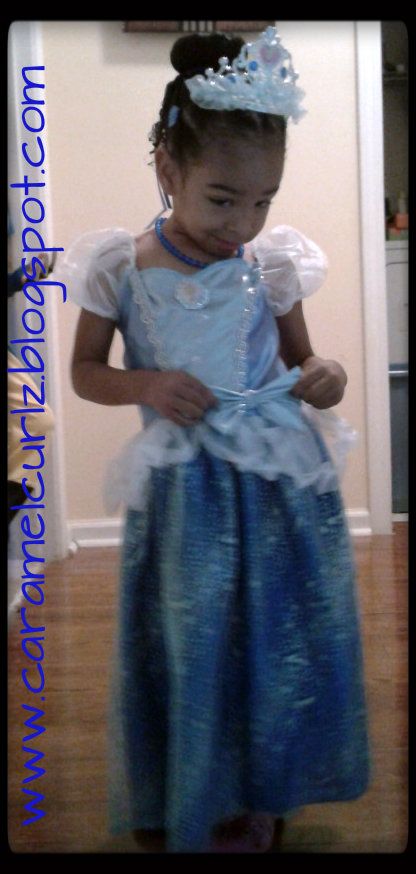
Ms. Bree's hairstyle was very simple and easy to do.  

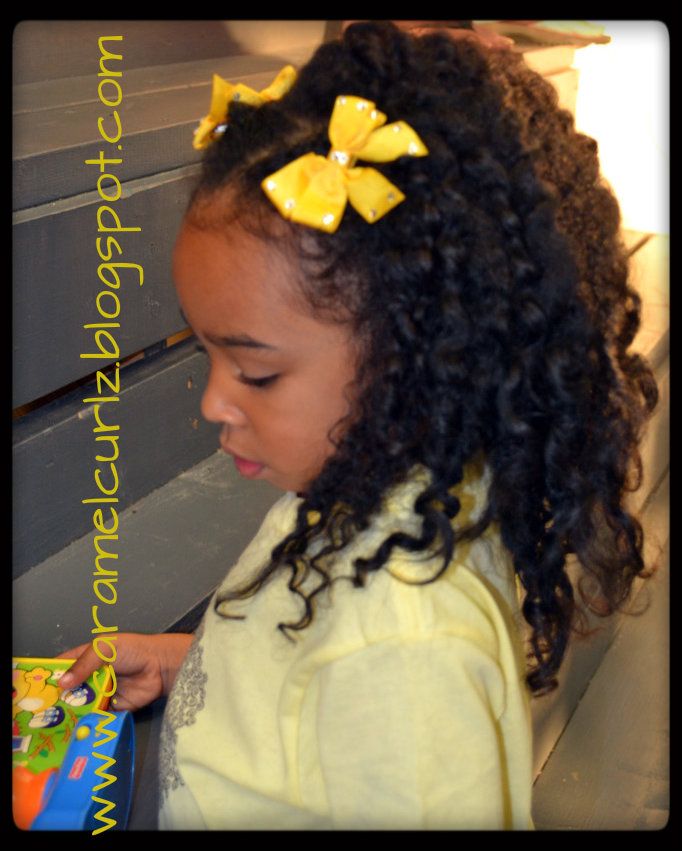
I did a combination of medium size box twists (instead of braids) along her hair line and then combine them into a Bun.  I did not tucked the ends under the bun like I normally would do, instead I decided to leave them out and do little curls at the end by using Kinky Curly Curling Custard.   

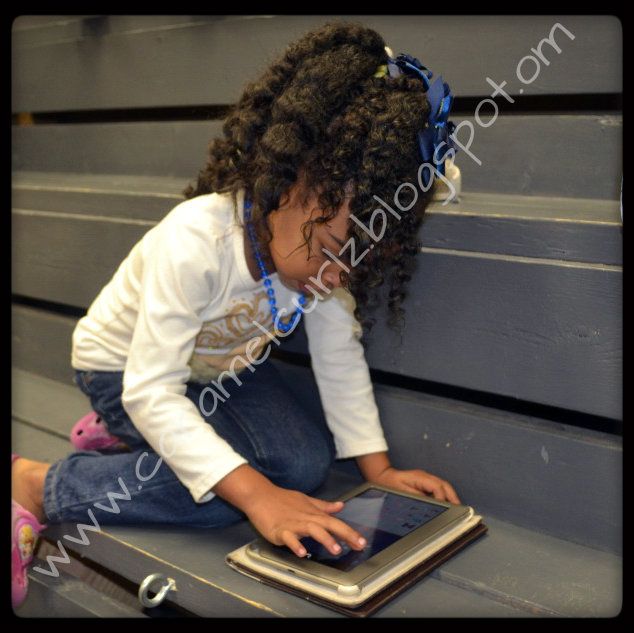
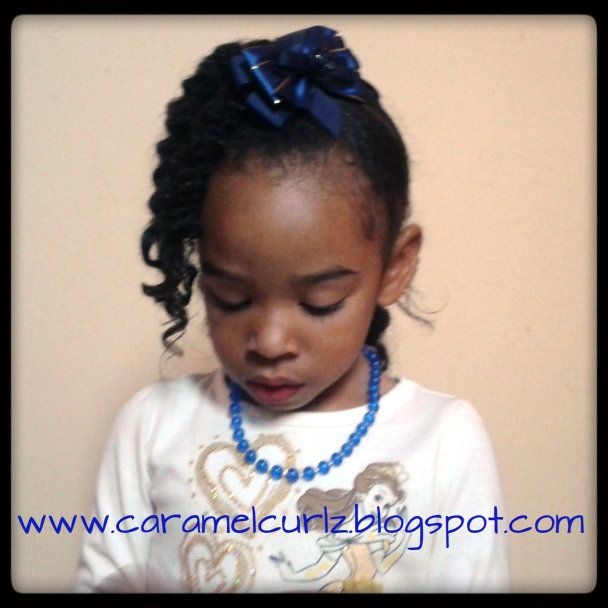
Here is Ms. Bree:


I only used a bit of Bee Mine Curly Butter on Lil B's hair, unfortunately I believe all the product was left on the mask.  Here are some pictures of Lil B. without his mask:


Ms. Bree without her tiara:
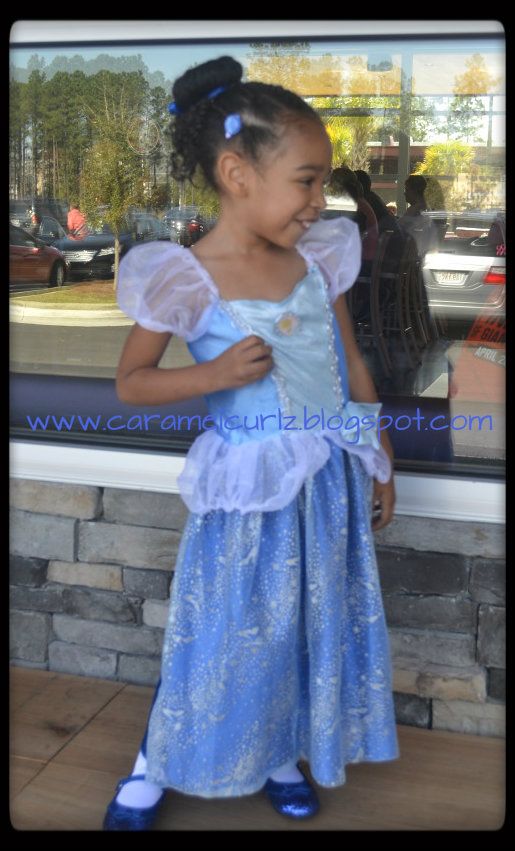


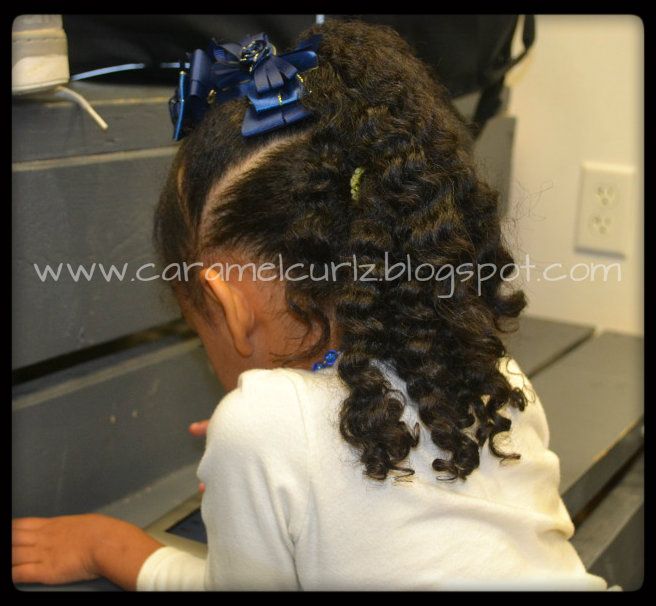
Back View: I hope you can see the curls.  I used her side twists to secure the tiara. Ms. Bree has two more events to attend so I promise to take better pictures next time.  


Hey, who said Halloween is only for the kids?... I was talked into dressing up too... the Evil Queen! 
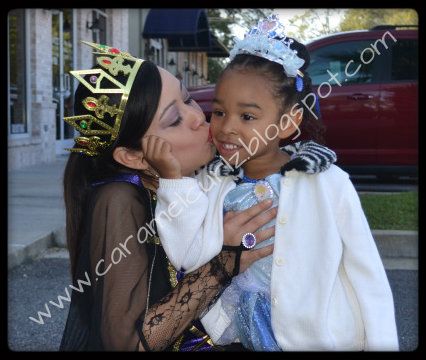


Are your and your little ones dressing up for Halloween?  Share your photos and styles with us, we would to see them!! 

Tuesday, October 16, 2012

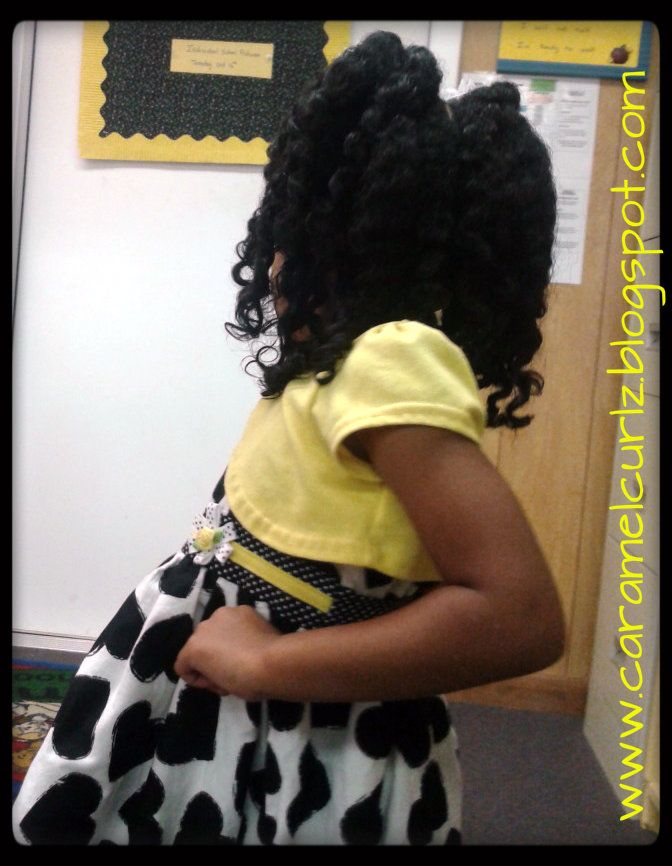
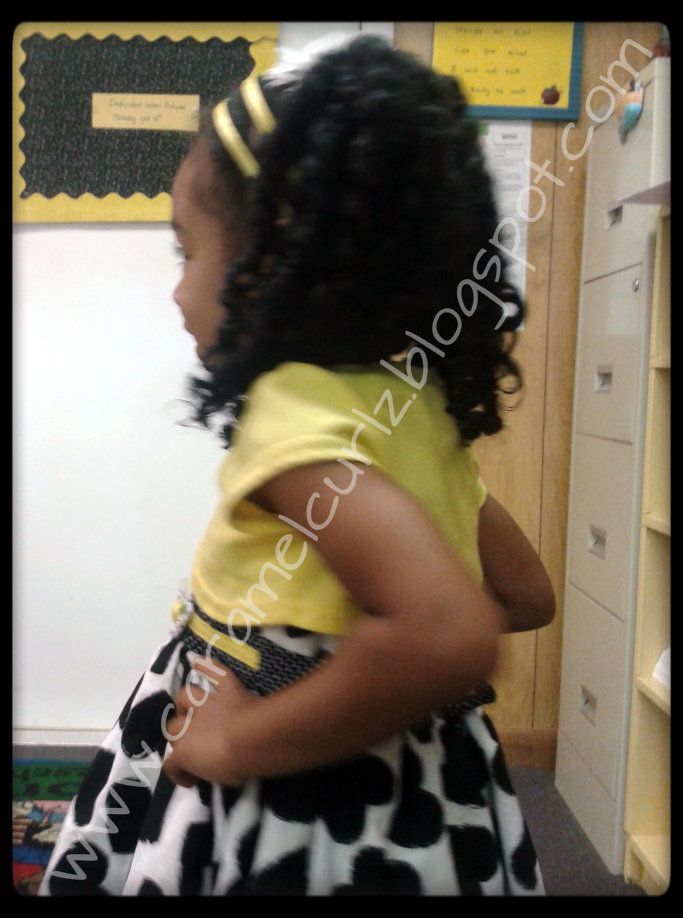
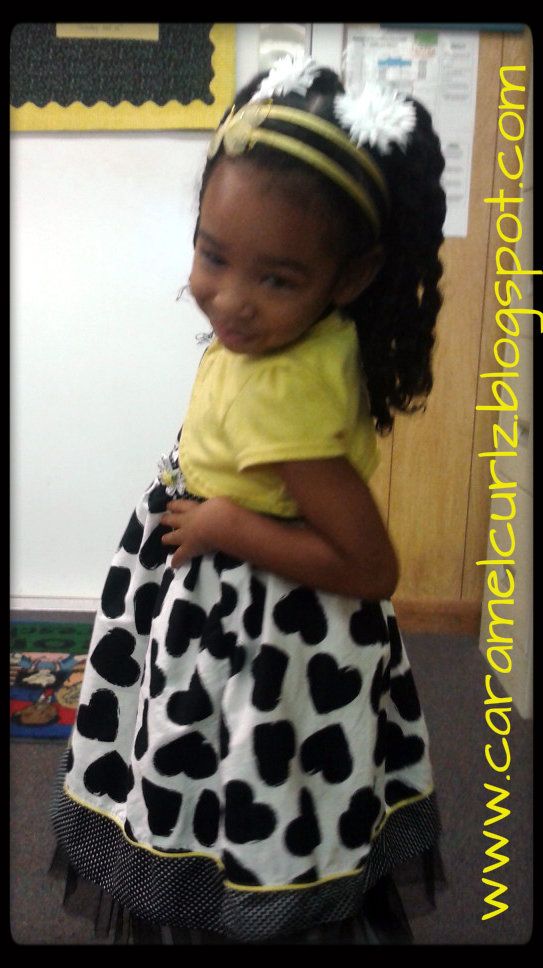
Picture Day!

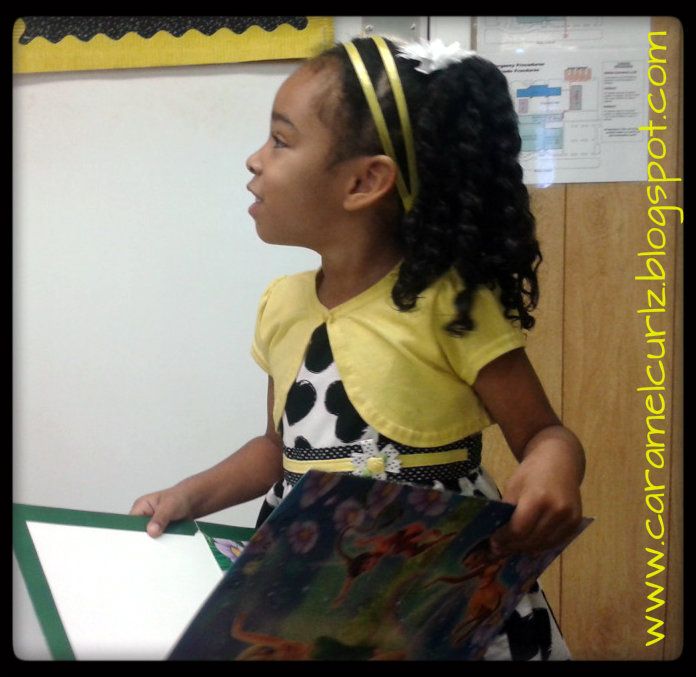
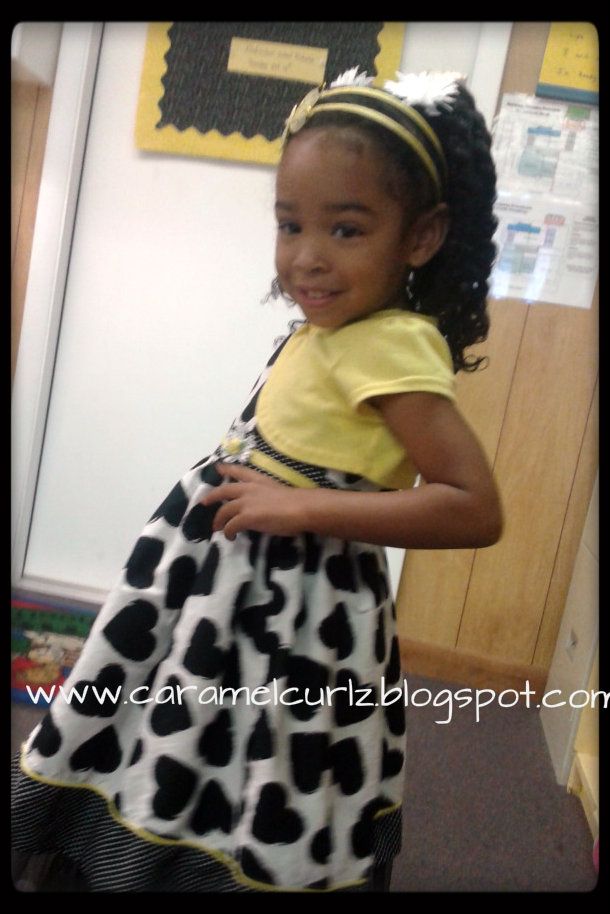
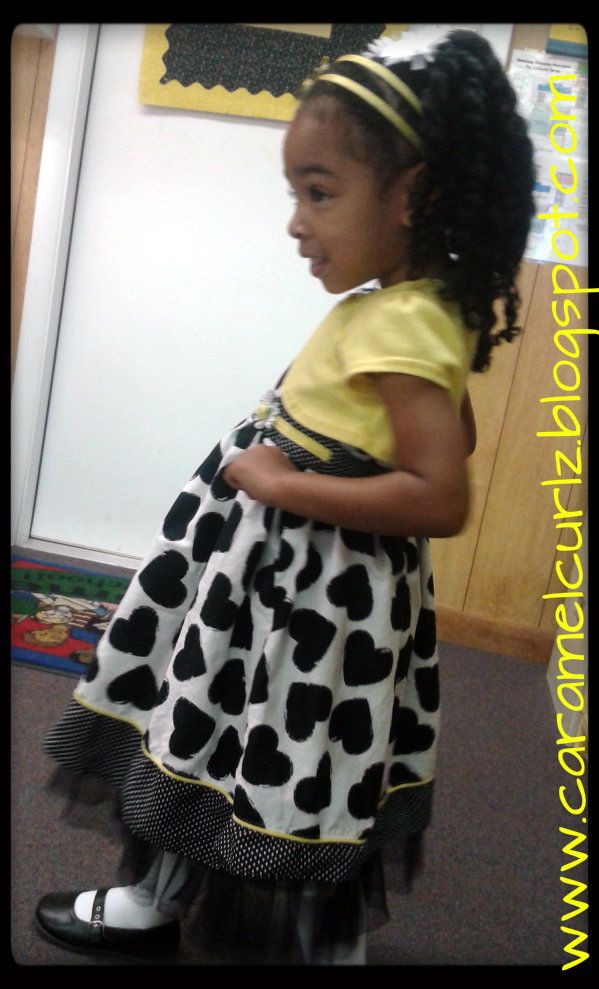
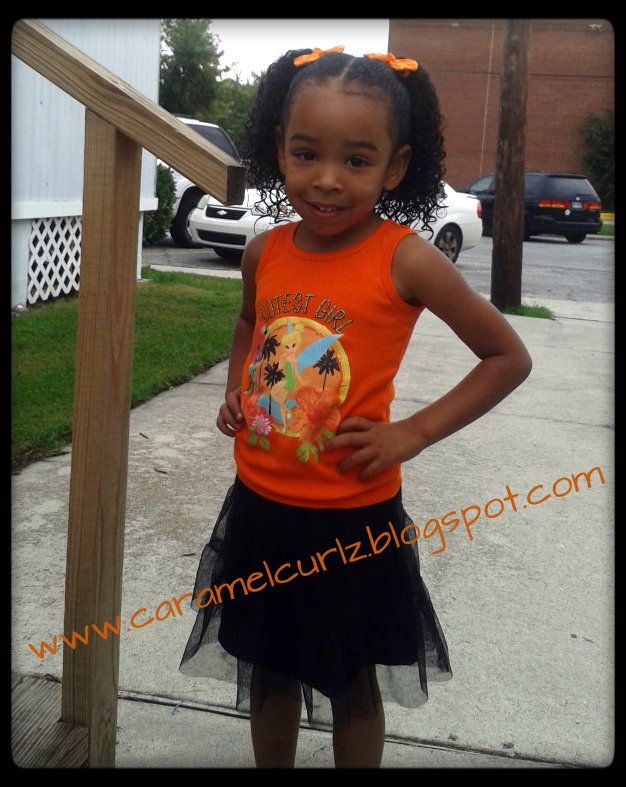
ALL READY FOR SCHOOL PICTURES!!   

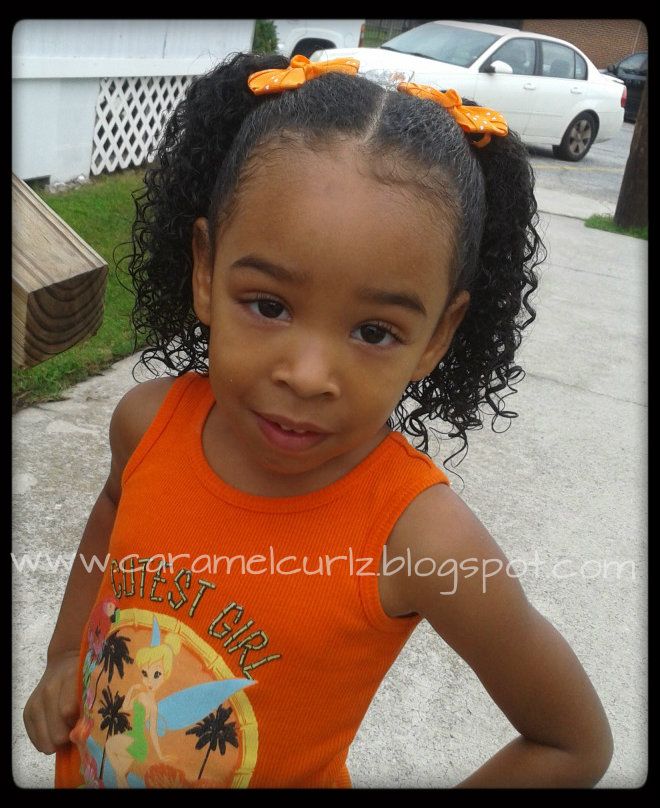
Today is individual picture day and Ms. Bree picked a very simple style.  I am so glad she did because Mondays are very hectic for us due to the extra activities my son is currently enrolled on.


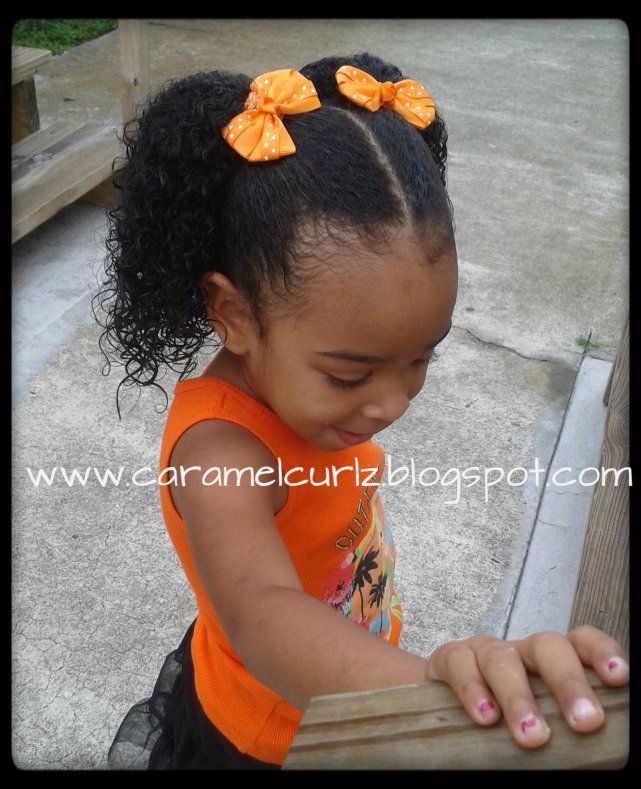
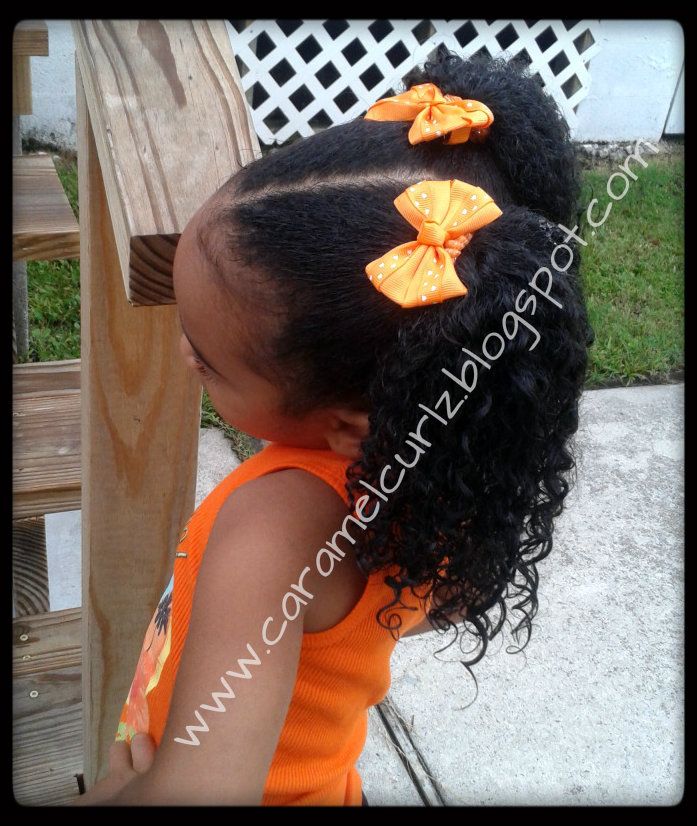
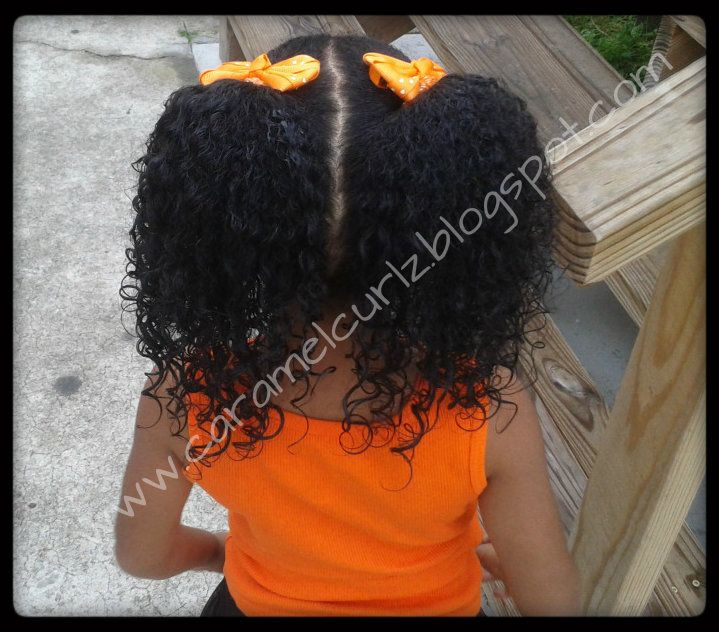
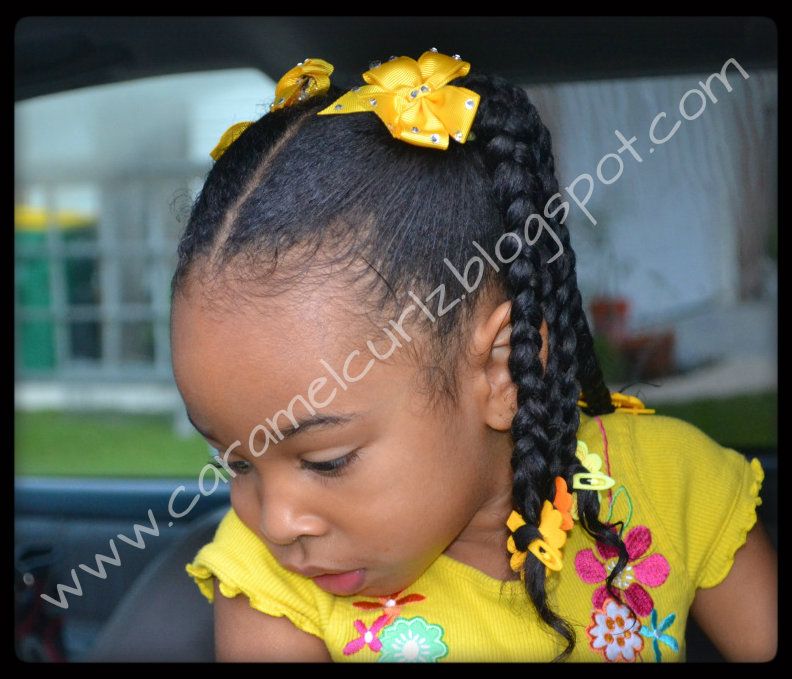
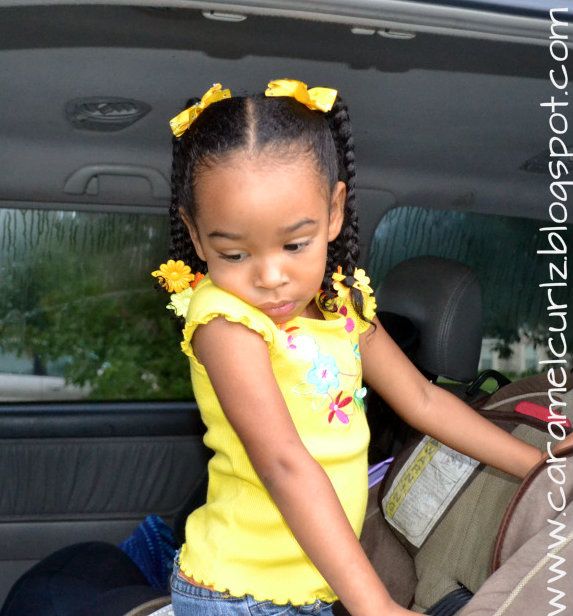
Ms. Bree has truly enjoyed her twist outs style and she asked me to do it again, but this time she wanted two ponytails so she could wear the flowers she found at the hair store.


To Get The Look:


MONDAY NIGHT: 

1.  Shampoo her hair with Cream of Nature Argan Oil Shampoo;

2.  I used Herbal Essence Hello Hydration and I lightly rinsed the hair out;


3.  Created four sections by parting from ear to ear then from forehead to nape.  

4.  On the bottom two sections:  I created a total of 8 two strand twists.  I use Bee Mine Luscious Moisturizer and a few drops of Argan Oil.


5.  On the top sections I created two pony tails secured by Goody's Ouchless Bands (I only wrap the band twice.  It was not tight at all but since I really didn't see the need for it because I was going to retouch it in the morning);

6.  I created 3  two Strand Twists on each pony tail.

7.  I then pin her twists up so they wouldn't shrink that much during the night.


This morning I carefully removed the pins and retouched her pony tails by making the edges nice and smooth. I re-banded her pony tails and applied the flower clips.

Ms. Bree also wanted the headband so I let her put it on.  

Are your kids taking school pictures??  We will love to see their pictures and styles! 

Monday, October 15, 2012

Mohawk With Twist Out Style

When I first saw the Mohawk Style I thought "what an interesting style" and it has been in the back of my mind for a while.

Ms. Bree has been rocking her twist out look for a few days now and I decided to do something similar to the  Rolled Mohawk on Natural Hair I saw on  Braid With Me site.  Make sure you check her website out.  The style it's beautiful and is not as complicated as you may think it is.

But Ms. Bree likes to wear her hair out so I compromised and these are the results.


1. I simply did divided her hair in three sections;

2. each section was secured with a pony tail by using "Goody's Ouchless Bands";

3. I used Curls Passion Fruit Curl Control Paste to keep the edges smooth and added a little bit more Bee Mine Curly Butter to the twist outs and made sure the ends were very well moisturized;

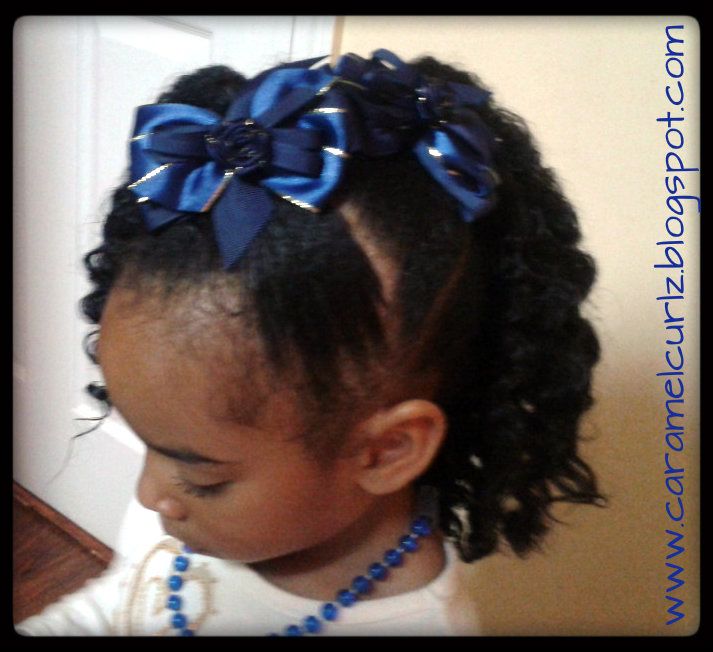
4. To accessorize the style, I used two bows with Alligator Clips.


AT NIGHT:

I removed all the accessories;

carefully removed the band and re-did the 2 strand twist.

She slept with satin cap on.  I was also able to find a satin pillow cover at our local hair store and it was only 5.99!!  

THE NEXT DAY:

She asked for the same style again so I did it by following steps 2-4 all over again and these were the results:


Thursday, October 11, 2012

OUR BABY BIG HAIR TEE!!


IT'S HERE!!

Yes, I'm talking about our Baby Big Hair Shirt!! 

These shirts are so cute! You have to get one for your little one.


Product Description
TODDLER
A classic fit for that frodorable lil’ BIG HAIR!  This fabric is knit and finished to maintain its shape and provide minimal shrinkage during wash. Machine wash cold, hang dry or tumble low is recommended.
·         5.5-oz. 100%  cotton jersey (Heather grey has some polyester content)
·         Ribbed crewneck
·         Shoulder-to-shoulder taping
·         Double-needle sleeves and hem
·         BBH locker tag on back
·         Rabbit Skinz Style 3301

Click Baby Big Hair Store to see all her products!


BBH has two styles and three beautiful colors to choose from.  

My daughter is a 3T now but the 4T shirt fitted nicely on her. 

The shirt was delivered in a nice little package.; it was not wrinkled at all when I received it.  BUT what I really liked the most was the handwritten note from Chloe, it added a nice personal touch and it felt like it was "a friend sending another friend a present".  It really can't get any better than that. 
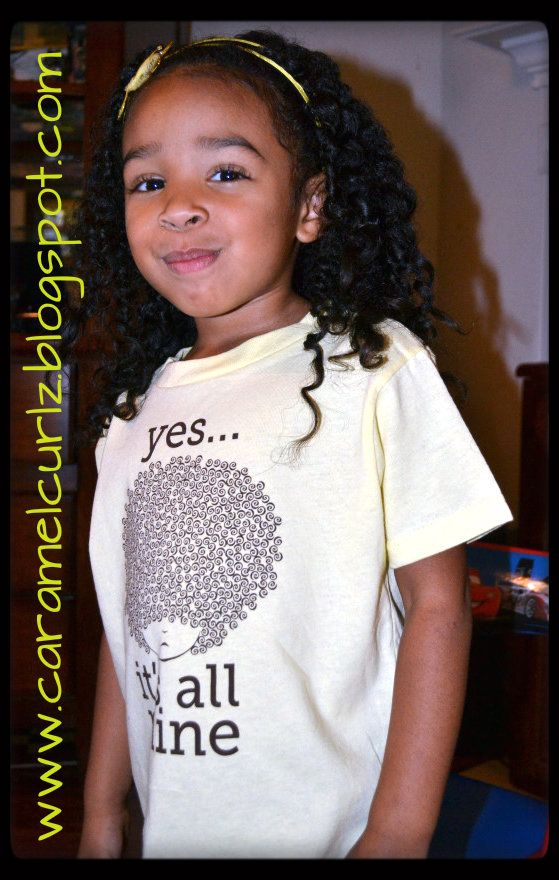
My daughter liked the fact that the picture on the shirt looked like her when she wears her curls free… "look mami Big Hair just like me".   
Now I have the feeling I have to get one in blue because my son is now wondering where is his BBH shirt?!

BBH offers many other tips and ideas.   You have to check her website out!  BABY BIG HAIR NOW!

TO GET MS. BREE'S TWIST OUT LOOK:


I co-washed her hair with conditioner only, this time I used (my old and beloved) Herbal Essence "Hello Hydration".

After lightly rinsing her hair I applied my other beloved product, Bee Mine Lusious Moisturizer with a few drops of Argan Oil and sectioned her hair into four sections.  Then I banded each section.

The next day I sprayed a little bit of water, applied Bee Mine Curly Butter and did 16 twists.

I came across this amazing technique and I decided to give it a try.   

Make sure you check out "KandyLandKurls" and her post "How to Elongate your Twist Outs".  It worked perfectly for us!! 


Monday, October 8, 2012

Back to Basics!

Yes, we have gone back to basics!! And there is absolutely nothing wrong with that!  These are last weeks hairstyles. 

Sometimes the hair is not the only thing or should I say  the only one who deserves a break.  Yes, I am referring to "us" the mommies!  A very detail hairstyle can take approximately two to four hours depending on the length of the hair and sometimes it can take longer if you have to wash the hair.  

That's a very long time, imagine how difficult can it be for a three year old to sit still.  We have invented many ways to keep the little ones busy while we do their hair (i. e. leapsters, cell phones, tv, dvds, tablets, etc.), but by the time you are done styling those gorgeous curls they are as exhausted as you are.  Well, they may not be but you get the idea. You are tired! 

We are preparing to put all of our Halloween Decorations out and after six years of adding a skeleton here, a smoker over there...well, we have a lot of decorations to put out! 

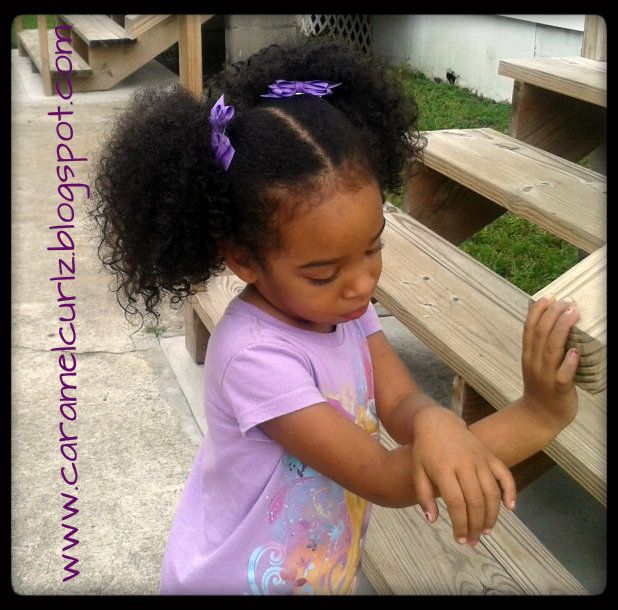
So with that, I decided to go back, way back to my basics.  2 Pony Tails!!


DAY 1 (Wednesday)


1.  After co-washing Ms. Bree's Hair, I sectioned the hair in two.  

2.  I added Bee Mine Luscious Moisturizer and made sure it was completely detangled.

3.  I used the medium size- goody's ouchless bands.  As you can see, the hair is not tight, I only wrapped the band about 2 or 3 times around.


3.   I used 2 barrettes (with alligator clip) to accessories the pony tails.


4.  Carefully and by using my fingers only, I added a dab of Bee Mine Curly Butter on the pony tails and these were the results.  Perfectly defined curls!! 


Ms. Bree is a very active little girl, and I may have to retouch her hair every morning but not more than 15-20 minutes.  


AT NIGHT:  I take off all accessories including the band and massage her scalp carefully and without touching the curls too much.  Put her satin cap on and off to bed.


DAY 2 (Thursday):

In the morning, I spray a little bit of water with Argan oil on the front, then add a little bit of Bee Mine Moisturizer and re-do the pony tails again. *There was no need to section the hair because the center line was still there.*

I spray a bit of water and Argan Oil on the ends then add Bee Mine Moisturizer as well.  I made sure that all ends were not extremely dry or frizzy.

Below is a picture of Ms. Bree on the second day of wearing her pony tails.  This was taken when I picked her up from school in the afternoon.  She was outside playing in the sand the better part of the afternoon.


After wearing her pony tails for two days I noticed her ends were getting a little bit dry and it was time to moisturize the hair thoroughly and braid it.

Now this really takes me back to some of my firsts hairdos... ha~

THE NIGHT BEFORE: 

1.  before she went to bed, I took off all accessories and band, co-washed it with only conditioner.

2. After a good rinsing, I applied Bee Mine Luscious Mositurizer and made sure it was detangled.

3.  Again, section the hair in to two sections (left and right) and banded the hair.


DAY 3 (FRIDAY):

MORNING:

1.  re did the two pony tails;

2. Each pony tail has 4 braids.

3. I used the basic plastic barrettes at the end of each braid.


 A BLAST FROM THE PAST! 

Our firsts pony Tails
July 2009


December 2009


Spring 2010


Summer 2010


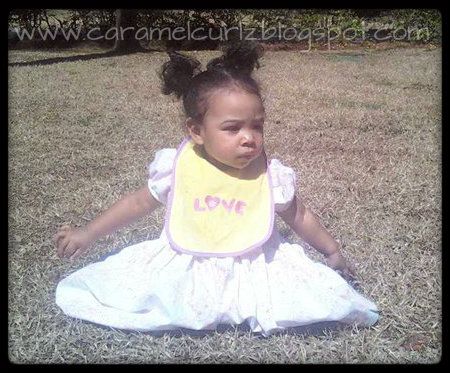
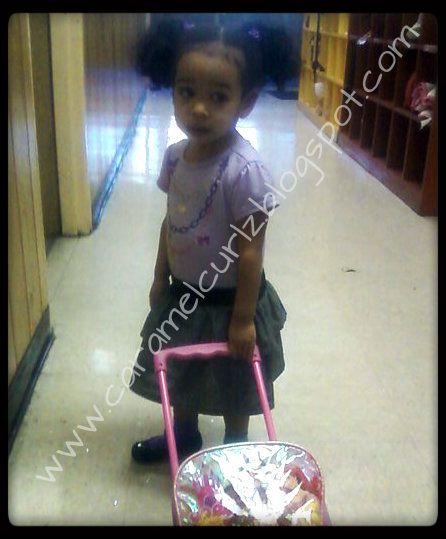
Fall 2010