Tuesday, January 15, 2013

Day 9 of Box Braids

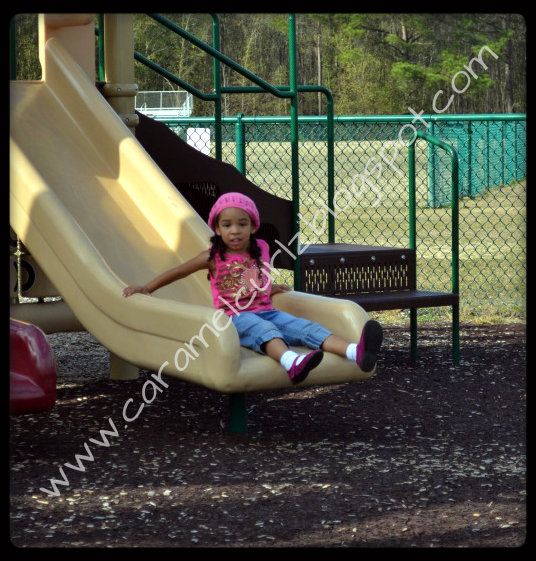
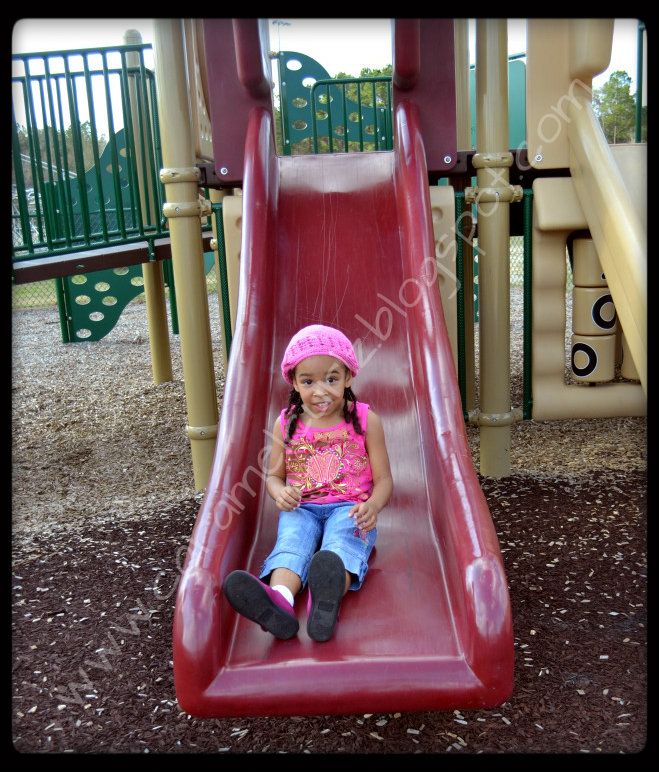
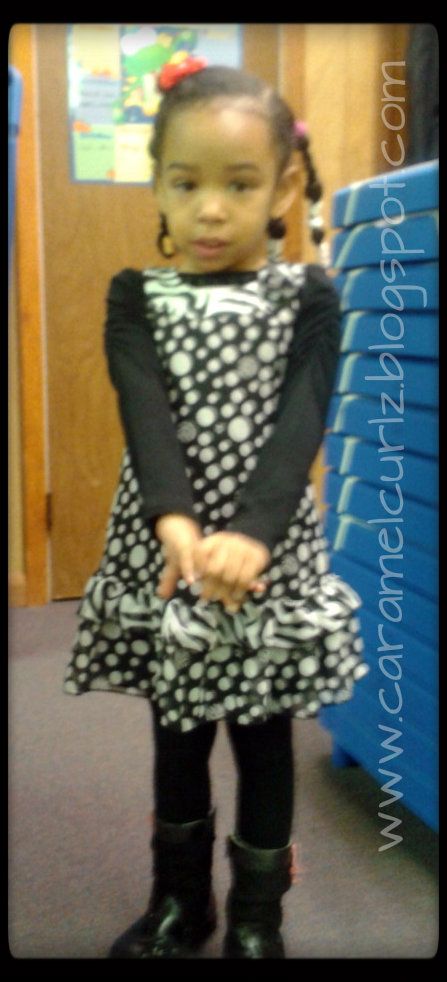
Due to the amazing good weather we are experiencing, my husband and I decided to take the kids to the park.


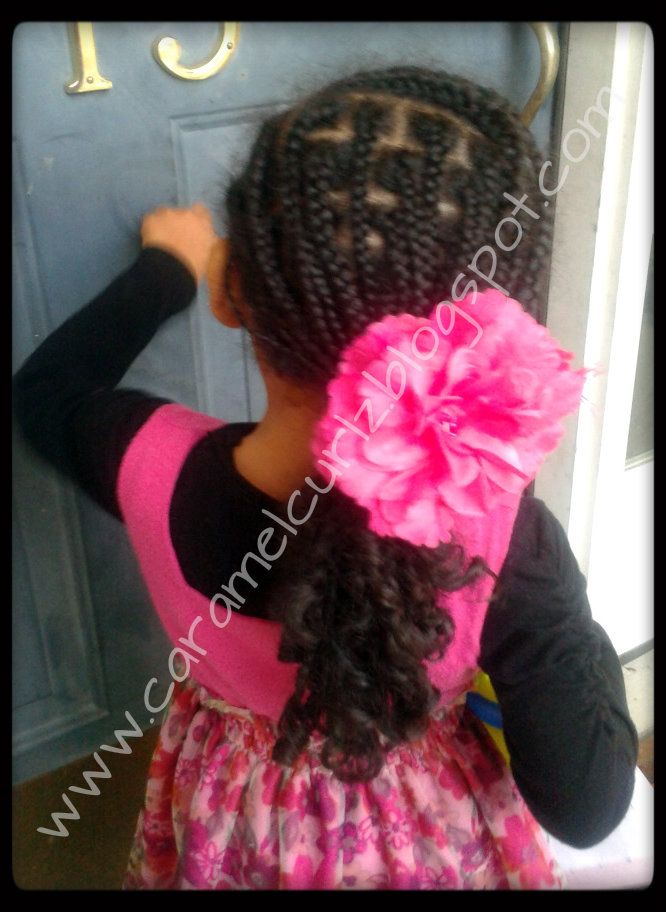
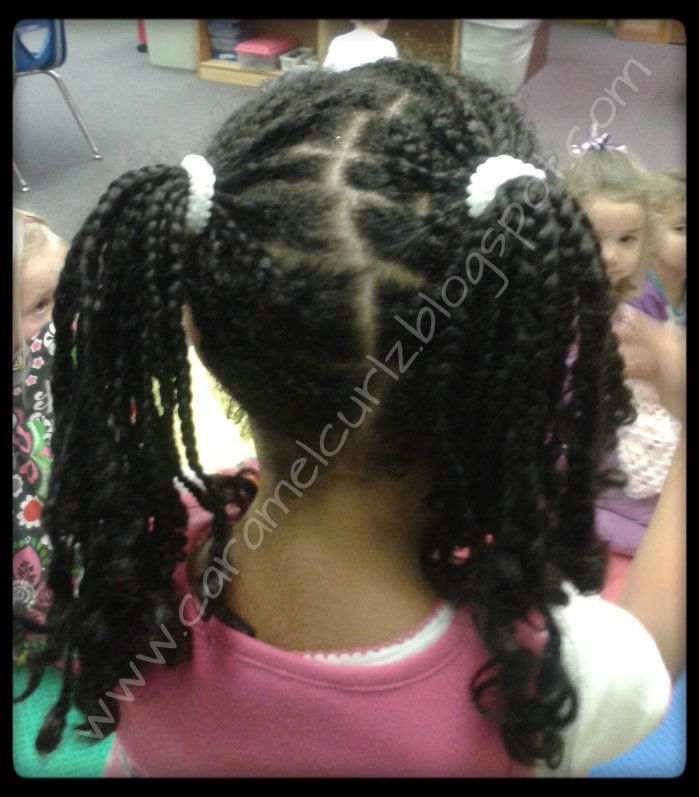
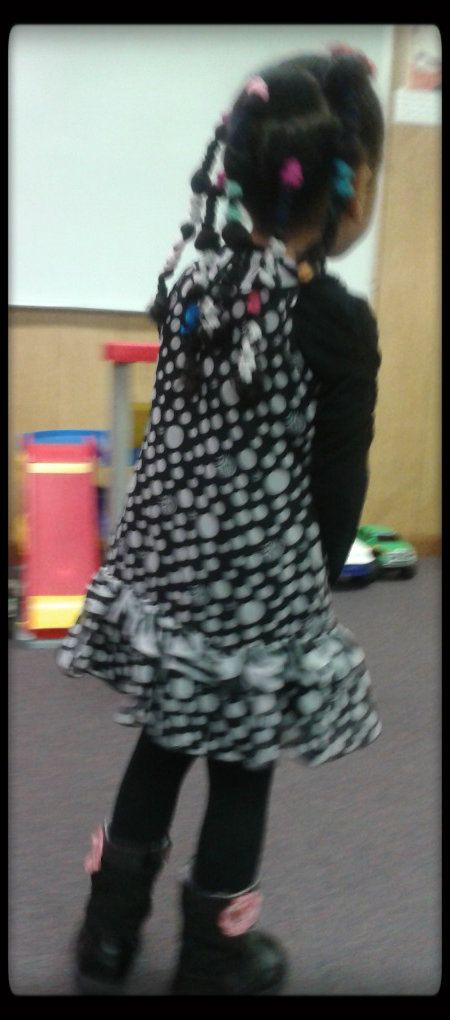
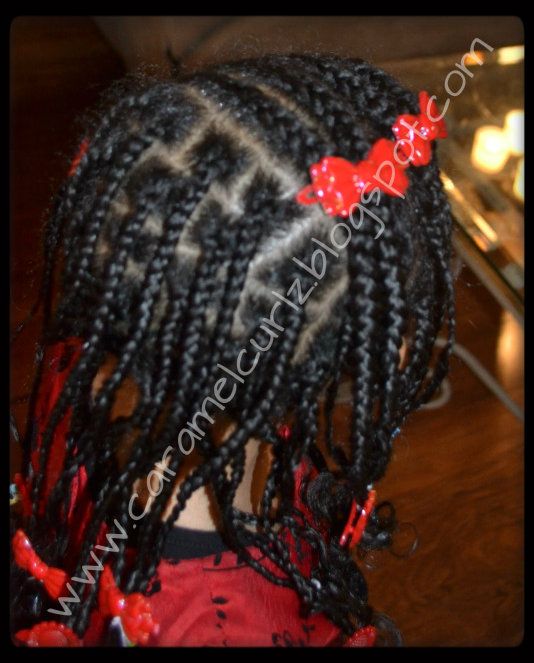
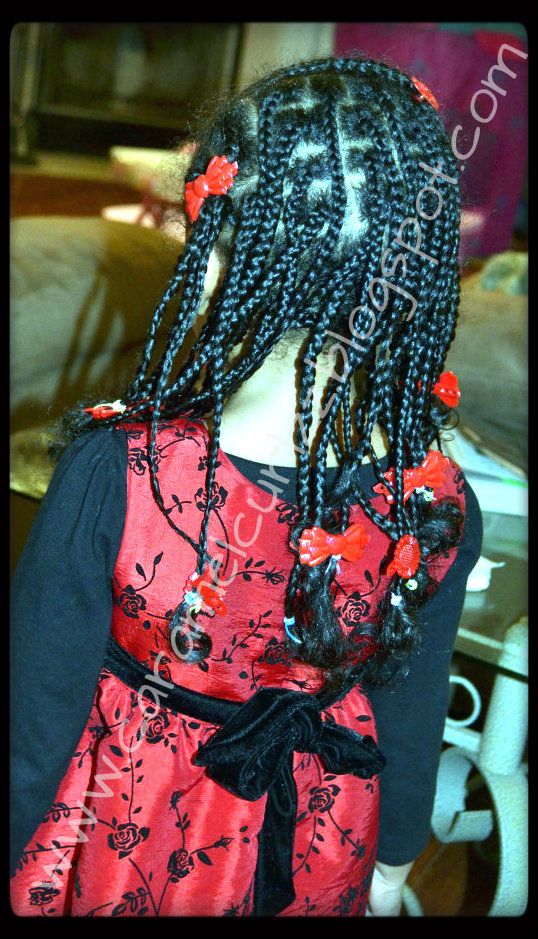
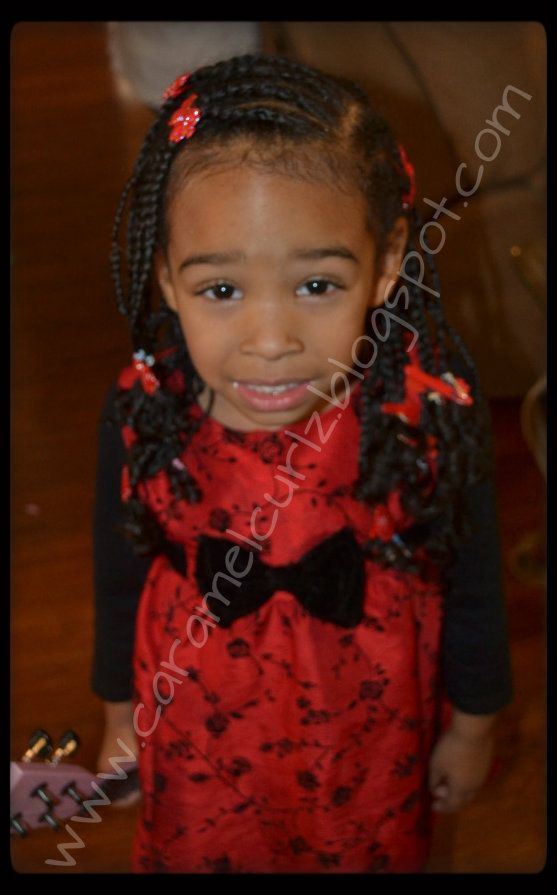
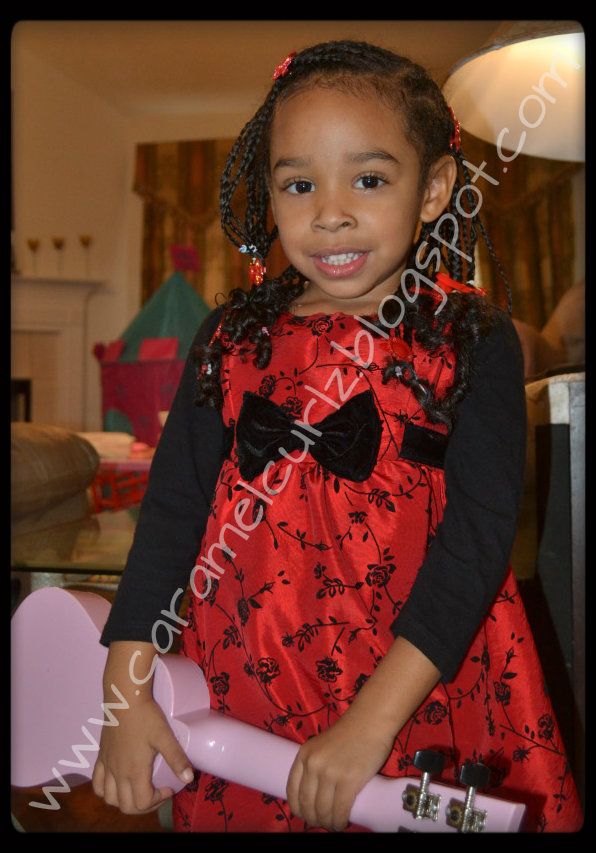
Ms. Bree's protective style are small box braids and cornrows.  My original plan plan was to leave this style for two weeks, we are now on day 9 and I'm seriously thinking about undoing the cornrows and do more box braids.


Little Man still is letting his hair grow, look at that hair!


Now remember, just because the hair is in a protective style, it doesn't mean you don't have anything to it.   It is important to keep the edges and ends moisturized as well.  You can use your favorite moisturizer for this.
  
I spray her braids daily (once a day) with Bee Mine Juicy Moisturizing Daily Spritz.


And I usually wash her scalp (without taking her braids out) at least once a week. The last time we did box braids, Ms. Bree had them for almost four weeks.


Friday, January 11, 2013

Update on Protective Style


This is just a quick update on Ms. Bree's Protective Style.

I styled her hair in box braids and cornrows on Sunday, January 6th. 

Day Four:


Finally at home! This picture was taken after school on Thursday.  Ms. Bree actually went to the playground twice on this day due to the good weather.

Day Five:


Most likely I will be co-washing her hair (without taking her style out) on Sunday to make sure all the sand is out of her scalp. 


Tuesday, January 8, 2013

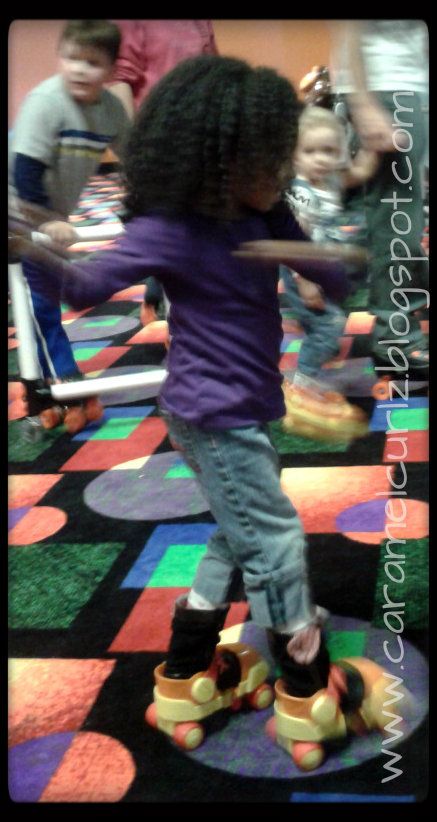
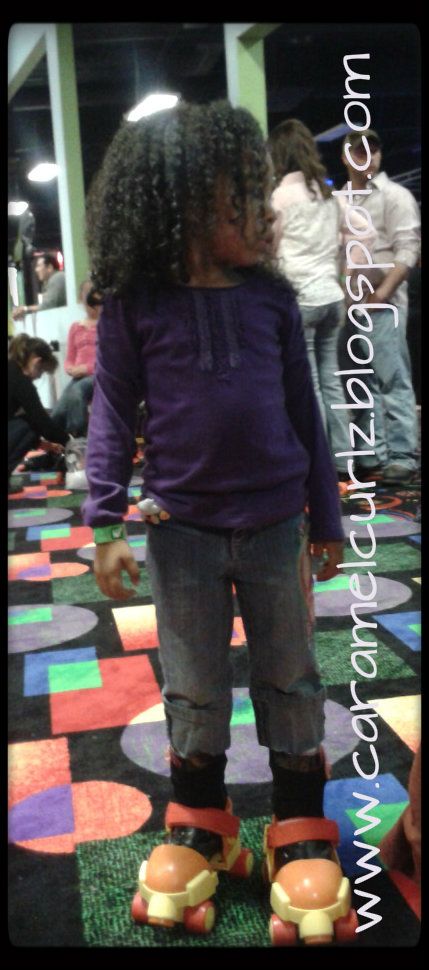
Rocking their Fro While Skating. .


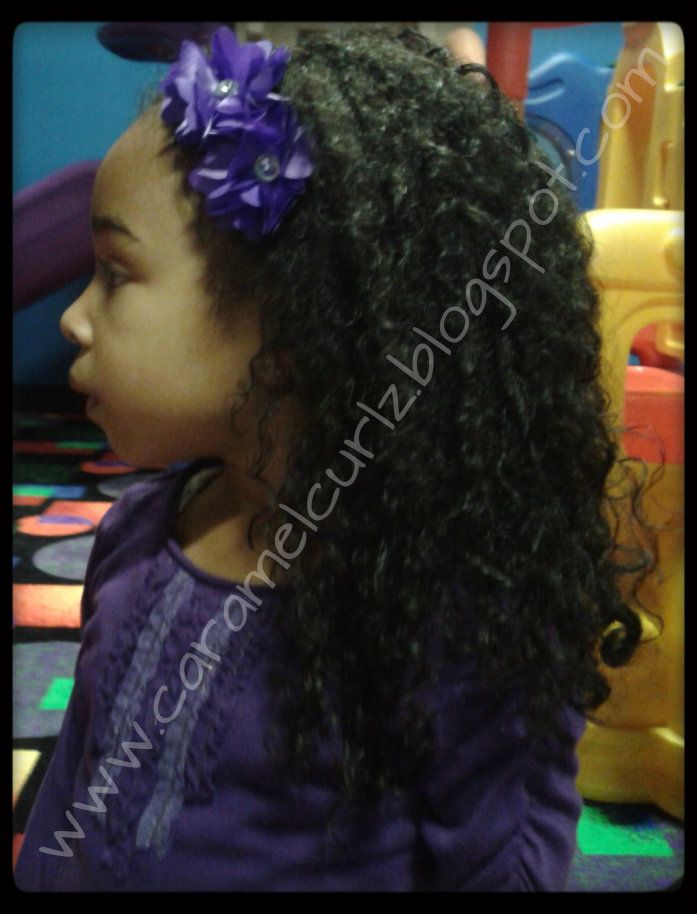
As I mentioned on one of my last posts, I've decided to let Ms. Bree wear her hair "free" a bit more often in order to give her scalp a break from all the styling.  

My husband and I decided to take the kids to the new Skating Rink near our house and see how the kids felt about the whole "skating" idea.


So here they are rocking their "little big hair" while having fun at SK8 City!!


GET THE LOOK:


I washed Ms. Bree's hair in the morning then I applied the following products to her wet hair:

1. 100% Coconut Oil; and

2.  Bee Mine Luscious Moisturizer.

Ms. Bree stayed indoors the entire time until her hair was 100% dry.  NOTE:  the reason I do this is to prevent her hair from frizzing and becoming tangled.

About an hour before going to the skate rink I applied very light coat of Eco Styler Gel (with Argan Oil) !!

Now, Little Man has not had a haircut in about three (3) weeks because he kindly informed me that he does NOT want his hair cut.  (We will see how long that lasts)


Little Man's hair is different from my daughter's hair.  

After washing his hair  with Curly Q's Cleaning Creme and Curly Q's Coconut Cream Moisturizer Conditioner, I applied the following:

1. Bee Mine Luscious Moisturizer with a little bit of 
2. Bee Mine Curly Butter and done.  

His hair retains moisture a lot longer than Ms. Bree's and requires very little products.  


Monday, January 7, 2013

Back to School & Protective Style


Last week was a very short school week for the kids and I decided to keep Ms Bree's hair banded for two days.


One of our favorite Blogs, Kandy Land Kurls is hosting another great challenge, Kandy Land Kurls 2013 Protective Style Challenge, and we are showing our support by styling Ms. Bree's hair in small box braids and front cornrows in order to protect her delicate hairline.

Don't forget to head over to Kandy Land Kurls and enter their challenge and win amazing products or just to get ideas on how to do protective styles.

Due to Ms. Bree's amount of hair, I had to divide this process in two days, after all she is only three years old and keeping her still for more than 45 minutes is never a good idea.   So, I started by doing the box braids on Saturday and did the cornrows on Sunday.

The Products:

* Creme of Nature Argan Oil Moisturizing Shampoo;
* Bee Mine Deep Conditioner;
* 100% Coconut Oil;
* Bee Mine Luscious Moisturizer.

After washing and deep conditioning her hair on Tuesday:

 *  I applied 100% Coconut Oil to the wet hair;
 *  Bee Mine Luscious Moisturizer.

Sectioned her hair the way I wanted it and banded the hair for 2 days.

Before doing the box braids: 

* I removed the bands from one section and created a small square;
* I sprayed a tiny bit of water to her roots
* Applied more 100% Coconut Oil
* Followed by Bee Mine Curly Butter.  

I repeated the process until all the back sections were styled in box braids:


I used rubber bands at the ends and used a tiny bit of Eco Styler gel and did finger coils.  

NOTE:  The rubber bands do eventually break and fall off or sometimes I take them off, by the time this happens the braids and the finger coils are completely set and the braids do not unravel.  


The Cornrows:

 * I repeated the same steps by spraying a little bit of water on the roots 
 * Then I applied 100% coconut oil to her scalp and roots.
 * Followed by Bee Mine Curly butter.


After a day or two, I will gather all her box braids into a lose bun in order to protect her ends during the week.

"Protective Styles" are very important during the winter months.  It can help retain length and/or promote hair length by minimizing breakage.  

Protective styling can and is very beneficial for the hair but you must remember to continue to care for the hair properly my making sure the hair is very well  moisturized, look for tension of the scalp and by making sure the ends are protected.

Which protective style is your favorite??  Don't forget to share with us all your pictures and comments.  


Saturday, January 5, 2013

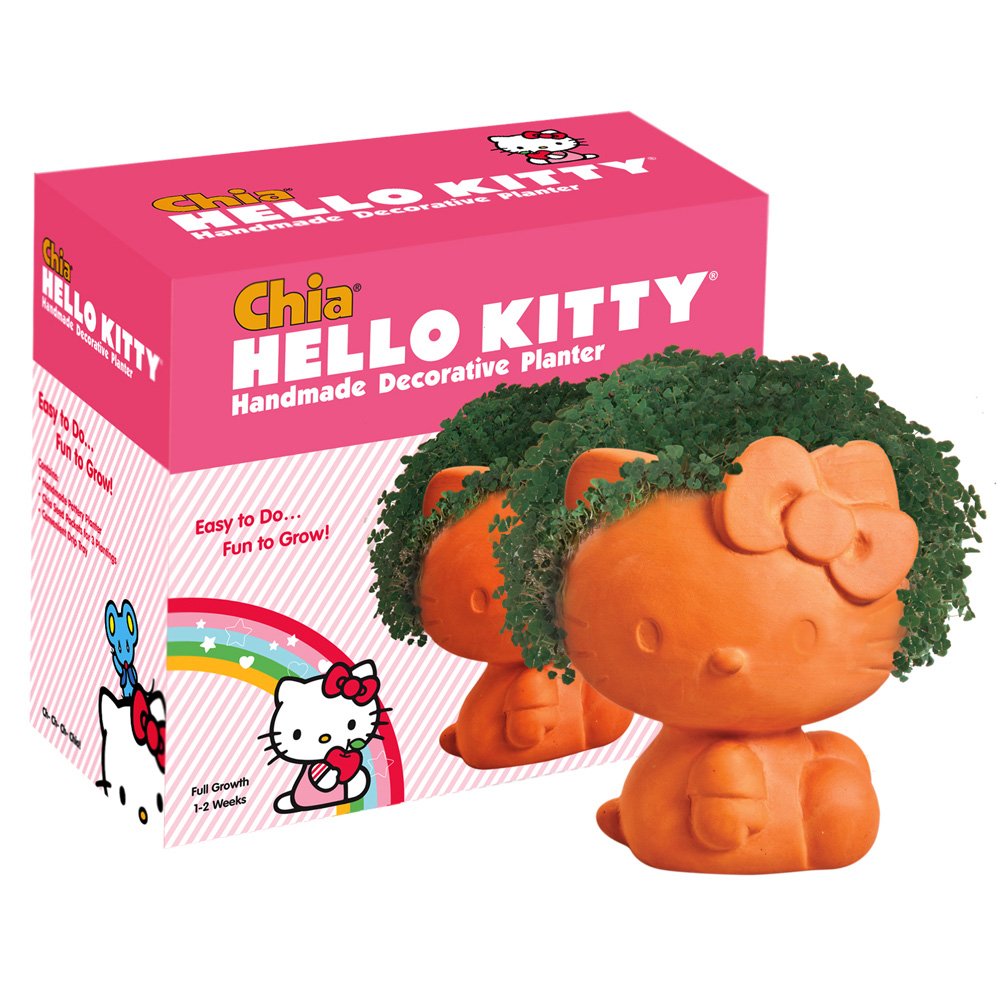
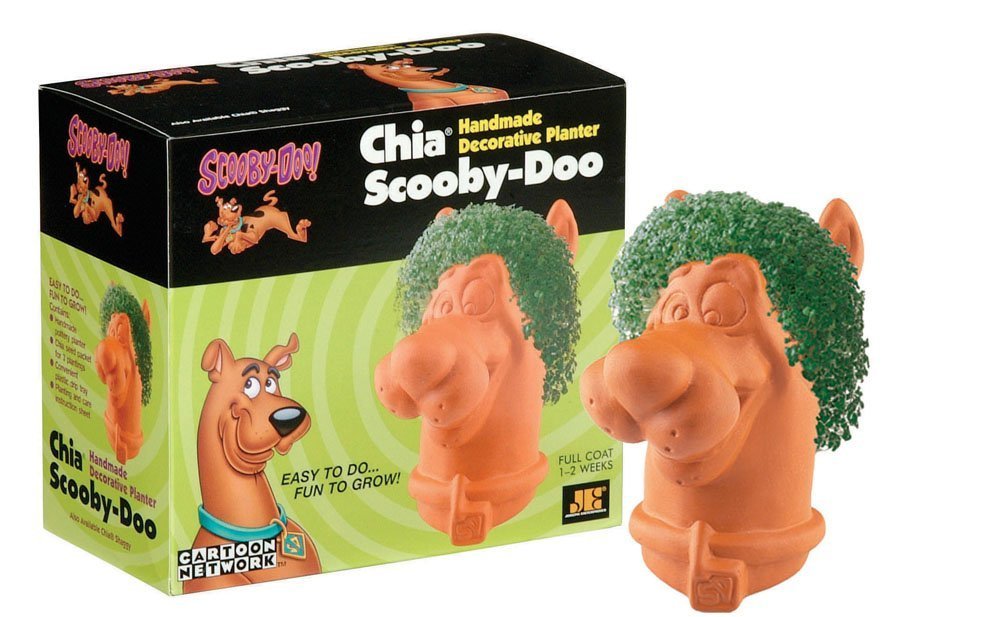
Hello Kitty & Scooby Doo Chia Pet Projects

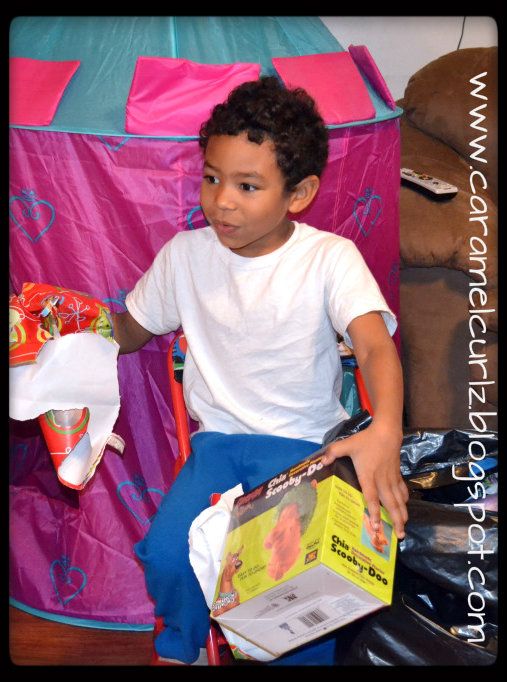
These were another amazing Christmas gifts my children received from their Dad!!

They first saw the Chia Pet commercials a few days before Christmas and they went crazy about them. My husband and I decided that it would be something different and fun to give them.  

Although, you can find the different designs at any Walgreens, Kmart, Rite Aids and most CVS Pharmacies, I waited too long to buy them and couldn't find any of them at any store.

But my husband DID FIND THEM and he truly surprised the children (and me) on Christmas Day.  Unfortunately, he couldn't find the Spongebob Squarepants Chia Pet but he was able to find Scooby Doo and little man was more than happy to get it.

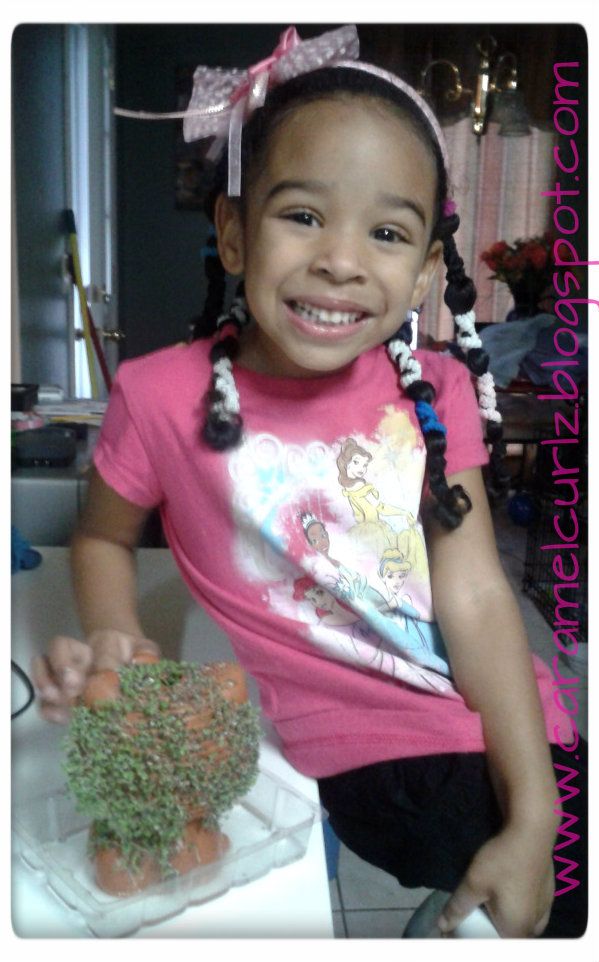
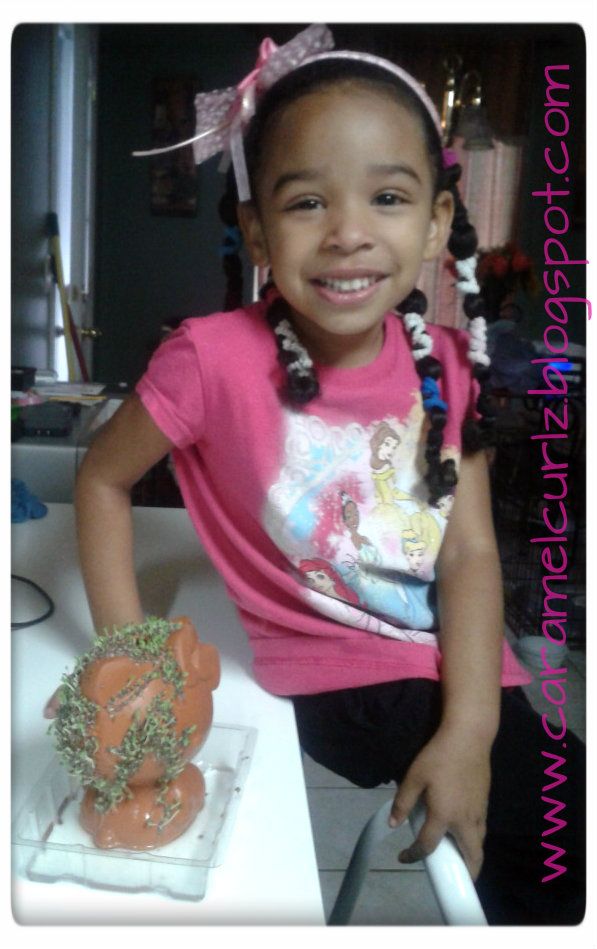
Ms. Bree's Chia Pet:

You can also purchase it here:  Hello Kitty Chia Pet


" Day 6 "

Back View:                                             Side View:


Little Man's Chia Pet:


You can also purchase here: Scooby Doo Chia Pet

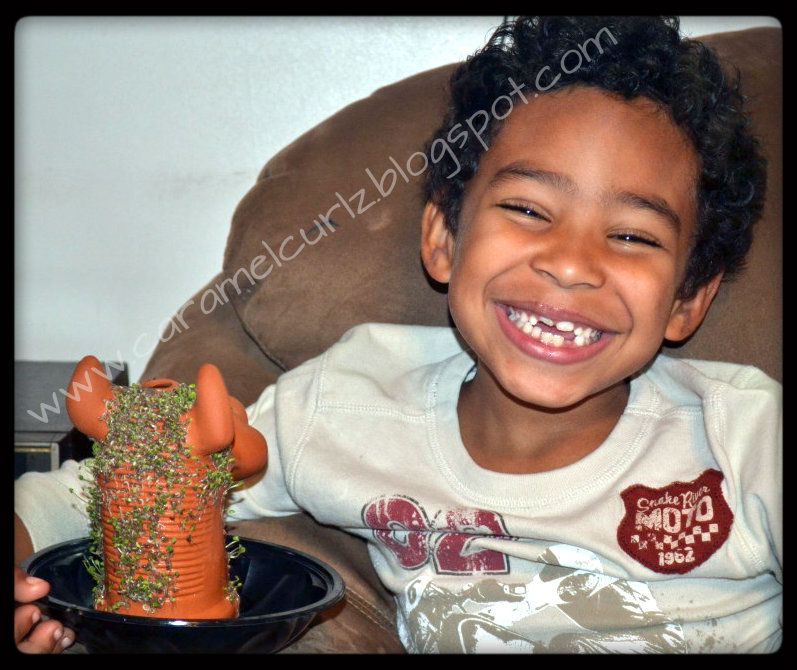
" Day 6 "
   
Back View

Front View


This is something that can be done as a family activity and its very easy to do.  

Both Chia planters had to soak for an hour (while others require to soak overnight), which is the same amount of time required for the seed mixture to thicken.  

While the planters were soaking I mixed the seeds with the required amount of water and had the kids stirred the mixture every 15 ms until it was thick.

You can either let the kids use their fingers or a plastic spoon to spread the seed mixture onto the Chia planter.  Ms. Bree used one of her knives from her kitchen while little man used his fingers....eek!

This is another way to teach the kids "responsibility".  (BIG PLUS FOR ME)

The Chia planters need to be kept full of water, which means the kids need to add water every day.  

Little Man reminds his sister every day (usually after dinner) that the "Chi Chi Pet needs to drink water", and he helps her add water to the planter.

We are now in Day 6 and you can clearly see how the seeds are starting to grow.  

Now, I will say that Ms. Bree's Hello Kitty Chia Pet held the seeds better than my son's Scooby Doo.  I am not sure as to why but we will do this again when the time comes and hope for better results.  

I will probably get the Spongebob Squarepants at a later time for my little man.

Overall this is a fun activity for kids of all ages.