Thursday, August 30, 2012

FUN STYLE!

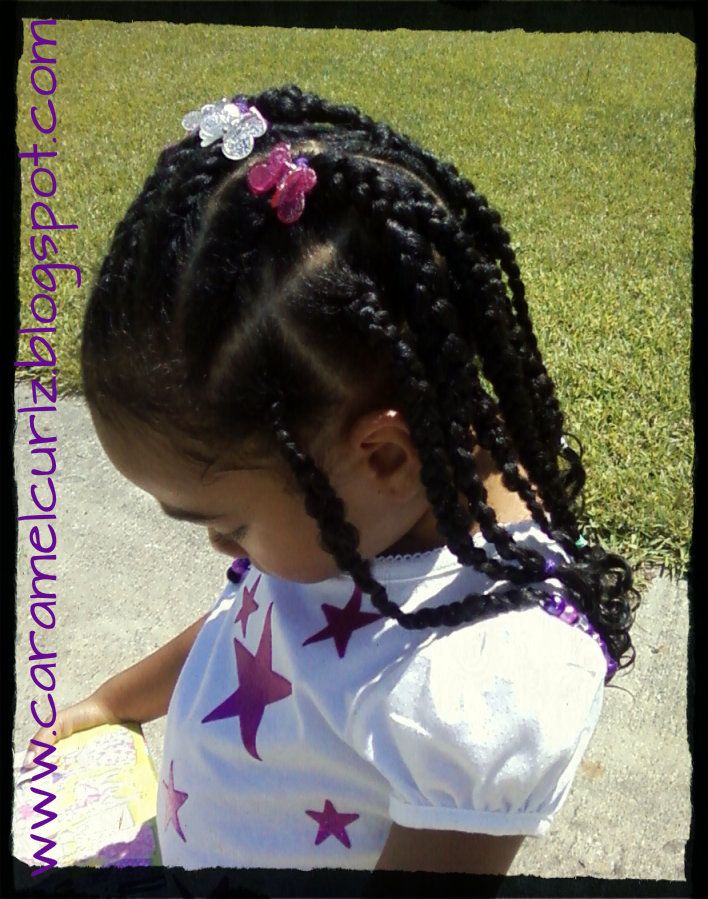
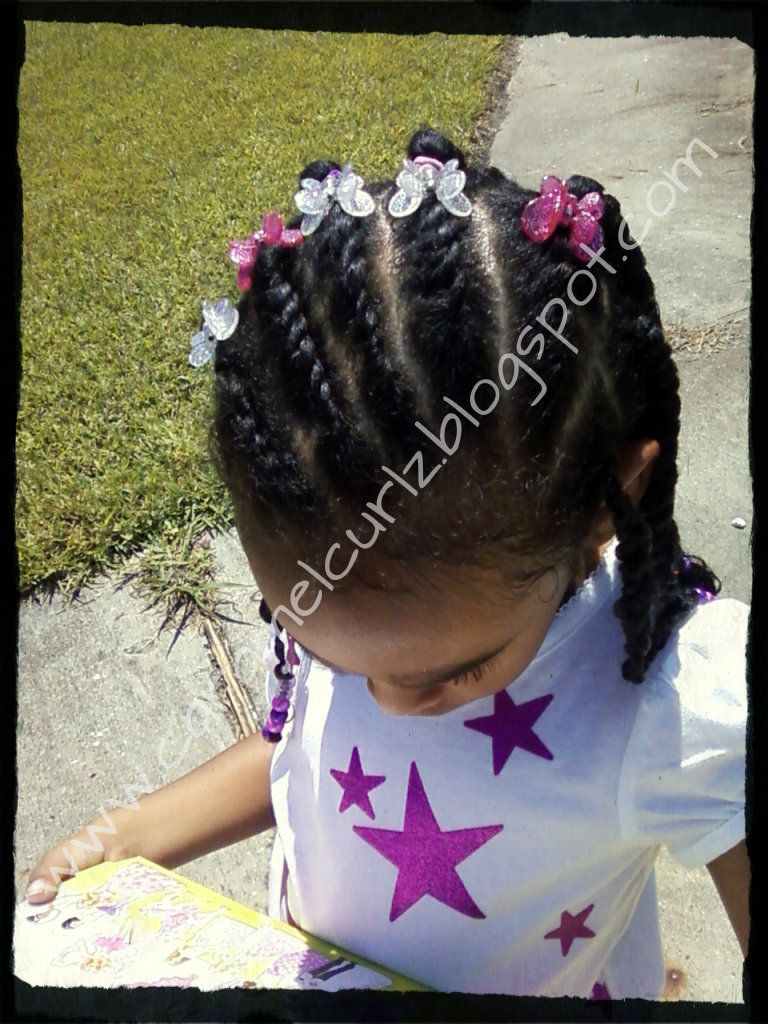
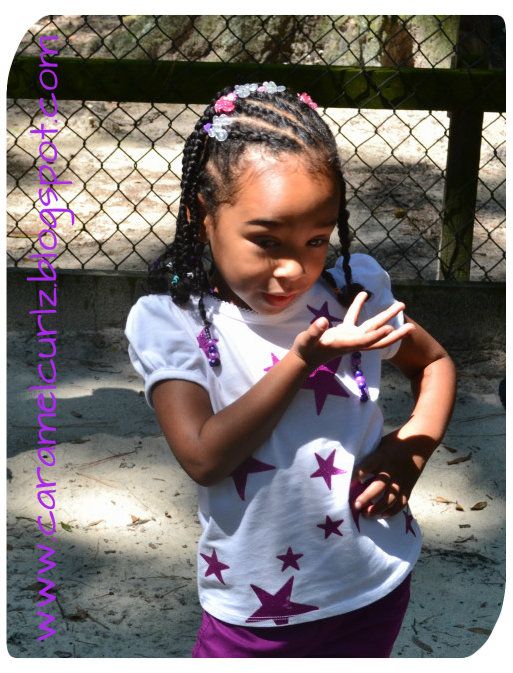
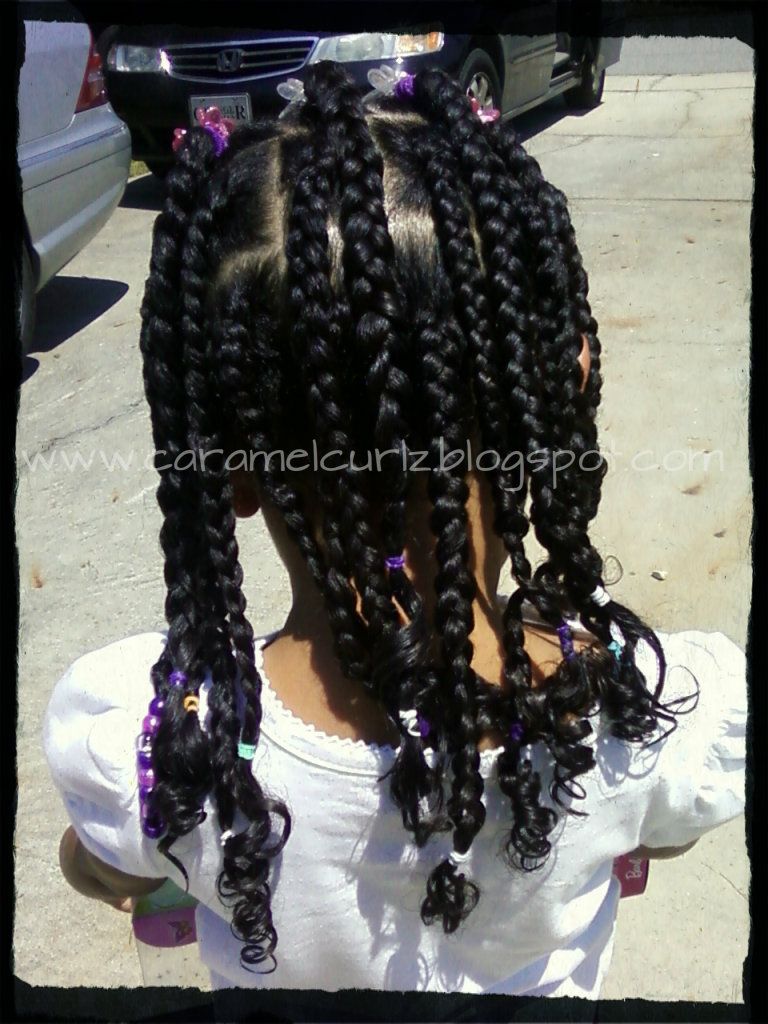
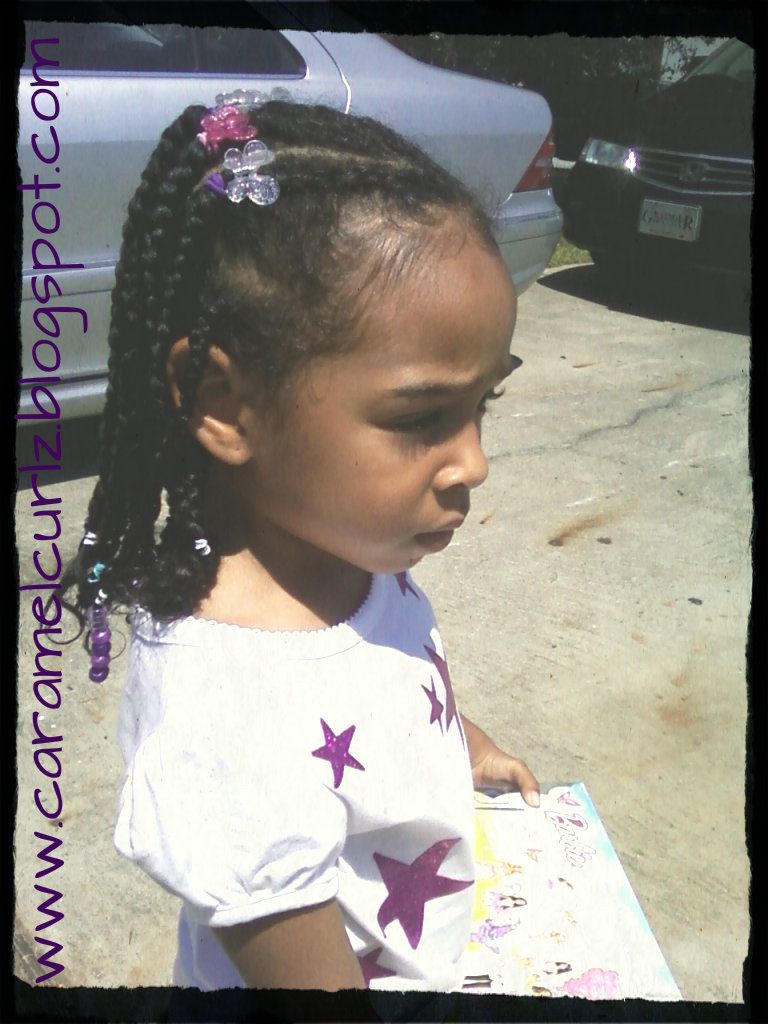
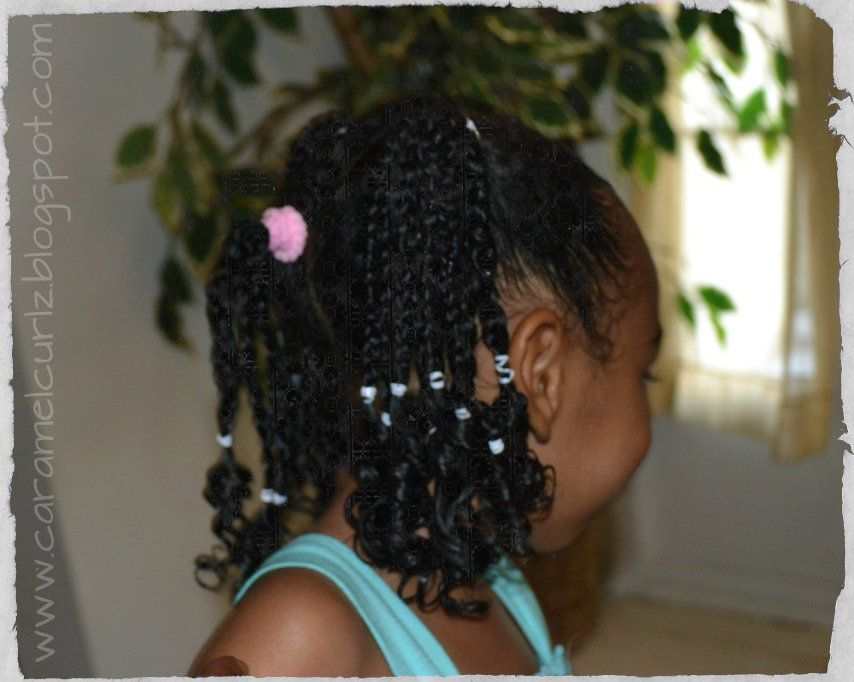
BOX BRAIDS & ROPE TWISTS


This is a fun style for the summer and its perfect for school.  Box braids are very popular this summer and they are also a low maintenance natural style that can last for two or three weeks if not more.

I did not add any extensions or yarn to Ms. Bree's hair.  You can change this style in so many ways, I chose to do two strands rope twists on the top section, but if you do not want to do rope twists, you can do more box braids or you can also do cornrows. 

Box braids can be done in any size and they are very easy to do.  This week week I chose to do small/medium box braids.  I think the smaller the braids, the longer they last.  You can also accessorize them by adding beads or snaps at the end or you can keep it simple and don't accessorize them at all. 

You can also do other styles like wear them all down or place all braids into a pony tail or a nice fancy updo.

I do want you to know that doing box braids can be very time consuming, of  course it all depends on the size of the braids and the length of the hair.  I believe it is a perfect protective style, so I really do not mind spending one to two hours doing them.   Keep in mind that you can always part the section the night before and do the braids the following day in order to reduce the braiding time.  

It took me around ninety minutes to complete this style. 


Monday, August 27, 2012

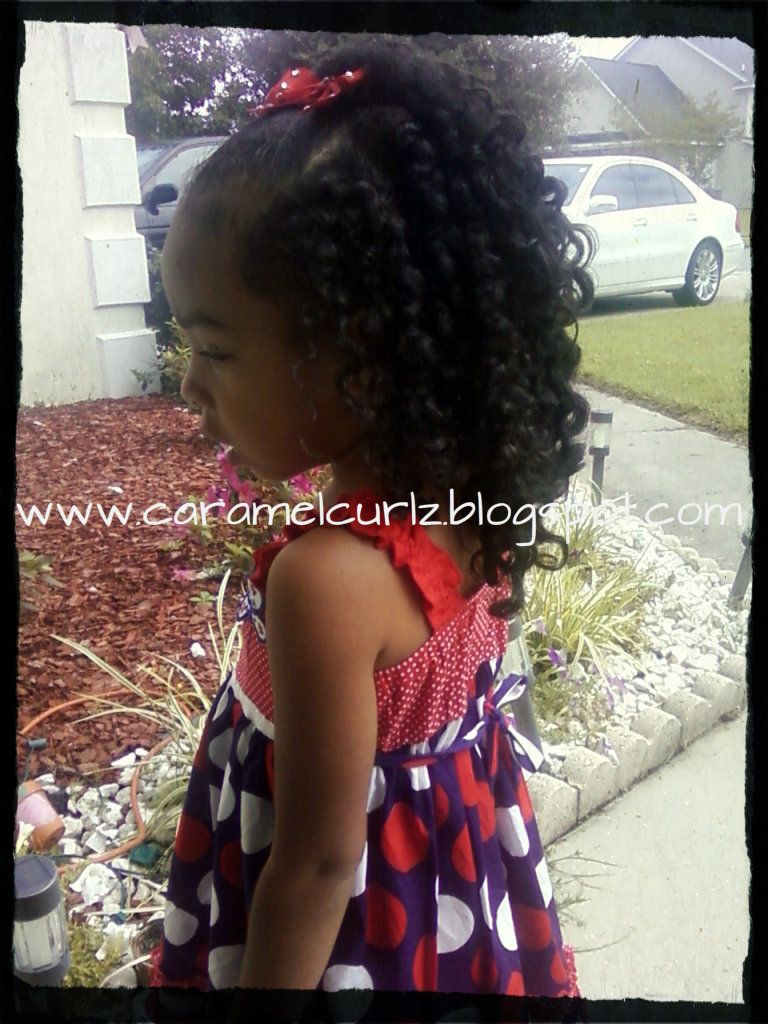
LET IT LOOSE!


LOVE FREE HAIR!!!

This week was definitely busy but it was also very fun.  

Grandparents were visiting and while the boys took a deep see fishing trip, the girls got all dressed up and decided to take a stroll through the downtown area.  Since the kids started school Monday, it was our last opportunity to do fun things with the grandparents.  VACATION is definitely over!

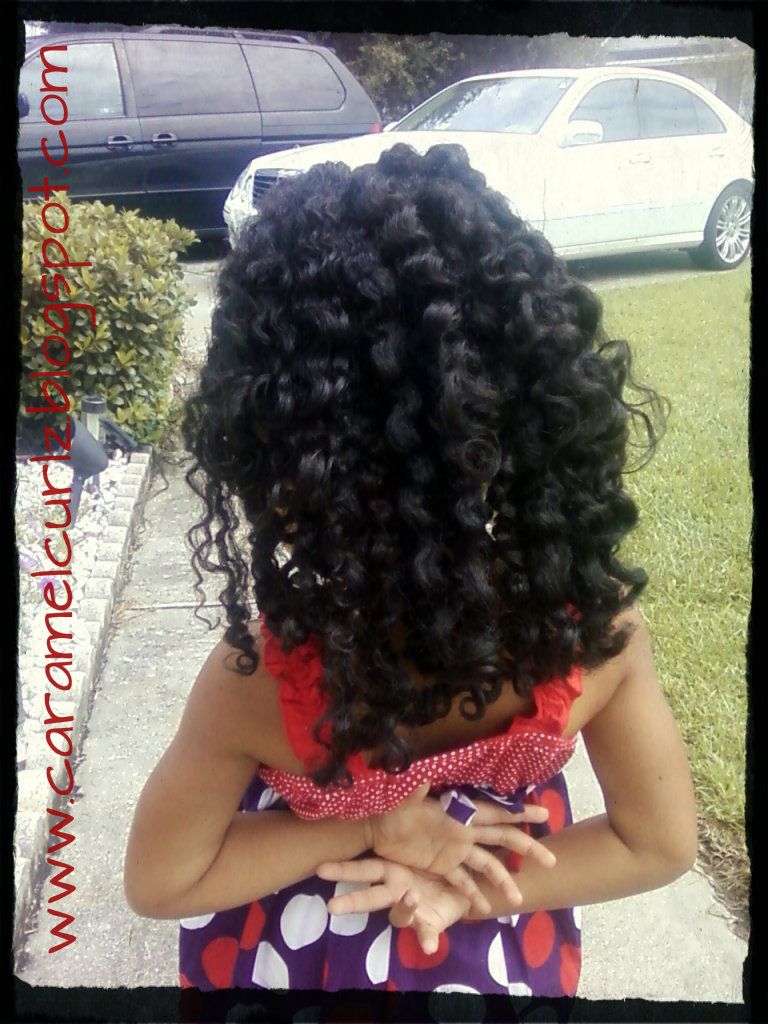
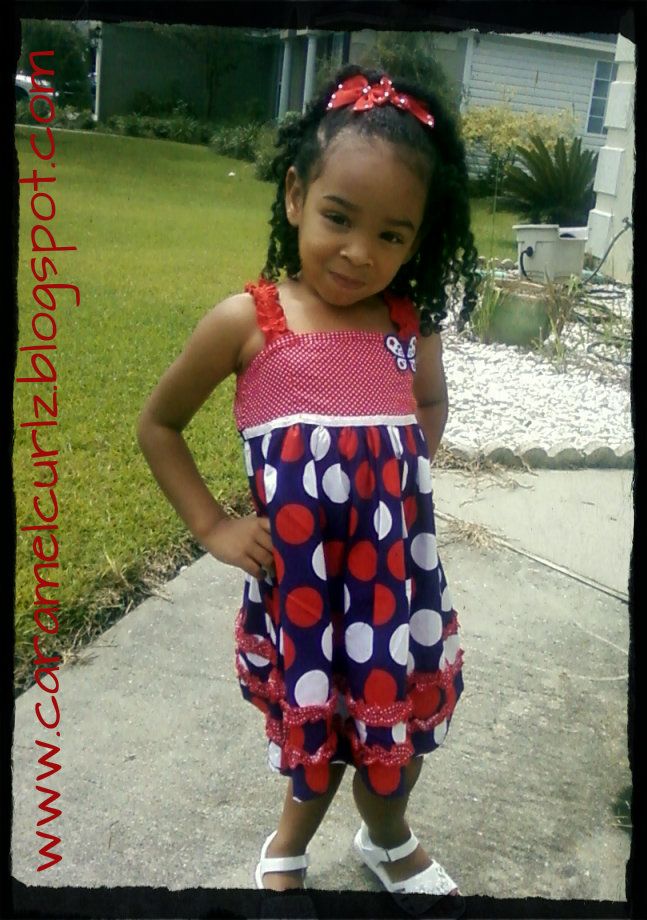
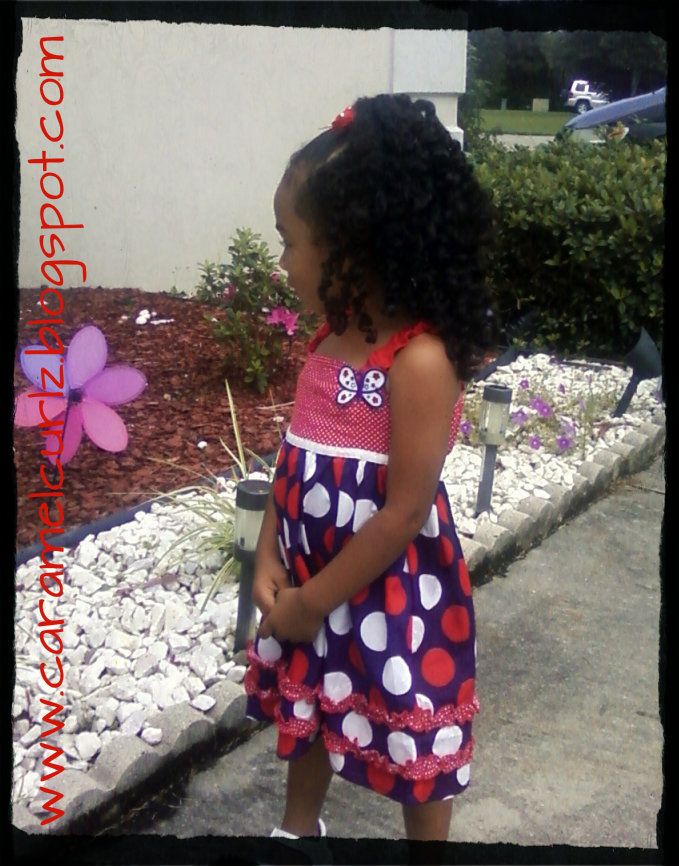
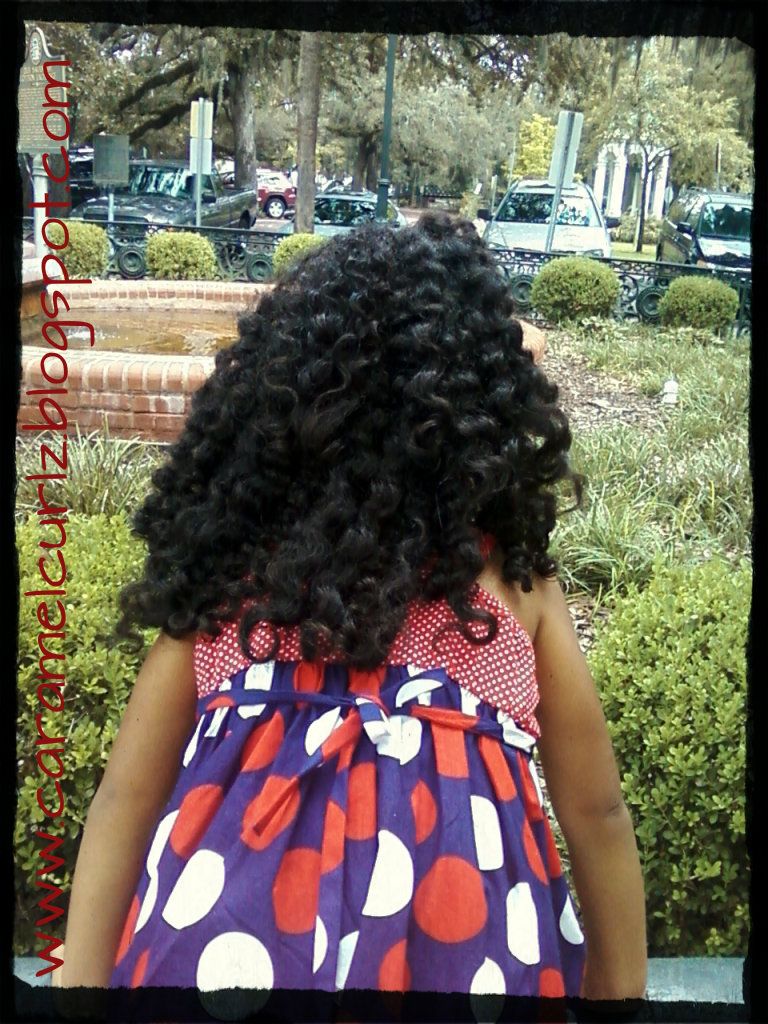
Ms. Bree loves her hair loose and free so i decided to do just that.  The weather was wonderful so I thought, Why not?  

We accomplished this look by using Kinky Curly Curling Custard while her hair was wet and by braiding it.  (To get this look please see my Step by Step instructions Tab.  It is very easy to do!!

We got a lot of compliment and she looked beautiful rocking her curls!

Let's Get Organized!!

If you are a hair accessory lover like I am, then most likely you are going crazy with all the accessories.  

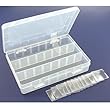
The accessories were taking over my bedroom and bathroom until my friend had a great idea, she purchased a craft organizer box from Michaels for a very reasonable price.  What I love about the organizer box is that you can make the compartments bigger for those bands or bows/barrettes that are in the bigger side, it's completely clear so you are able to see the contents without having the need to open, and it snaps close easily.

But the more fun I was having with her hair the more accessories I found myself buying, eventually my organizer box was not big enough to hold all the accessories.

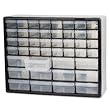
Here is where my husband came to my rescue. He had a Stereilite 6 Drawer Cart (with wheels) that he kept in our room for his personal use.  After seeing me struggle with all Ms. Bree's hair accessories, he gave me the cart and said that I could organize the accessories better by using the drawers for different items.

I immediately made this a "family project", my son an daughter got into the idea of organizing all the items by color and sizes and we had  lot of fun in the process.  For me it is always important to share various activities with my children and during this project we also talked about sizes, shapes and colors.

I really love the cart, specially the clear drawers, i can easily see the contents of them.  I also like the fact that it has wheels which allows me to roll the cart to wherever I need it to be.

There are so many different ways that you can organize your hair accessories, here are a few ideas:

* Craft organizer box: which can be found at any crafting store, (i.e. Michaels, Walmart, Target)


* Stackable Cabinet:  These come in different sizes with clear drawers.


* Ice Tray Cubes:  These are really good for small barrettes, bows and bands.

* 2 Tray Classic Tackle Box:  Some stores like Walmart actually have a Disney Princess Tackle Box and it is also very convenient for traveling.

* Hair Accessories Storage Board:  If you are a crafty mommy you can probably make your own at home with things that you probably already have.


Monday, August 20, 2012

Style Update


Now for a quick update on Ms. Bree's hairstyle from last week.   
Like we've mentioned, this style is very simple and easy to do.  For us, this hairstyle only lasted a week.  However, if properly maintained, this hairstyle could last up to 2 weeks.

Daily maintenance:

*Every night, before Ms. Bree retired to bed, I sprayed her braids and ends with a bit of water and applied Shea butter Leave in conditioner. Then I placed a Child's Satin Sleep Cap on her head.

*Each morning, before Ms. Bree went to school: 

1.  I removed each pony tail and sprayed the roots with a bit of water.

2. After slightly wetting the hair  (from the roots to the beginning of the braids), I used a dab of Cantu Shea Butter and Coconut Oil (I rubbed this mixture in my hands, to ensure it was mixed well).

3. I then applied the thoroughly combined butter/oil to the root and worked my way up the beginning of the braids. 
  
4. After I applied the thoroughly combined butter/oil, I then combed the hair from the root to the beginning of the braids.  (I did this to ensure the hair was smooth and neat).

5. Lastly, I retouched the ends of each braid with Kinky Curly Curling Custard to ensure that the ends maintained that fresh, neatly styled look.    

Our next look will be Box Braids with beads on each end.  This will be a never before attempted hairstyle for me and a brand new look for Ms Bree!


Tuesday, August 14, 2012

Simple is also beautiful...Our 1st Tutorial

OUR STYLE FOR THIS WEEK!


We decided to do a very simple style for this week, as you can see is a very simple style that any busy mommy can do, it took me approximately 1 hour to 1.15 hrs to do it, but it will probably take less if you don't have to wash and conditioned the hair.  

We originally wanted to add beads at the end of each braid but my "beader" (bead applicator) broke after the first set of beads were applied to her hair so we had to improvise and do finger coils (finger curls) instead, but the result was beautiful.

We are aiming for this style to last for almost two weeks.  Mainly because we are planning to do box braids and beads for grandmother who will be visiting for a week, and every time Grandmother and Papa visit Ms. Bree does NOT like to get her hair done because it takes time away from Grandmother and Papa.

*********************************************************************************

In order to protect Ms. Bree's hairstyles through the night, we use Children's Satin Sleep Cap, which can be found in any hair store for a very reasonable price.  


To keep up with the style daily I would suggest  Kinky Curly Custard to tame the edges and spray any daily spritz you use, I personally use Shea Butter conditioner on the braids and the ends.

INSTRUCTIONS: 

We started by washing her hair with Beautiful Textures Tangle Taming Moisturizing Shampoo, and what I love about this shampoo is that is creamy and I certainly don't have to use a lot of it or keep repeating the process.  I can immediately feel that is cleaning her hair, and the creaminess makes it easier for my fingers to run through her hair and massaging her scalp.

Once I rinsed the shampoo completely out of her hair, I used Herbal Essence "None of your Frizzness", I saturated her hair with the conditioner, parted in half and began detangling that section by using the detangler comb.  Once that section was completely detangled, I made 2 jumbo twist and moved to the other section where I repeated the same detangling process.  I let it sit there for a few minutes then I lightly rinsed it out.

STYLING PROCESS:
Undo the 4 jumbo twists;

I used a combination of Cantu Shea Butter Leave I Conditioner and Coconut Oil mixed 
together and applied it to her soaking wet hair,  

Using a Rat Tail Comb I created a section in the center that began from her forehead to the back of her neck, and added a bit of Kinky Curly Knot today and removed any tangles, then once it was detangled I rubbed a little bit of the Kinky Curly Custard on the palms of my hand and began to cornrow the section;

Then do one big pony tail on each side, I did and used the same products to detangled each section then placed the hair on a pony tail by using Ouchless Scrunchies/Bands.

Each pony tail has 8 small braids (but you can do them as small or as big as you'll like)  I used small rubber bands to hold the ends since I really don't like Ms. Bree to go to bed with accessories. 

Products we used: 
Beautiful Textures Tangle Taming Moisturizing Shampoo; 
Herbal Essence "None of your Frizzness" Conditioner; 
Cantu Shea Butter mixed with a splash of Coconut Oil
Kinky Curly Knot Today; 
Kinky Curly Custard.

Tools & Accessories we used:  
*Combs:   Rat Tail Comb (Metal tail); Tangle Comb 
* Hair clips to separate the hair:  Metal Hair Clips/ Double Prongs Alligator.
*3 Ouchless Bands (one for each pony tail)
*19 to 20 Small rubber bands (you can add beads at the end creating another protective style)